It turns out, thanks to the bride’s penchant for genealogical spelunking, I have recently discovered Acadian blood in my veins. It’s not an enormous surprise; on Prince Edward Island, the tiny Canadian province from which I hail, the populace is drawn largely from Scots, French, and Irish stock. In practise, PEI Scots didn’t tend to intermarry much back in the day, not just due to the language differences (Scots held onto their Gaelic before yielding to English), but also thanks to Catholic-Protestant interfaith snipery. It is, however, an island, so exceptions were occasionally made. Hence the occasional Arsenault or Paquet or Daigle or Cheverie among the Campbells and MacLeods and MacMillians and MacKays. And conversely.
Acadia, for those of you unfamiliar with the term, was originally a French colony that included the provinces of Canada generally known as the Maritimes, and a little of what is now Maine. [Fun fact: Prince Edward Island was originally known to its European settlers as Île Saint-Jean.] Over the years, wars and treaties with England whittled away at the territorial boundaries, and the people referred to as Acadians tended to be identified more by their language (French) than by their place of birth.
Unfortunately, things really went sideways between the Canadian Anglophones and Francophones in 1755. As a consequence of their participation in the French and Indian War, the Acadians were given the choice of swearing allegiance to the British king, or clearing the premises. You can imagine how that went. What happened next became known as the Great Upheaval, the Great Expulsion, the Great Deportation, or Le Grand Dérangement. Many Francophones, including some of my direct kin, were forcibly repatriated to France (which, incidentally, didn’t really want them). Other Acadians fled south to Louisiana, where they became known as Cajuns.
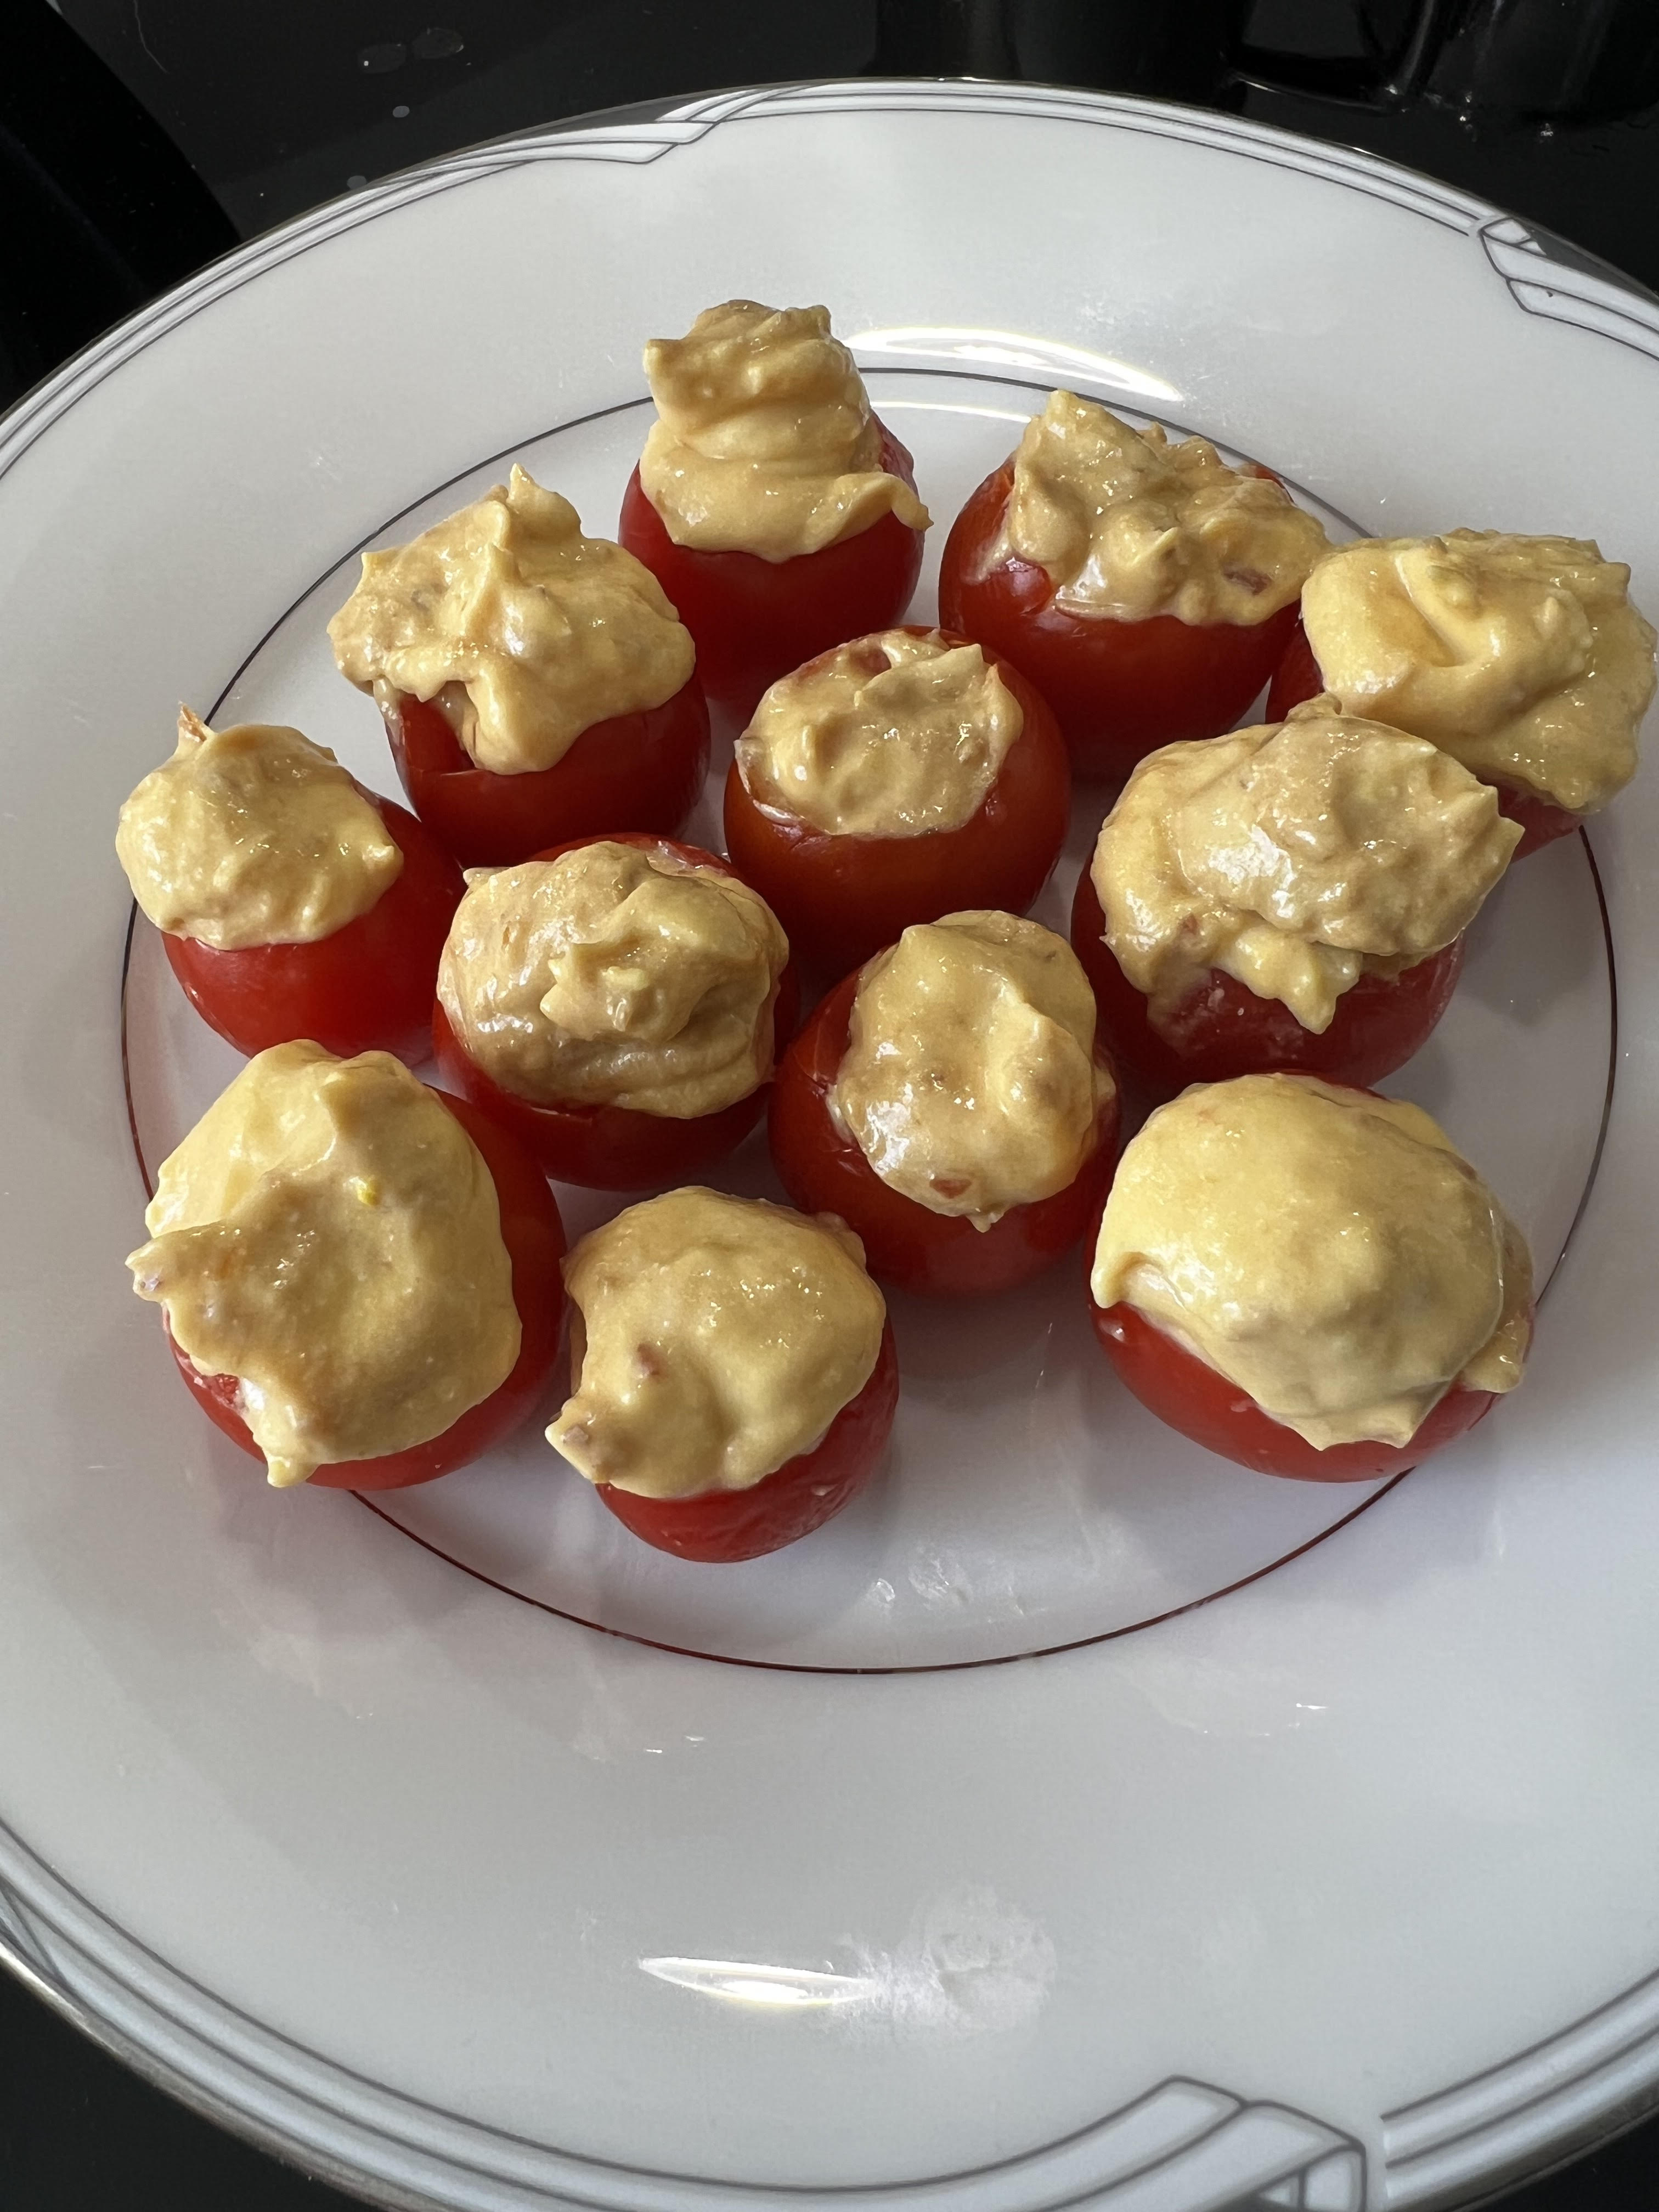
While there’s a lot of intermingling between Cajun and Creole cultures, the reason this soup is more properly identified as Cajun rather than Creole is largely due to the absence of tomatoes, which is one simple signifier separating the two storied cooking traditions. By some measures, Creole cuisine tends to be “city food,” and Cajun cuisine tends to be “country food,” with simpler ingredients and less reliance on sauces. Please do note that these are generalisations, so please don’t flood my inbox with picayune (or Picayune) commentary to the contrary.
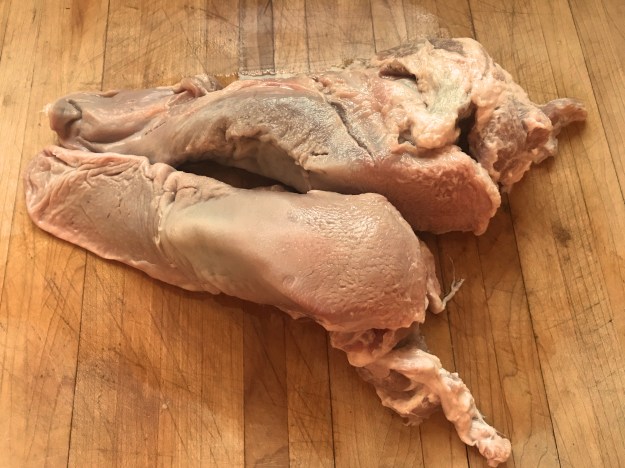
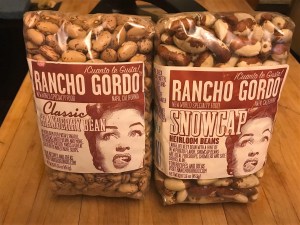
I don’t want to sound like a broken record (or, for our younger readers, digital audio stutter), but it never hurts to splurge on some of the key ingredients. I purchased fresh, uncooked andouille sausage (hotter than the quite tasty Aidells’ pre-cooked commercial version I used in an earlier iteration). The white beans in this recipe were Cassoulet heirlooms from Rancho Gordo. Because I had no homemade stock, I substituted Aneto, which is excellent, if pricey. I deglazed the pot with Croma Vera 2017 Rosé, because it was delicious, handy, and fit the bill. And while I seasoned the soup with fleur de sel from Ibiza, that was merely a pointless extravagance that gladdened me and enhanced the back story. We writers care about that stuff.

Best broth you can buy.
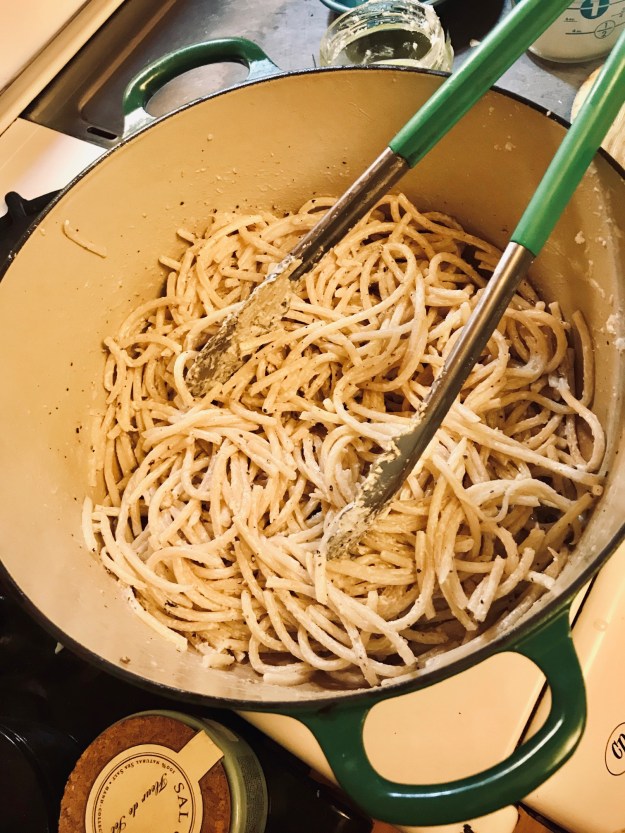
This soup can be made entirely on the stove top. I chose not to, partly due to convenience and partly due to shoddy time management. My Instant Pot® allowed me to bypass the overnight pre-soak for the dried beans, and it also condensed the time necessary to tenderise the celery and the collard greens’ stems. You may, of course, use canned beans and/or canned collard greens… if you must.

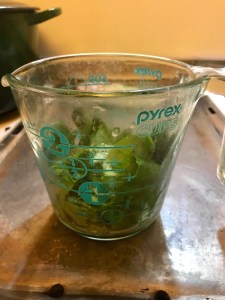
How much is enough? Maybe 6 cups or so, chopped. Be as green-dependent as you like.
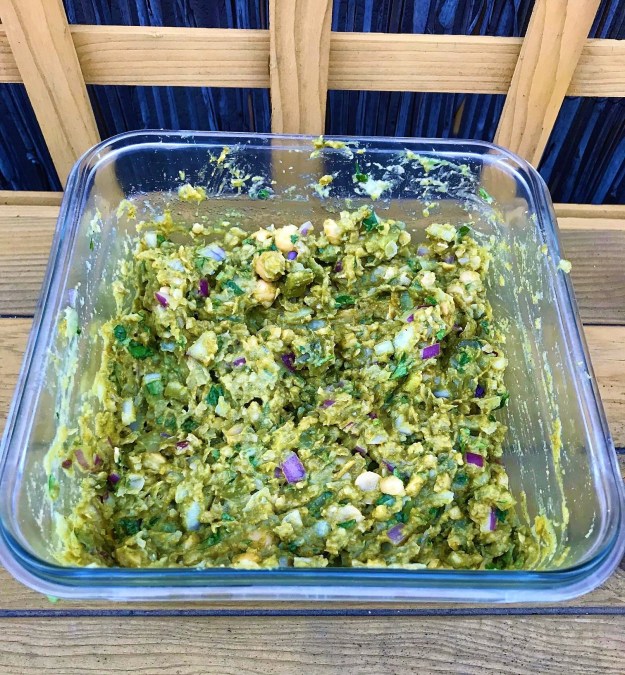
While I favoured traditional Cajun ingredients for this recipe (although I omitted bell pepper, one-third of the Cajun “holy trinity”), my pal Inmaculada Sánchez Leira (no slouch in the cooking department herself) noted that, save for the comparative lack of root vegetables, it’s not particularly far removed from Caldo Gallego, the classic Galician soup. It’s also fairly close to many recipes involving Black Eyed Peas, traditionally served in the South for good luck on New Year’s Day. In fact, you could easily sub black eyed peas into this recipe… and yes, you can get them from Rancho Gordo (if they’re not sold out).
INGREDIENTS
1 lb. / 1/2 kg dried white beans (or four 15 oz. cans cooked beans, drained and rinsed)
30 ml / 2 tbsp olive oil
2 lbs. / 1 kg Andouille sausage links
1/2 cup / 120 ml white or rosé wine (or water or stock) for deglazing
1 large onion, finely chopped
3-4 garlic cloves, minced
2 large carrots, chopped or sliced into coins
2 large bunches fresh collard greens
4-6 large stalks celery, finely minced
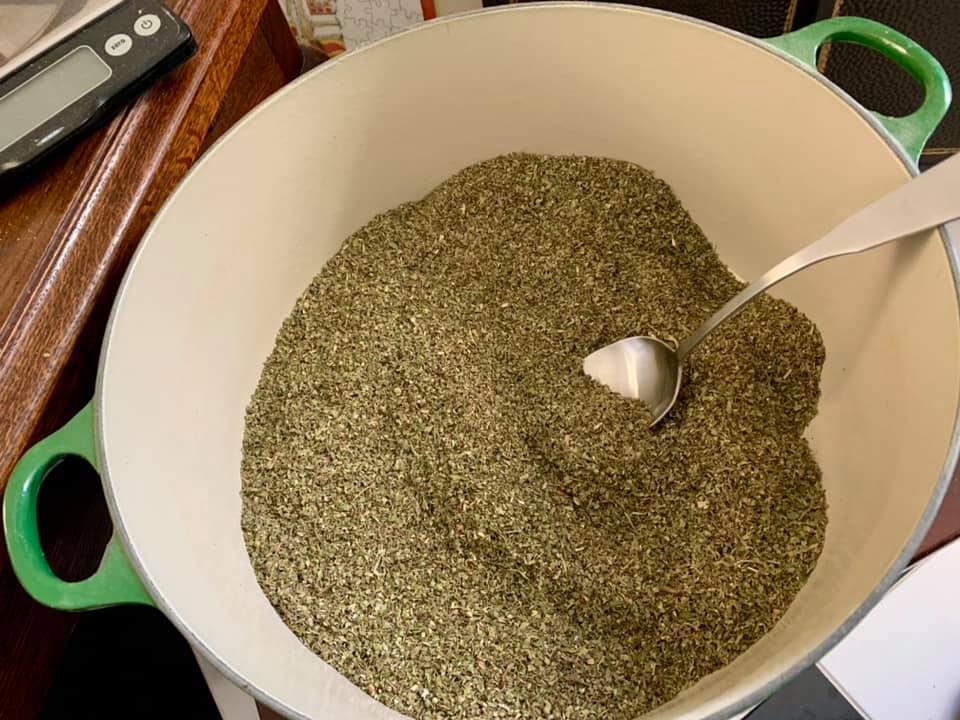
1 medium sprig fresh thyme
3 liters / 12 cups good quality chicken and/or vegetable stock (I used Aneto chicken stock)
1 liter / 4 cups water
5-10g / 1-2 tsp salt
1/3 cup / 80 ml apple cider vinegar
chopped fresh parsley for garnish, optional
DIRECTIONS
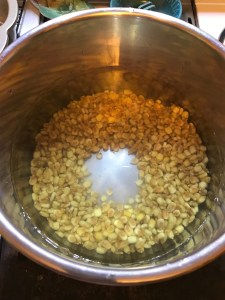
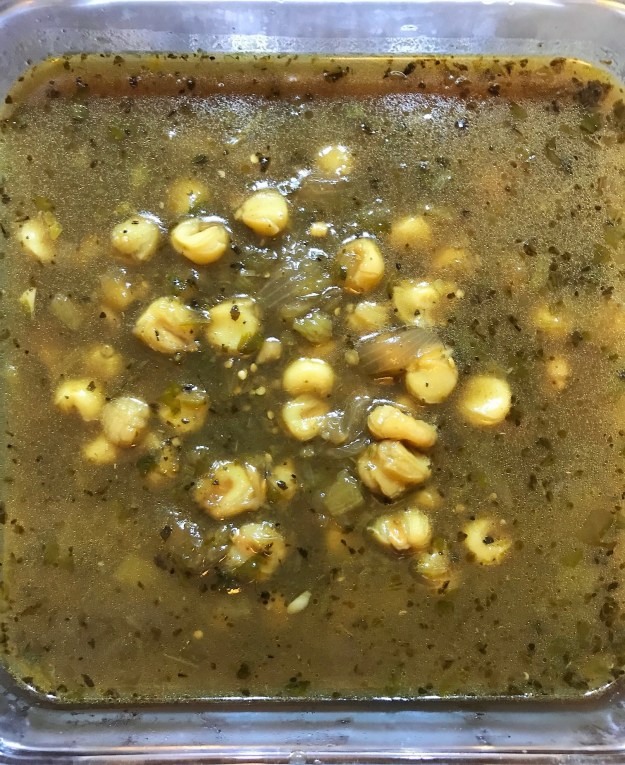
Rinse beans thoroughly, then drain (whether you’re using canned or dried beans). [This is where you would add the dried beans and two liters of stock to the Instant Pot®, if you are going that route. Add the 1/2 kilo / 1 lb. of dried beans and about 2 liters / 8 cups liquid (I used all stock). Cook according to instructions. For more recommendations on cooking times, check here and here.] My unsoaked Cassoulet beans took 48 minutes on high pressure in the Instant Pot®, with a natural release (I’m told this helps to keep the bean skins from splitting). Should you choose, you can use the stovetop method to cook beans pre-soaked overnight (or dried beans straight from the packet should you choose). When beans are soft, set cooked beans and stock aside.
Here is where the two paths diverged in the wood. First, I will lay out the stovetop version. Then, I’ll include the Instant Pot® shortcut, for those of you who care to use it.
STOVETOP VERSION
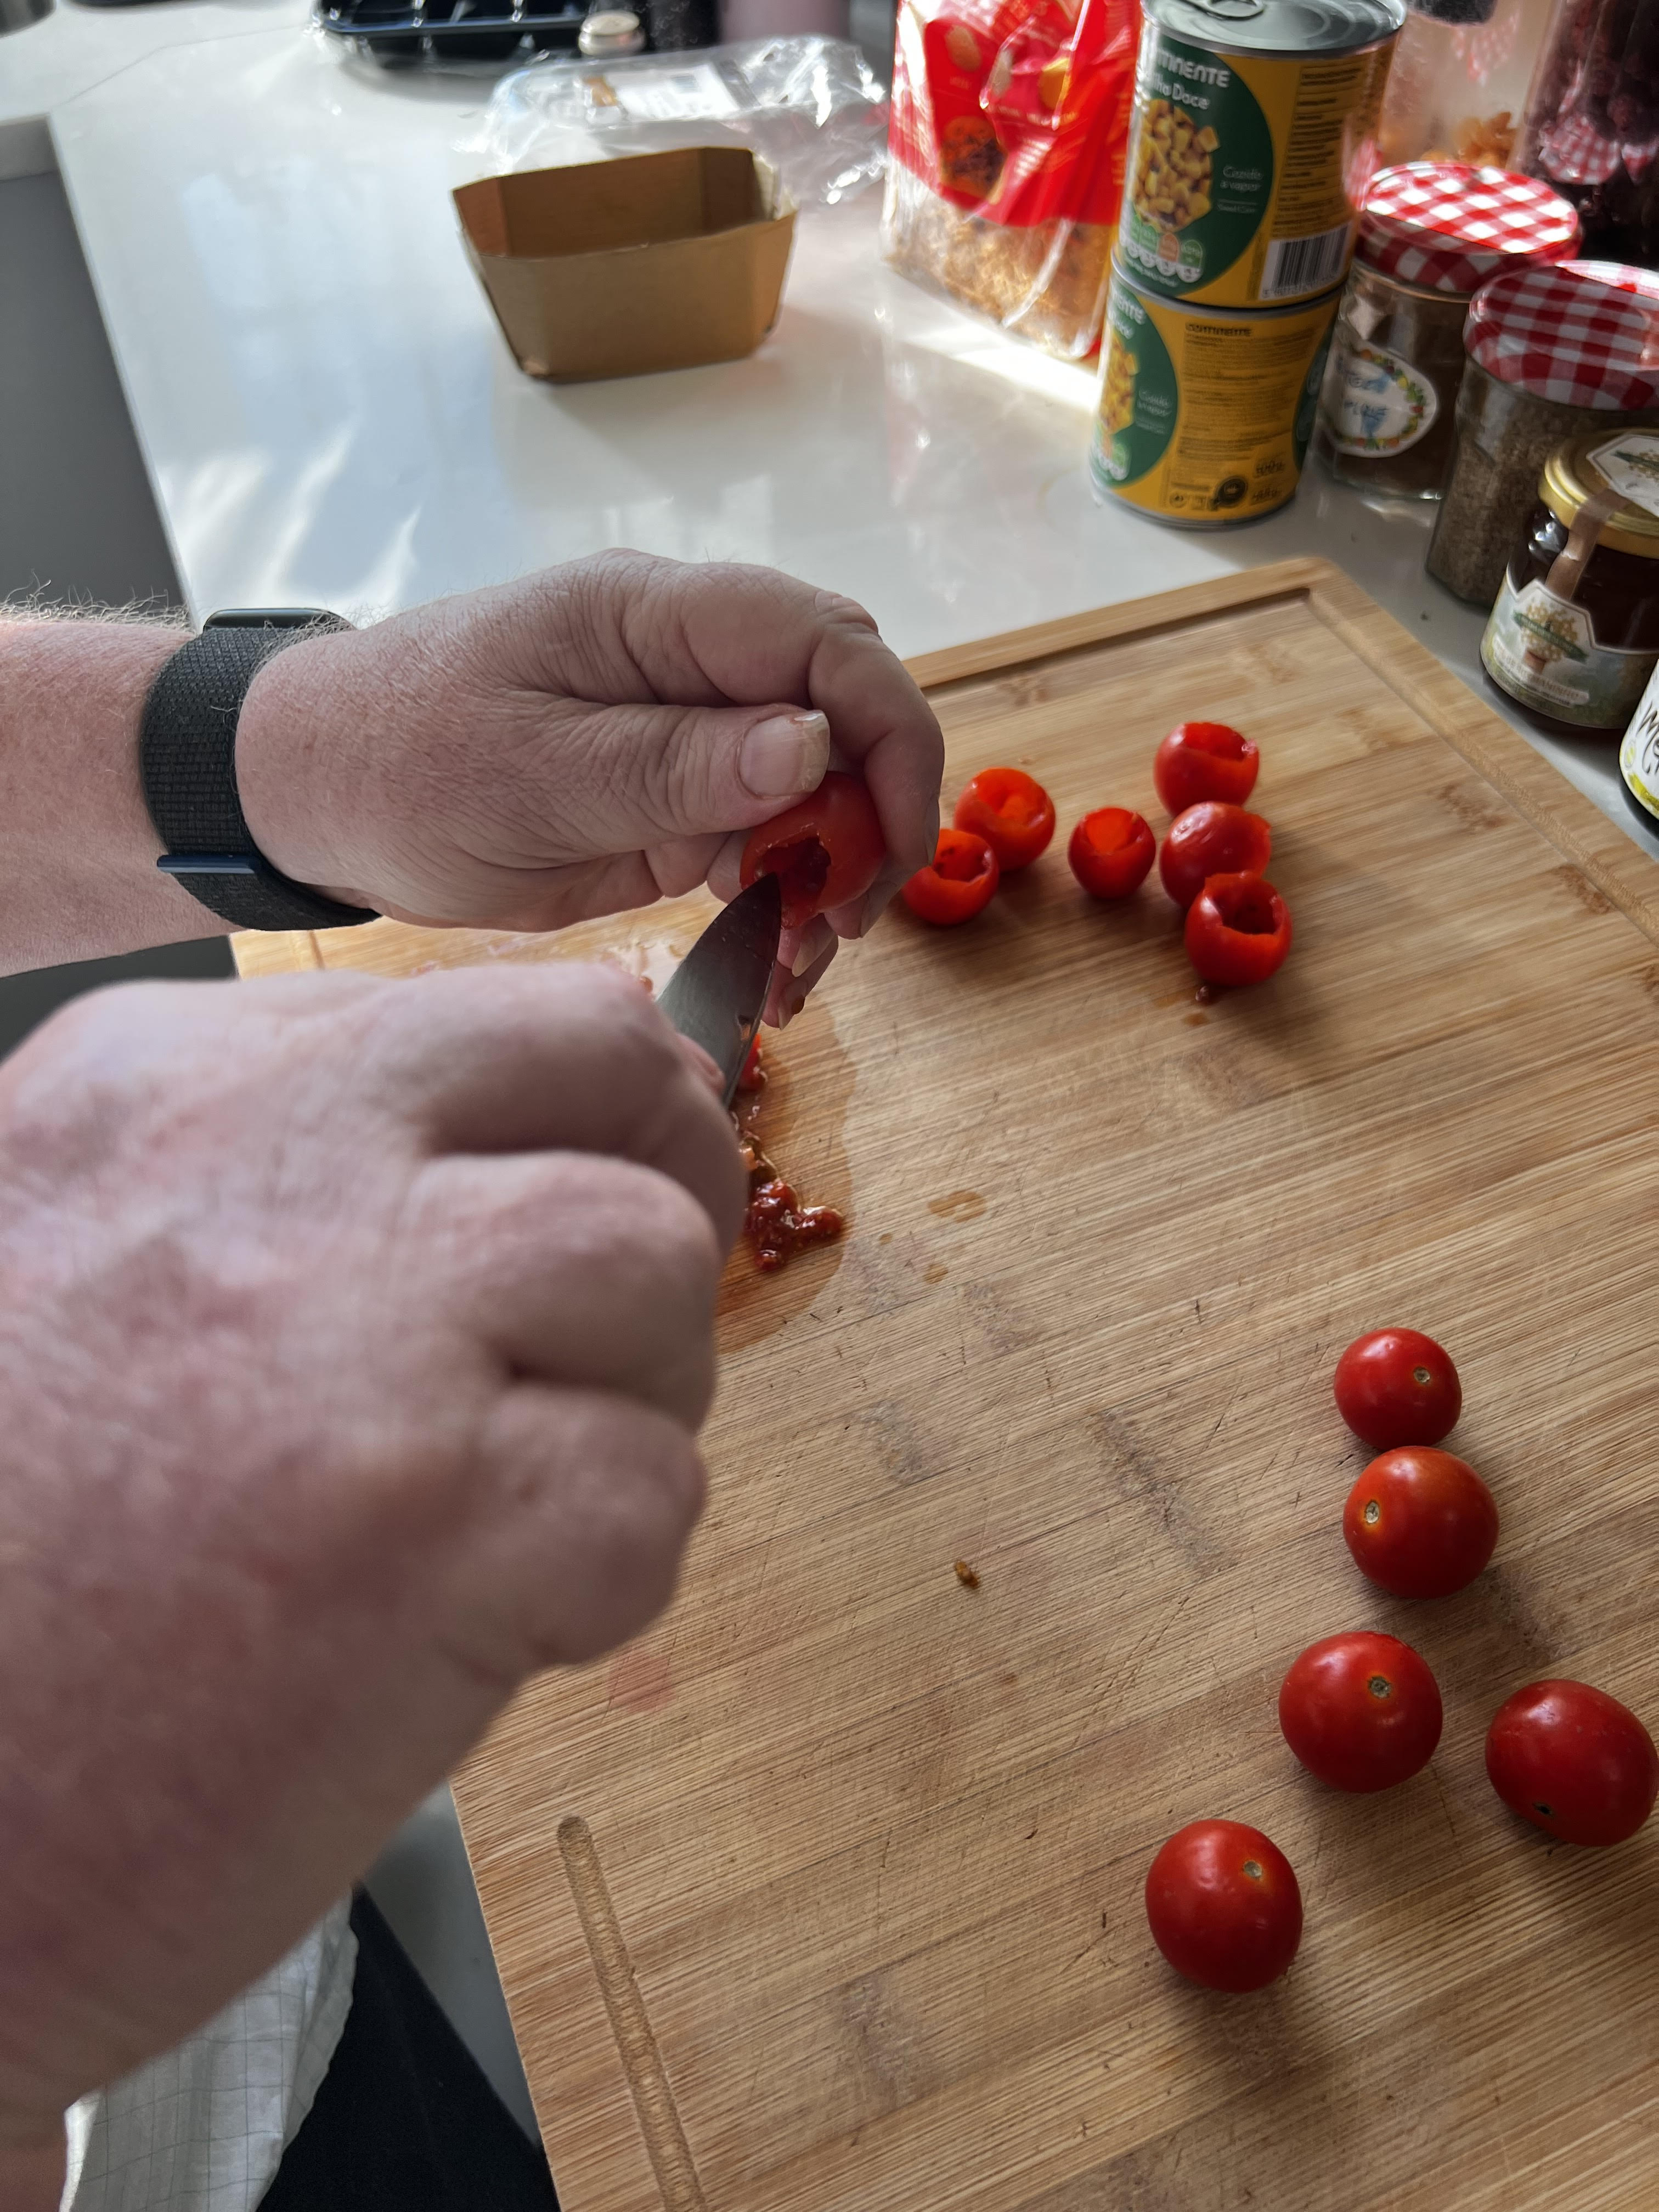
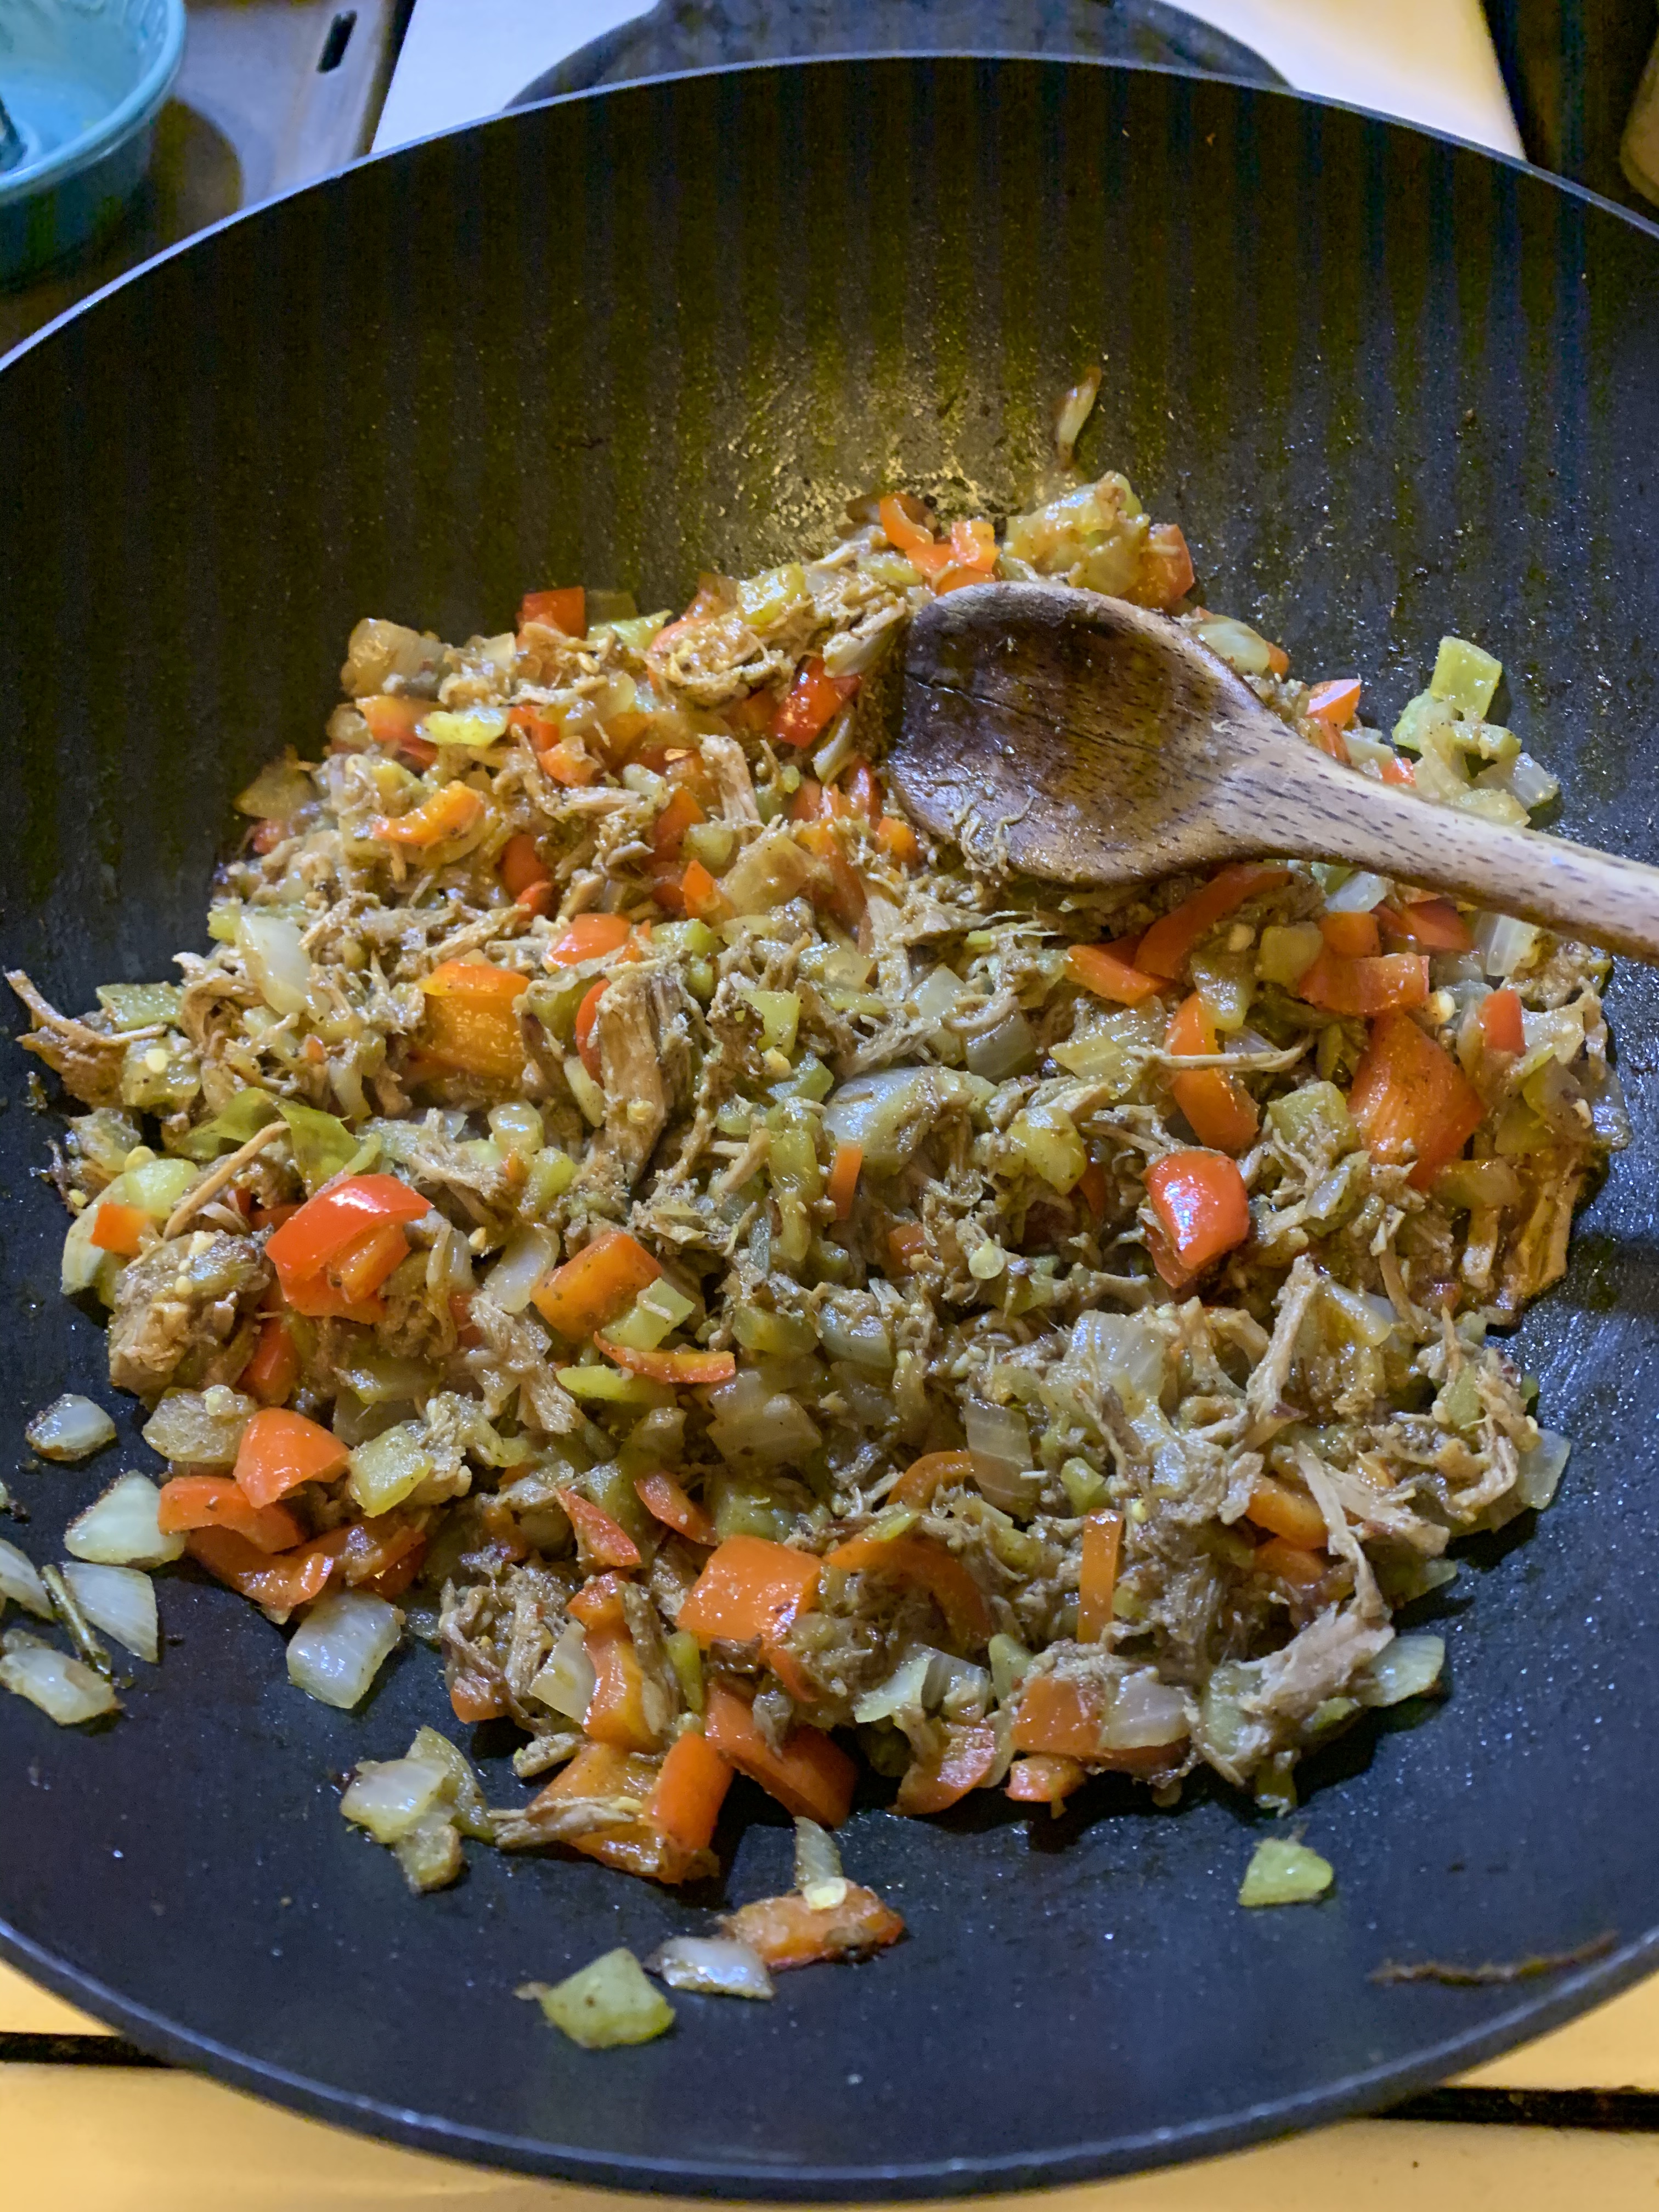
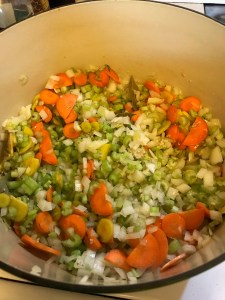
Dice onion; mince garlic and celery. Cut carrots into coin-size slices (if the “coins” get to be larger than a quarter or a 2€ coin, cut them in half). Strip collard green leaves from their tougher stems, slice (or tear) the leaves and dice the stems (skip this last bit if using canned collard greens).
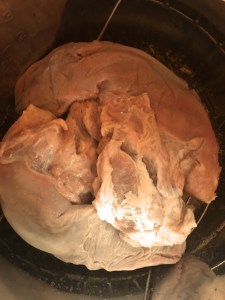
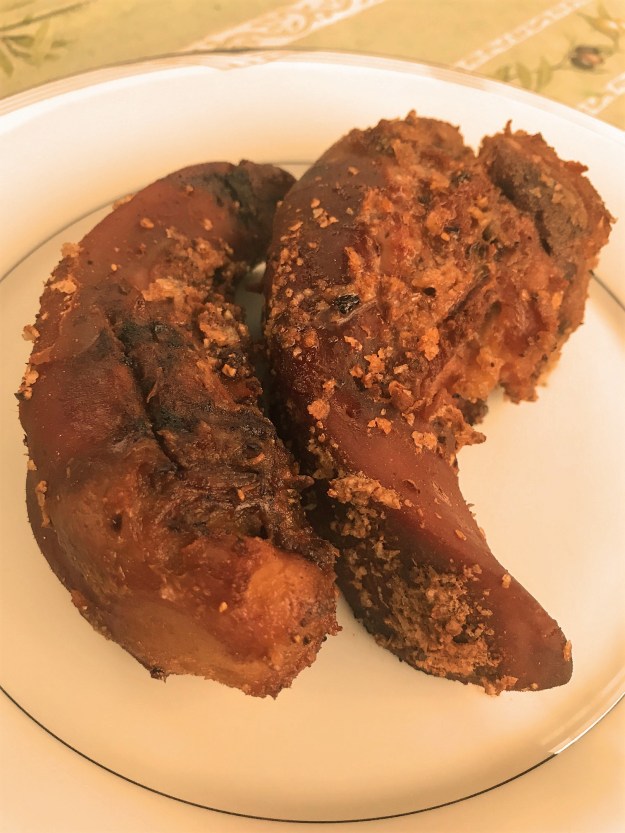
In a large soup pot, heat the olive oil. Then season the Andouille links with a little salt, leaving them whole, and brown them for about 10-12 minutes, or until cooked through and browned on all sides. Remove links from pot and let them cool.
Deglaze the browned bits with a little water, stock, or wine. Make sure to give pot a good scrape.

The liquid and browned bits will add depth to your stock base. Plus, you’ll have pre-cleaned the toughest stain in the pot.
[NOTE: If using Instant Pot® shortcut, skip to shortcut below, then come back here.]
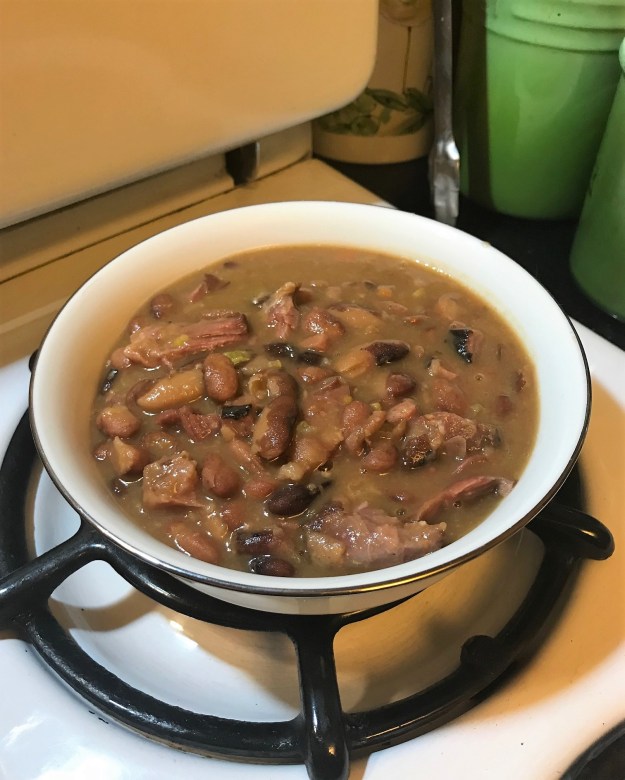
Sauté the onion, celery, carrots, collard greens, thyme sprig, and garlic for about 7 minutes, until soft without colouring (the celery and the collard stems will take longer, so don’t wig out if they’re still a little al dente). While the vegges are in sauté mode, slice or crumble the cooled Andouille sausage. Add the beans and stock you set aside earlier, the extra liter of stock (if you’re not using the Instant Pot® shortcut), Andouille, vinegar, and water, along with a little salt. Bring to a low boil and then reduce heat. Simmer for about an hour or more, or until celery and collard green stems have softened to desired degree. Adjust salt and vinegar, if necessary; discard thyme sprig. Ladle into bowls and add optional shredded parsley leaves for garnish.

The Instant Pot® softens up those tough veggies real quick.
INSTANT POT® SHORTCUT
Instead of adding celery and collard green stems and thyme sprig to the main soup pot on the stove, put them into your Instant Pot® with a liter of the stock, set to high pressure for 7 minutes on the Bean/Chili setting, making sure vent is set to Sealing. When done, you can use either natural or instant release. [If you choose the latter, take care to avoid escaping steam.] Discard thyme sprig and add remaining contents to main soup pot. Continue with recipe as above