Four years ago almost to the day, I was listening to National Public Radio (on KPCC in Pasadena, one of the two NPR stations to which I donate). I heard a woman hitherto unknown to me named Dorie Greenspan wax poetic about a French recipe that seemed to be the most delightful non-dessert pumpkin dish imaginable; she simply called it Pumpkin Stuffed with Everything Good. Intrigued by the concept, I purchased her most excellent cookbook (Around My French Table: More Than 300 Recipes from My Home to Yours), and I’ve made it a number of times, with great success. [Her version is simpler than this one, because there’s no pre-cooking involved; you just slice and dice and stuff and cook. Or, as the French, say, “Voila!” But hang with me here, and you’ll see where I was going.]
As I walked into the market this past Thursday, a cart piled high with gorgeous sugar pie pumpkins greeted me, and I was inspired to take a shot at reinventing the dish with a Southwest/Mexican flair. This is a fine way to introduce pumpkin into a Thanksgiving meal in some form other than pie, and it’s a remarkably flexible recipe. In many ways, this “recipe” sort of resembles a road map, with a thousand thousand routes that will all lead you from your point of departure (the kitchen) to your destination (the table).
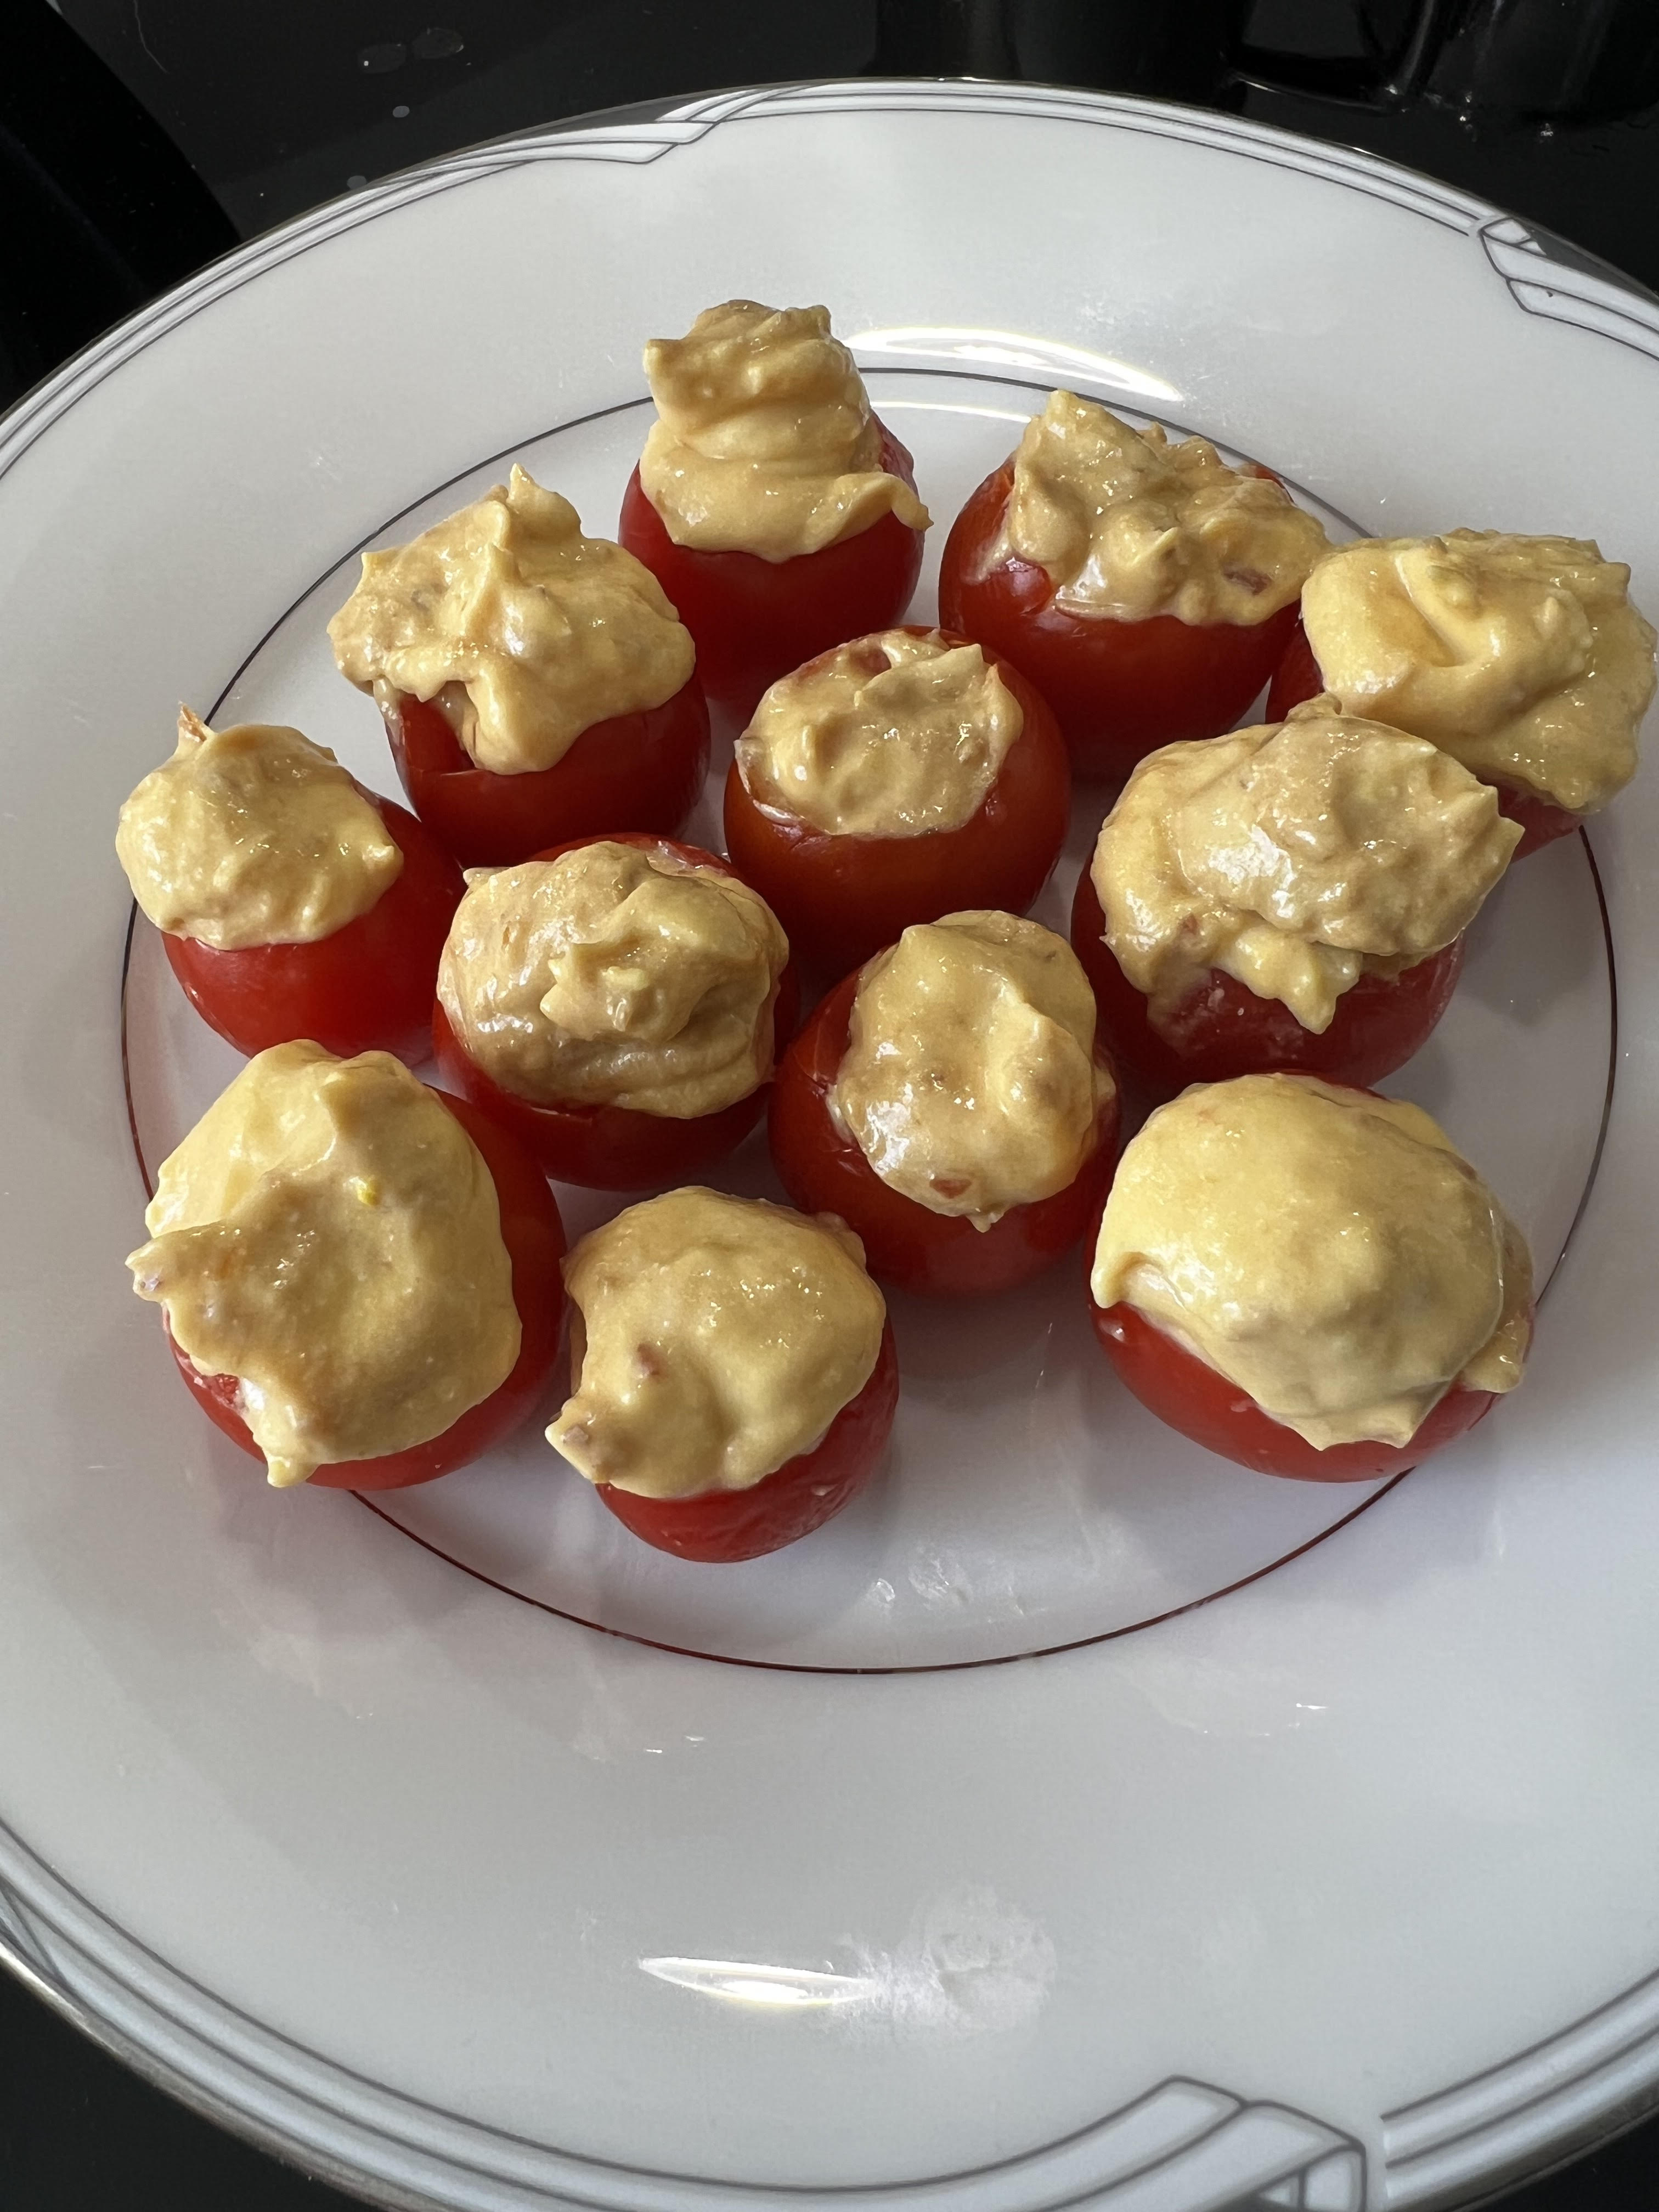
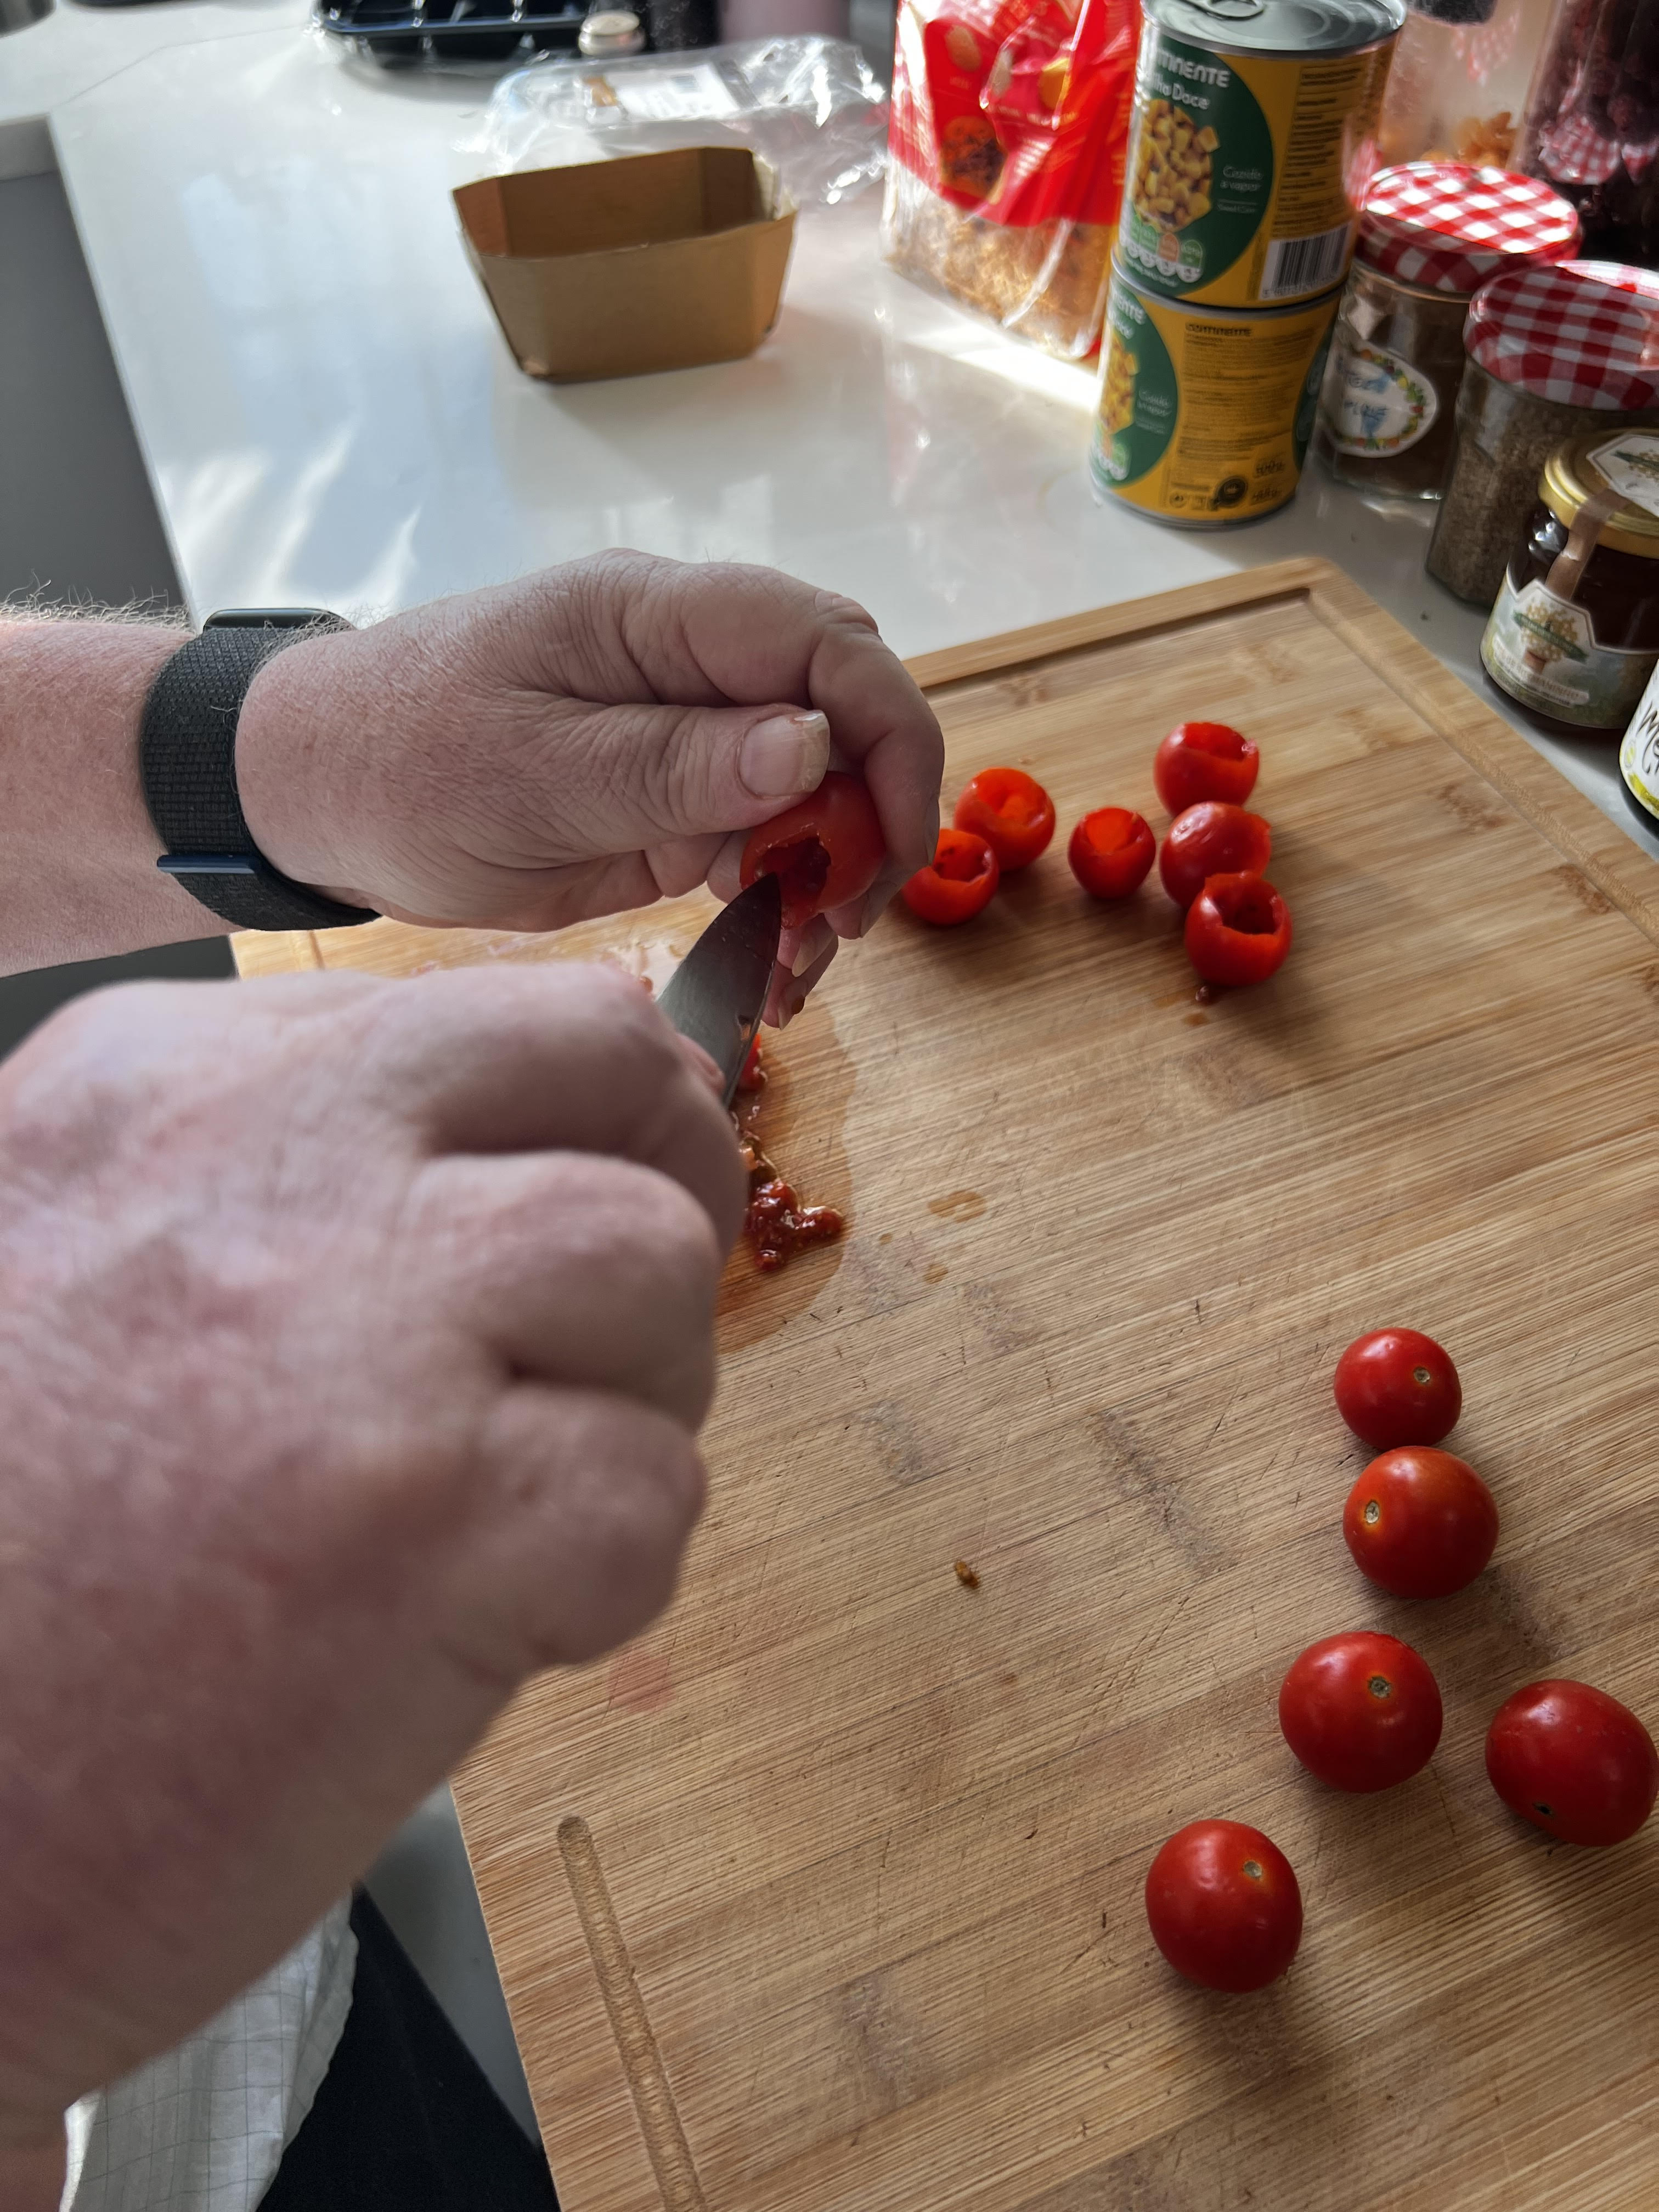
You’ll want to note that all measures are approximate, because the pumpkin sizes will vary widely, but if you have leftover stuffing, you can always wrap it in tin foil (or, if you’re trying for a little more Southwest authenticity, a banana leaf or two), and cook it alongside the pumpkin. Arranging and wrapping the banana leaves in a way that will keep the liquid from seeping out may be something of a challenge, but it’s manageable.
This version is gluten-free; it can easily be “veganized” by substituting your favourite vegan cheeses, and full-fat coconut milk for the cream (the reason I suggest the full-fat coconut milk as opposed to soy-, rice-, or almond milk is that the coconut milk better replicates the creamy mouthfeel).
CALABAZA RELLENA CON TODO LO BUENO
(PUMPKIN STUFFED WITH EVERYTHING GOOD, SOUTHWEST STYLE)
Ingredients:
1 pumpkin (approximately 3 lbs/1.5 kg)
1 can (15.25 oz/432 g) corn, drained
4-6 slices of stale bread, cubed (I used Whole Foods’ Sun-Dried Tomato and Roasted Garlic Gluten-Free Bread)
12 oz/345 g Monterey Pepper Jack cheese, shredded (you could also use Cheddar or Gouda or Manchego)
3 Hatch chile peppers (or Anaheim chile peppers), seeded and diced (or a 4 oz/113 g can of diced green chiles)
6-8 shallots, chopped
6-8 stems fresh cilantro leaf (also known as coriander leaf or Chinese parsley), chopped
2-3 cloves garlic (to taste), peeled, germ removed and coarsely chopped
1 tsp/1.8 g dried oregano
4-6 sliced of crisp bacon, crumbled
2 links chorizo (about 1/2 lb/0.25 kg)* [see note on chorizo below]
1 plantain, diced (optional)
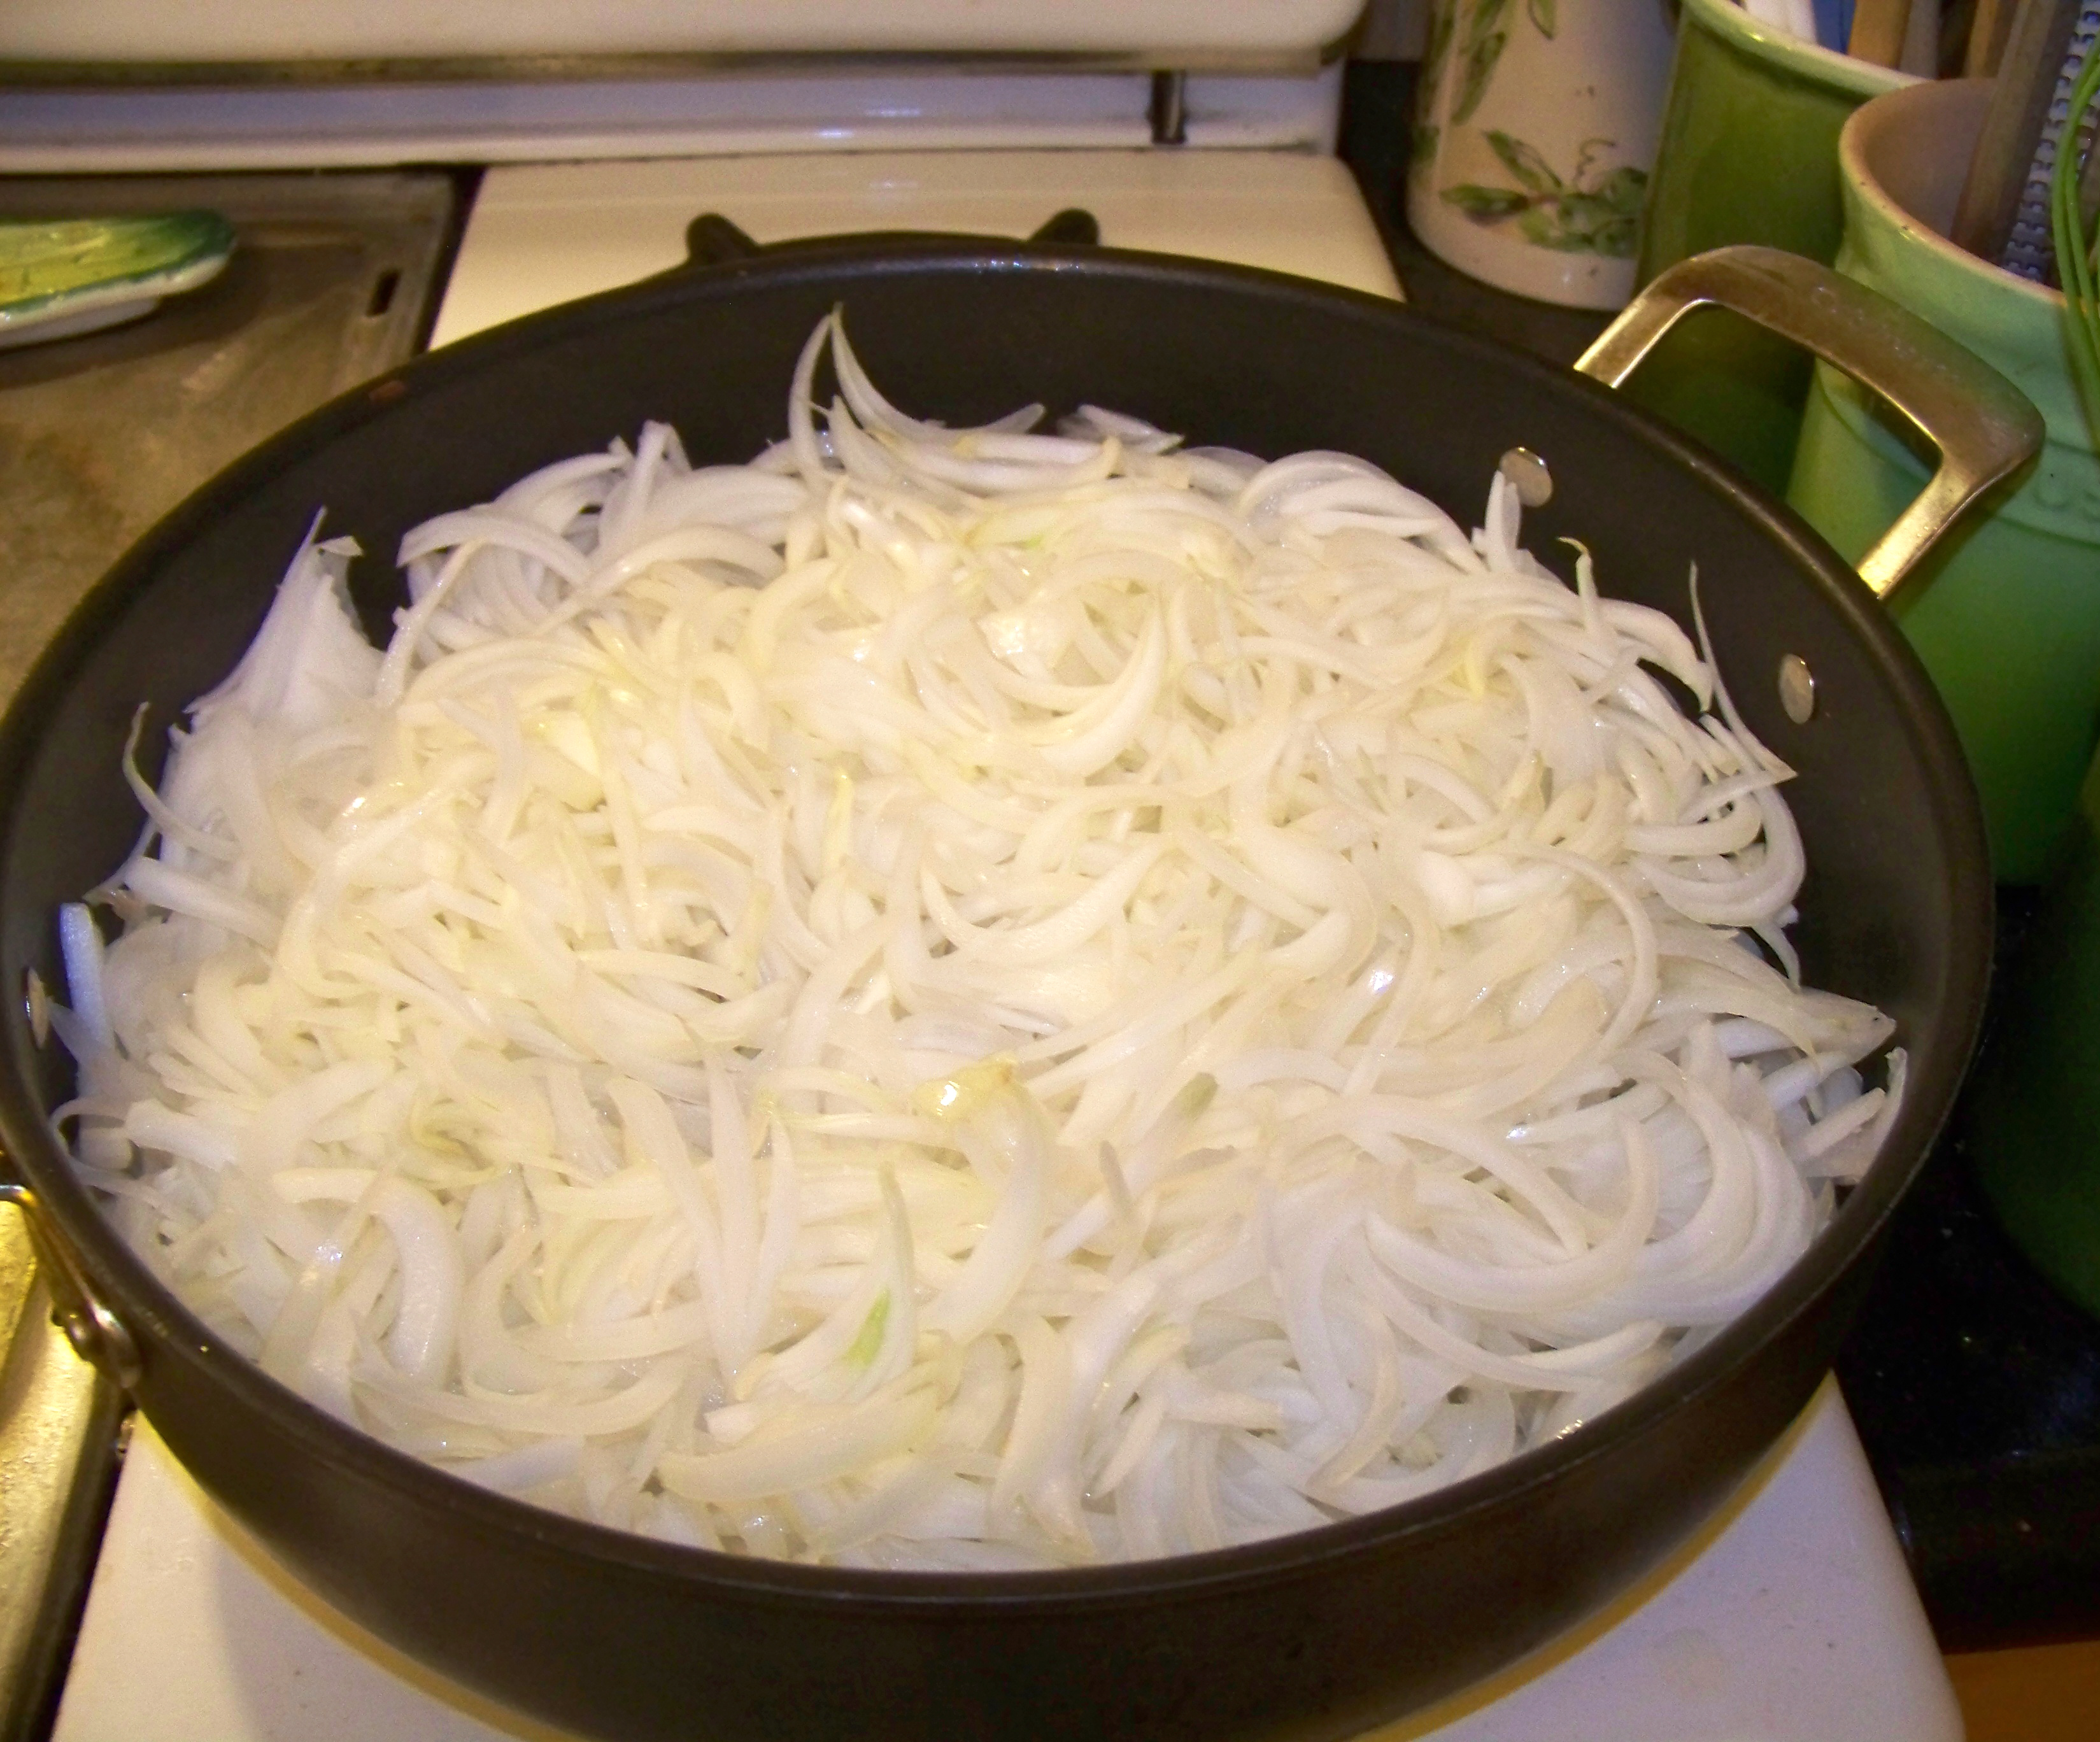
1 small or 1/2 large brown onion, diced
salt and pepper to taste
1/3 cup/80 ml heavy cream (or half and half, if you prefer)
2 tbsp/12 g Cotija cheese, crumbled or grated, for garnish (optional)
Fresh cilantro leaves, chopped, for garnish (optional)
3-4 banana leaves, optional (available at most Latino grocery stores)
Directions:
Center a rack in the oven and preheat it to 350°F/175°C. Line a baking sheet with aluminum foil, parchment, or a silicone baking mat so that if the pumpkin innards boil over (which they sometimes do, a bit), they don’t soil the inside of your oven.

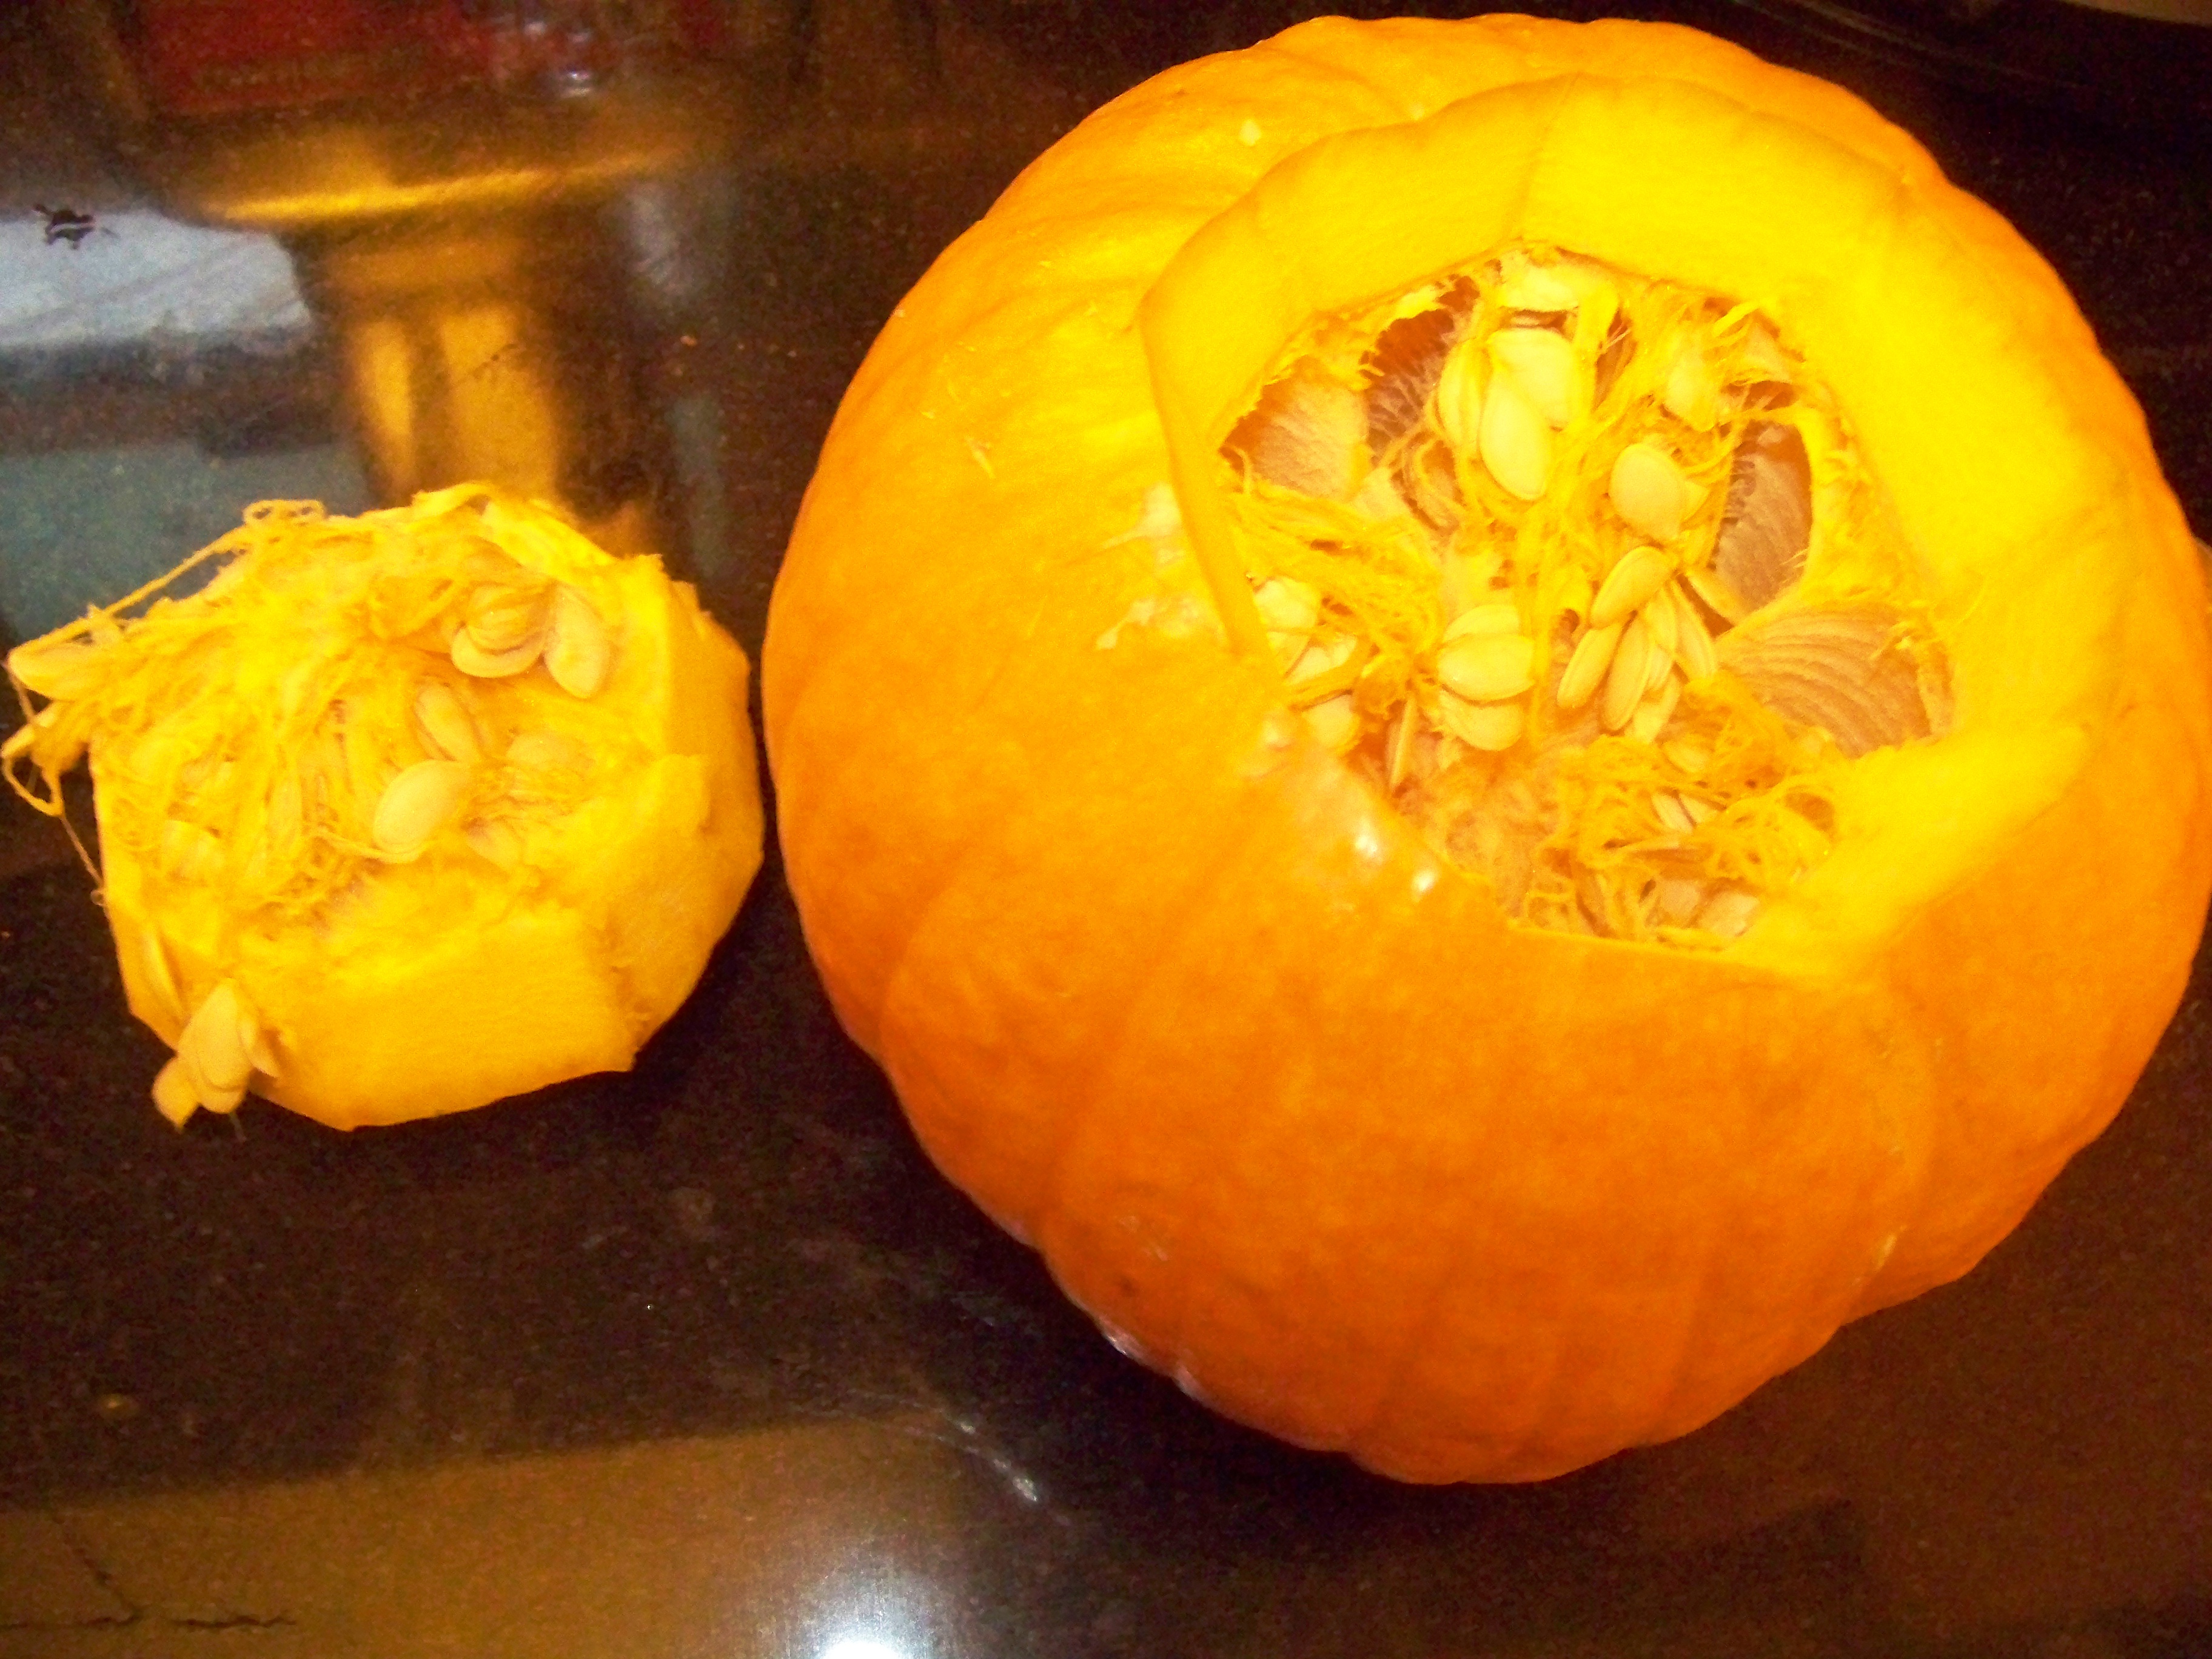
This pumpkin needs a cleaning out.
Using a sharp and sturdy knife, carefully cut a cap out of the pumpkin’s top the way you would if making a Jack-o’-lantern. [Ms. Greenspan’s suggestion is to cut at a 45-degree angle. But be careful; the pumpkin rind is tough. I find that a stabbing motion, a la Psycho, is emotionally satisfying, but it’s your call.] The opening should be large enough for you to work inside the pumpkin. Clean the strings and seeds from the cap, and set it aside (we’ll be using it later). Scoop out the loose guts (again, strings and seeds) from the pumpkin’s interior. [The seeds can be cleaned, salted, and roasted later, should you desire, or you can toss them.] Season the inside of the pumpkin with salt and pepper, and place it on the baking sheet.
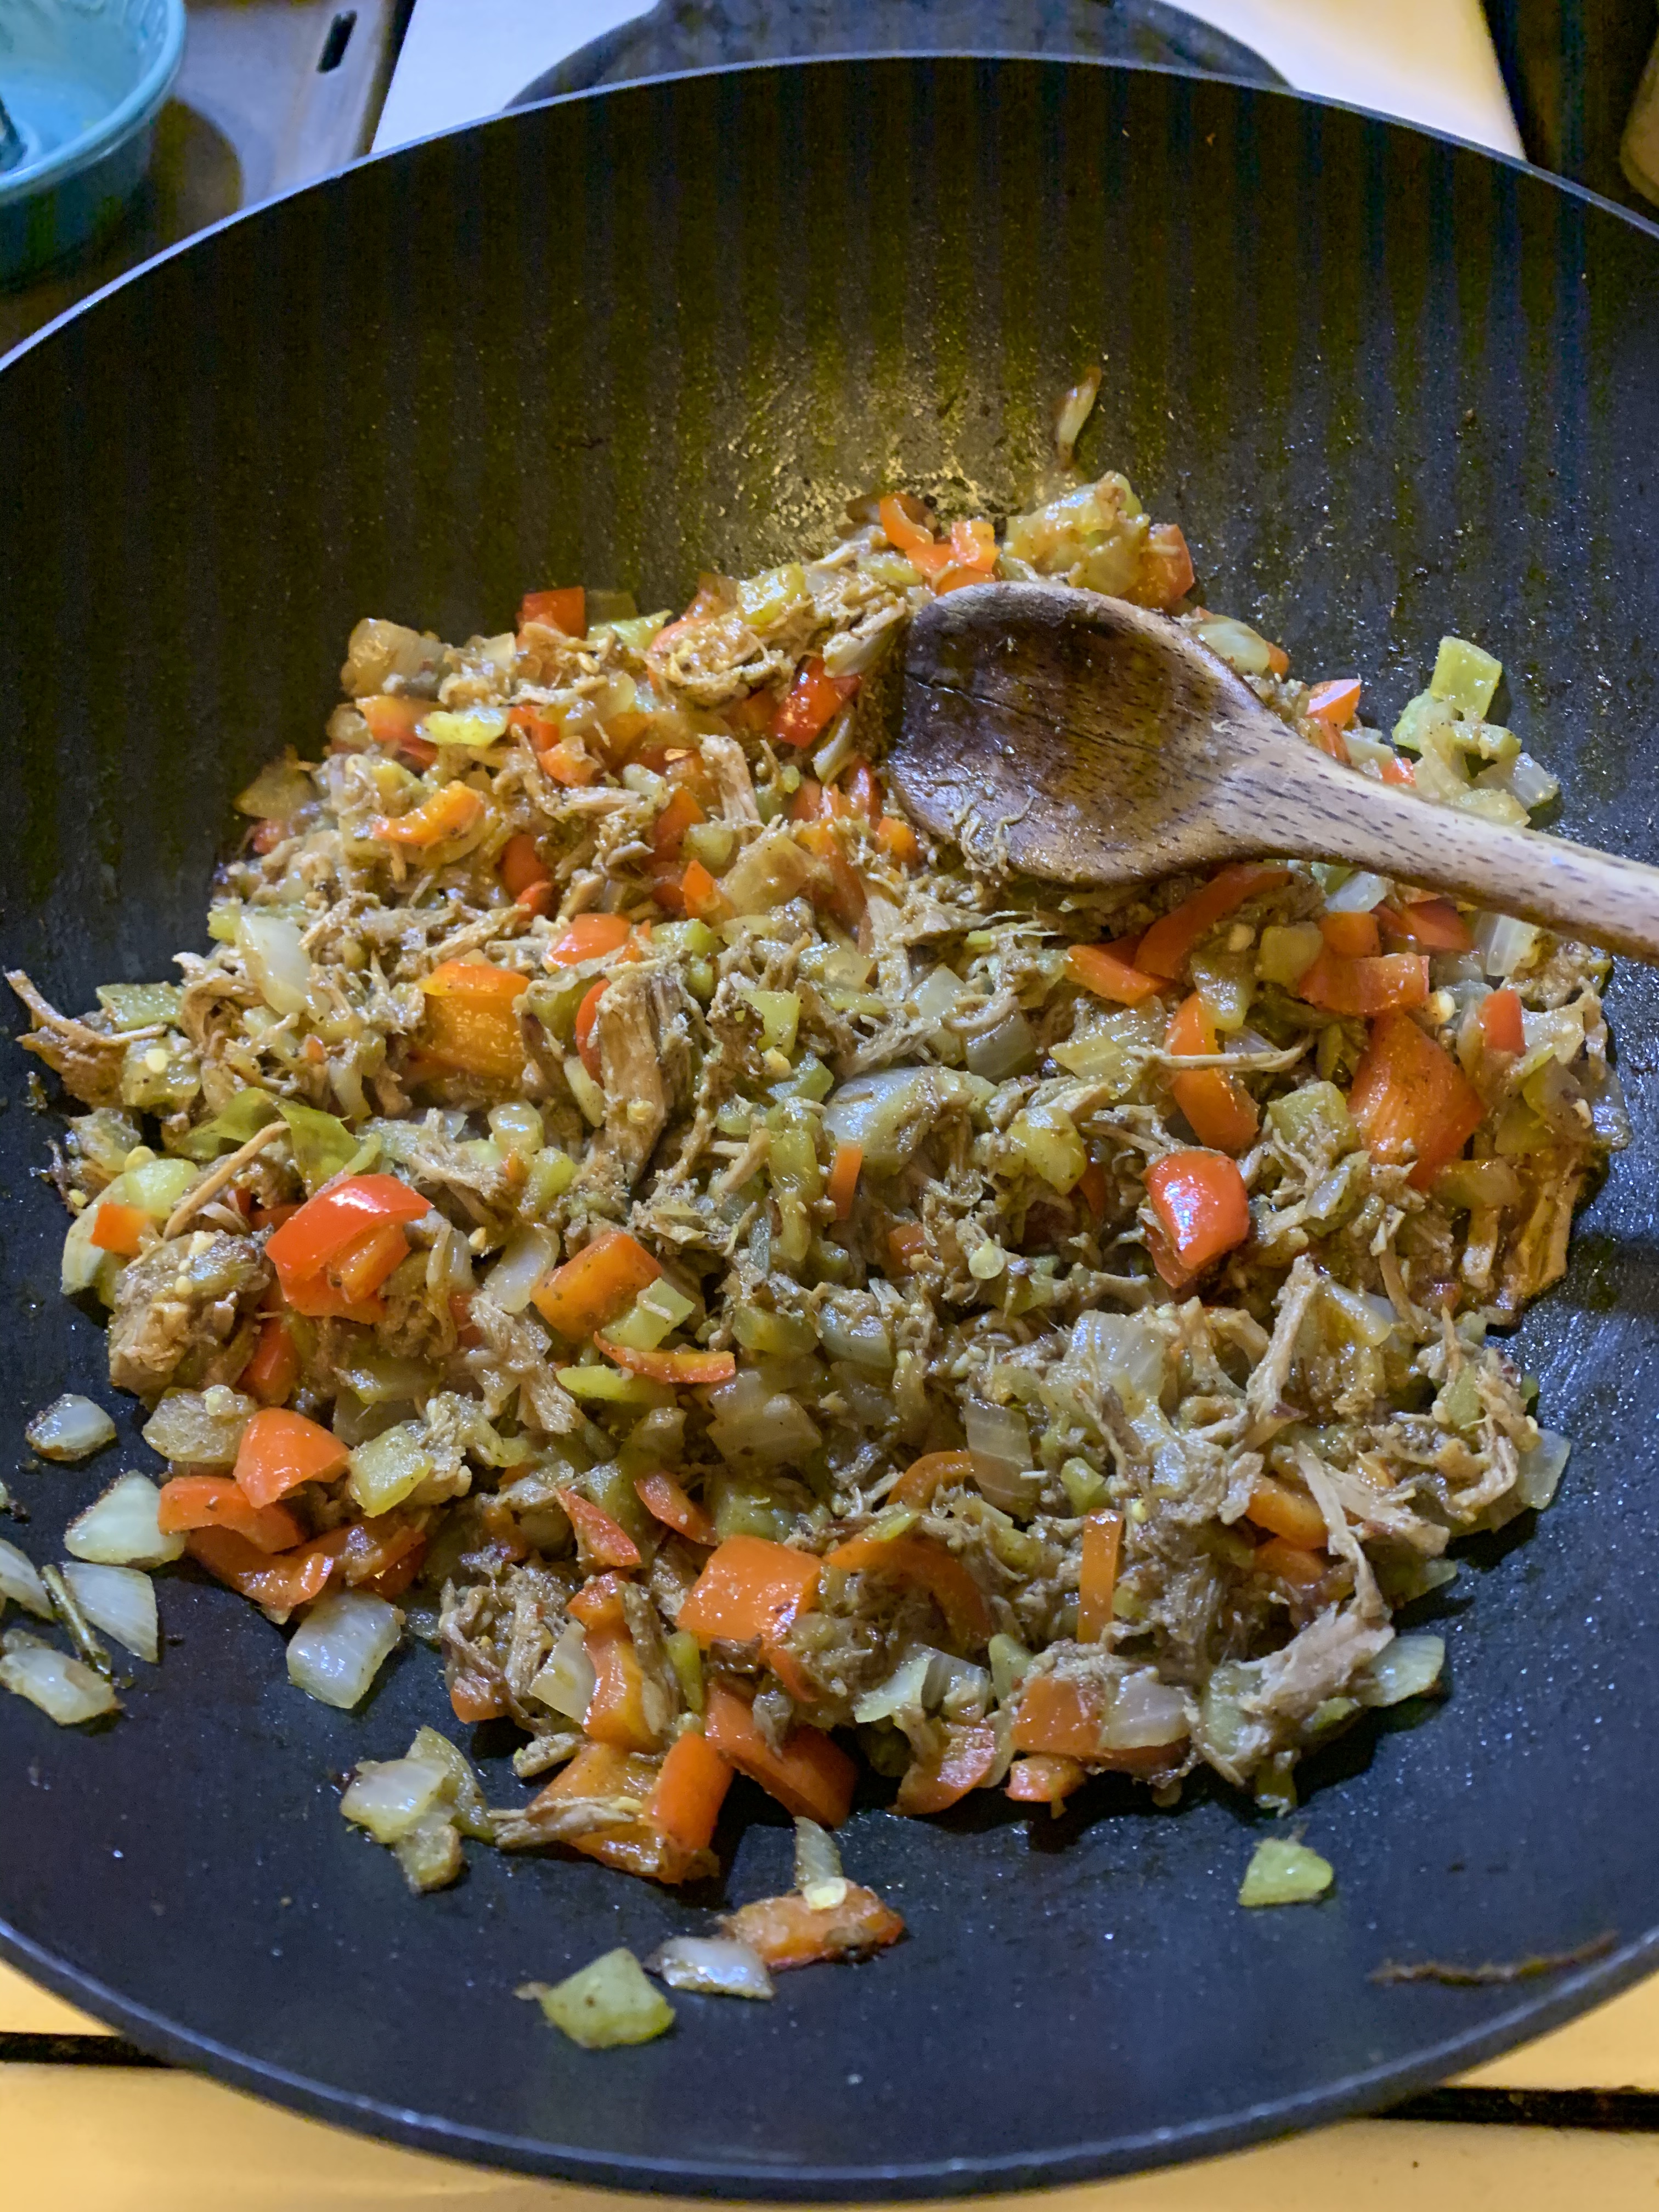
Chorizo and onions and plantains, oh my!
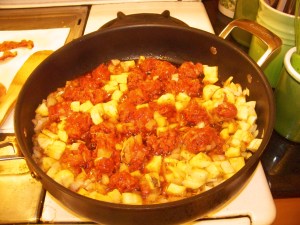
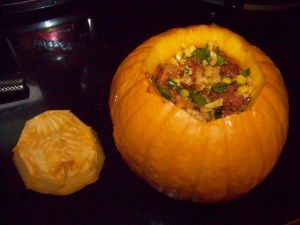
Heat a frying pan and cook the bacon until crispy, then let it drain on a paper towel. Peel the plantain and dice it into quarter-inch cubes. Remove the chorizo from its casing and put it, the chopped plantain, and the chopped onion into the still-warm frying pan (which should still have bacon grease in it, so no need for oil), being careful not to splatter hot grease. Cook for about 8-10 minutes, breaking up the lumps of chorizo, and stirring occasionally. Remove plantain, onion, and chorizo from pan with a slotted spoon (or drain in colander over a ceramic or Pyrex bowl, as you don’t want that grease going down your sink) and place in a large bowl. Add the bacon, bread, peppers, cheeses, scallions, garlic, cilantro, and oregano, then toss. Season with a bit of freshly-ground black pepper, and pack the pumpkin with the mix, leaving enough room for the cap to fit back on. [We’ll come back to what to do with any extra filling a little later.] Pour the cream into the pumpkin, and use your judgement to decide whether you need to use all of it; it’s for moistening the ingredients, not immersing them.
All stuffed up…
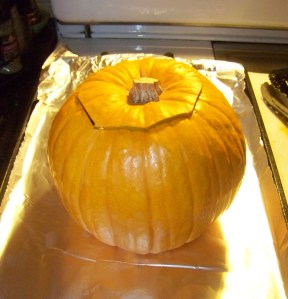
…and capped for cooking.
Replace the cap and bake the pumpkin for about 2 hours — check it after 90 minutes — or until the pumpkin filling is bubbling and its flesh is tender enough to be pierced easily with the tip of a knife. You may want to remove the cap for the last 20-30 minutes of cooking to brown the top and evaporate some of the liquid.
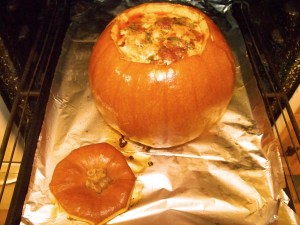
Note the colour change on the pumpkin. Gorgeous.
IF YOU HAVE LEFTOVER PUMPKIN STUFFING…
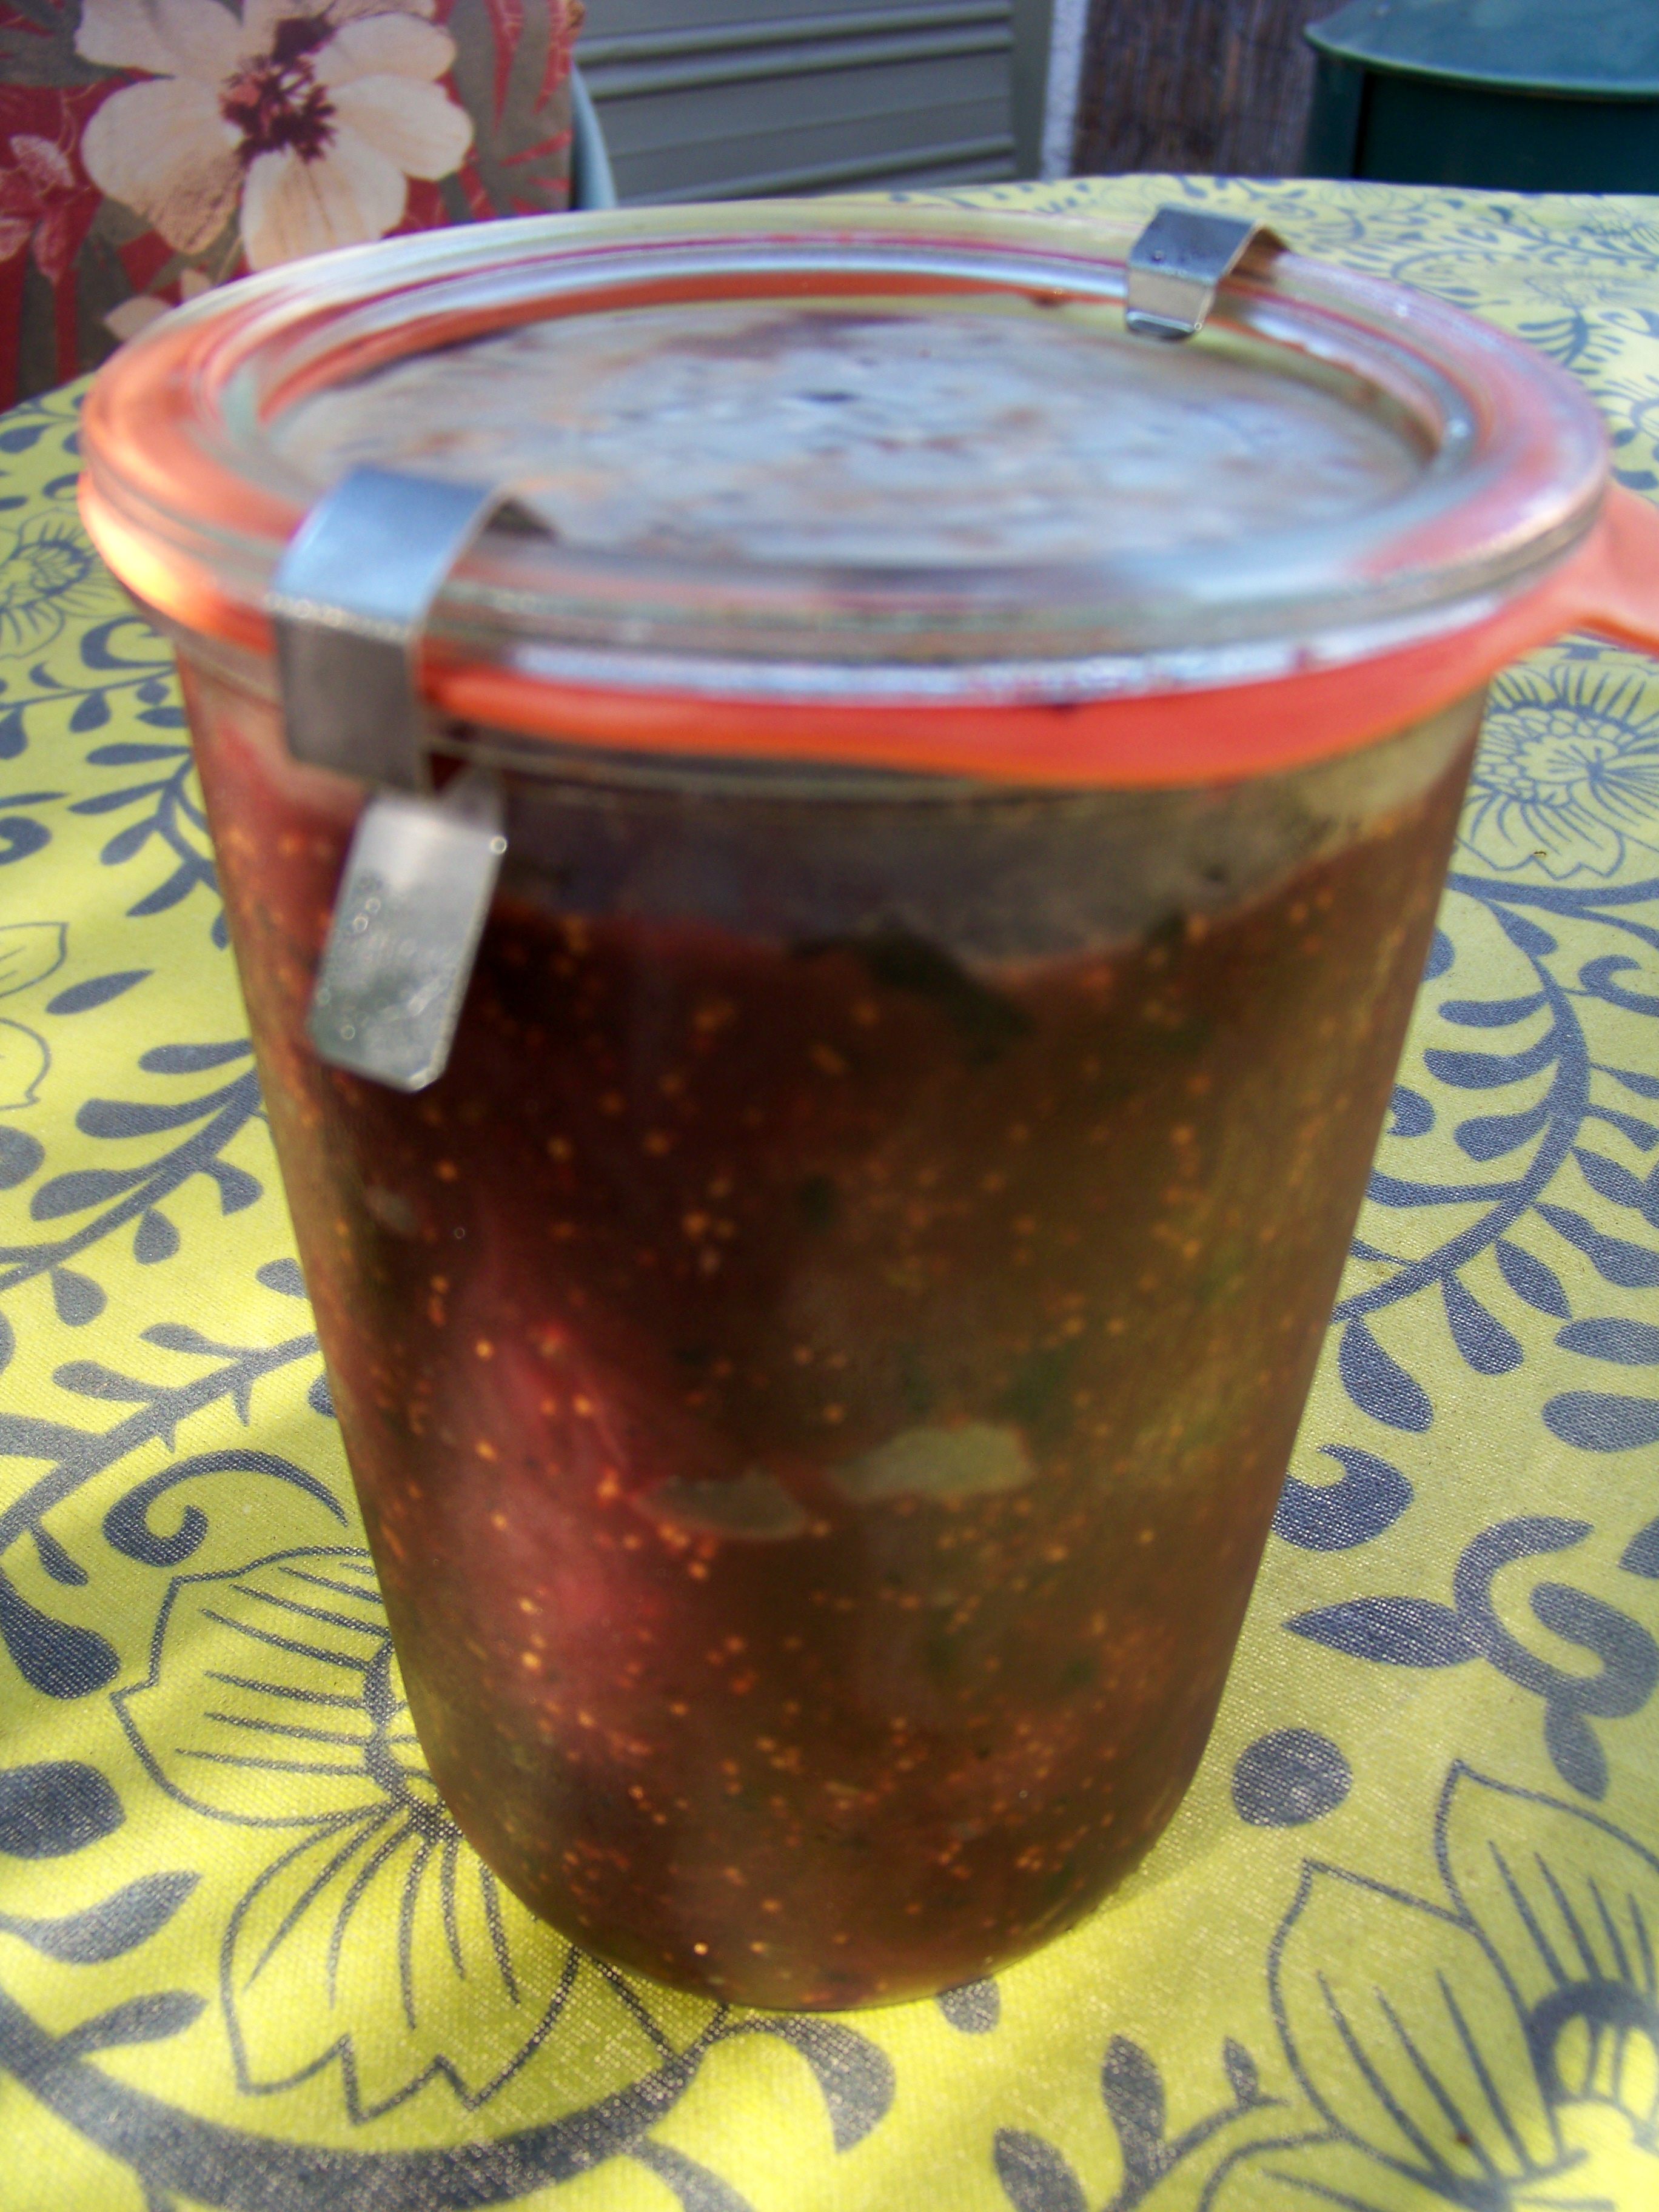
You can moisten it with a little cream (not too much!) and wrap it in a banana leaf, seal it in tin foil, or even put it in a small covered casserole dish, and roast it alongside the pumpkin on the baking sheet. It can come out after 60-75 minutes (after all, it wasn’t insulated by all that pumpkin flesh), but even if you forget, it should still be plenty moist. Alternatively (as this recipe yielded just about enough for TWO small pumpkins), you can freeze the remainder, making the next pumpkin-stuffing party all that much quicker.
Serving:
When the pumpkin is ready, allow it to rest on the baking sheet for about 5 minutes or so before trying to move it. Then, carefully transfer it to a platter and bring it to table. Remember, it’s hot, and the cooking will have reduced the pumpkin’s structural integrity, so take your time. It can either be cut into wedges with the filling spooned over, or you can scoop out pumpkin flesh and filling together. Garnish with the chopped cilantro leaves and/or Cotija cheese. Depending on the size of the pumpkin, the size of your guest list, and the size of your appetite, it can serve as either a main course, or the perfect accompaniment to a turkey or some other fowl.

A little Cotija, and now the stuffed pumpkin is ready to return the favour and stuff you.
*A NOTE ABOUT CHORIZO: Depending on where you live, the sausage known as chorizo may come in one of two forms. Typically, in Southern California (where I live), it comes in a loose, uncooked state, sometimes packed in a typical intestinal sausage casing (or a plastic one), but it is also sometimes sold without a casing, much like any spiced ground meat. In many other places, including my homeland of Canada, chorizo is generally sold fully cured and has a texture not unlike a dry salame. Either one of these will work, but it’s entirely unnecessary to fry the dried version of chorizo; it can merely be diced (about 1/4 inch is good), and added to the pumpkin stuffing mix just like any of the other ingredients. [You should, however, peel off the casing before dicing it.]