2024 seems to have been the big year so far for AI, including my WordPress account, which now allows me to generate hilarious (and a little creepy) photos to go along with my posts. Suffice it to say that the picture above is NOT the tomato soup I made (or anyone made, for that matter). But I will give you a shot of the real thing later in the post.
The inspiration for this soup came from an article in the Washington Post that my bride sent me, and while I originally planned to be fairly faithful to it, I wanted to make a larger batch than the author intended, and I wanted to play with the concept (fennel seeds just weren’t what my palate was craving in terms of spice). But chef Becky Krystal‘s basic idea remained in place: Build the soup from tomato paste, sun-dried tomatoes, and canned tomatoes, each of which would bring its own element of zing to the finished soup.
A mug of this would make an ideal partner for a grilled cheese sandwich, but that’s another post for another day.
4X Tomato Soup
Makes about 12 cups (about 3 liters)

INGREDIENTS
100 g sun-dried tomatoes, chopped and covered in olive oil overnight; OR
2 jars (200 ml / 7 oz) oil-packed sun-dried tomatoes (chopped, but reserve the oil!)
2 medium onions (16 oz / 450 g), diced (I used both yellow and red)
8 garlic cloves, thinly sliced
5 tbsp / 70 g tomato paste
3 tsp / 3 g dried oregano
2 tsp / 12 g sea salt, plus a little extra for taste, if needed
1.5 liter / 6⅓ cups low-sodium or no-salt-added vegetable broth
1 liter / 4¼ cups tomato juice (low sodium if available)
2 large (780 g / 28 oz) can whole peeled (or diced) tomatoes with their juices, preferably low- or no-salt
1 small (390 g / 14 oz) can whole peeled (or diced) tomatoes with their juices, preferably low- or no-salt
Freshly ground black pepper
1 tbsp / 5 g crushed red pepper flakes (optional)
Fresh basil leaves or fresh thyme leaves for garnish (optional)
DIRECTIONS
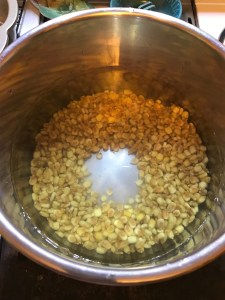
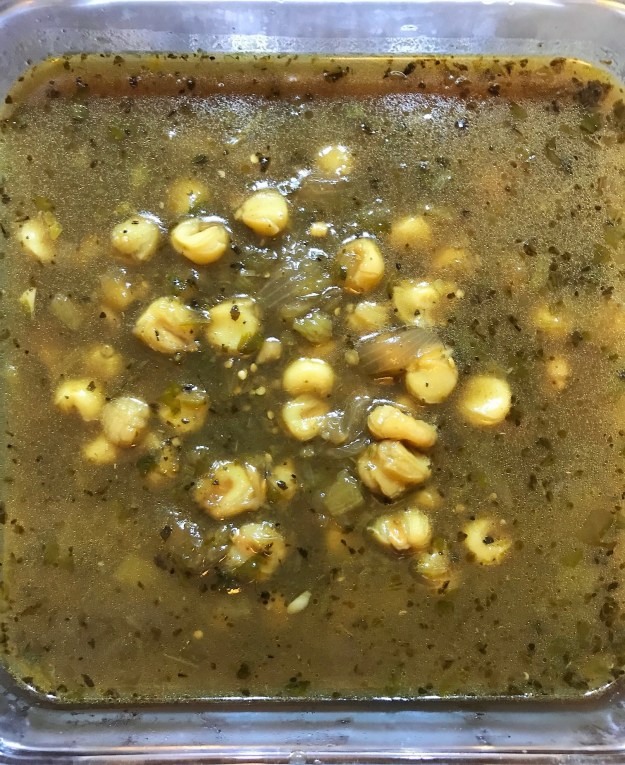
Separate the olive oil from the sun-dried tomatoes, add it to a soup pot on medium heat, and let it warm. Dice onions and add them to the oil, stirring to coat, and let them turn golden. Add sliced garlic, chopped sun-dried tomatoes, oregano, red pepper flakes (if you’re using them), and tomato paste, stirring continuously; allow them to cook for about a minute, until the tomato paste browns somewhat. Add the broth, tomato juice, and canned tomatoes (which you can break up a bit with your spoon). Be sure to scrape the bottom of the pot to dislodge any browned bits.
Warm over medium heat until just boiling, then back the heat off and allow to simmer for 30 minutes.
Process soup with immersion blender or in batches in a blender/food processor. [If you’re using either of the latter, fill the container no more than half full, and drape a towel over the input tube or lid to allow the steam to vent, or you will wind up with an unwelcome geyser of hot soup.] Adjust salt and pepper as necessary and simmer for five more minutes.
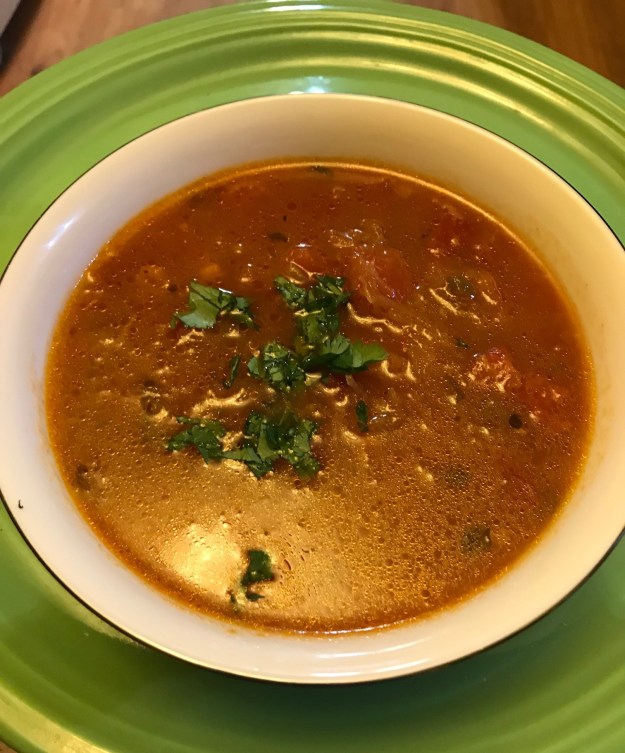
Ladle soup into bowls or mugs and garnish with basil or thyme leaves. I left mine a little rustic; for those of you who want a smoother soup, you could give it a pass through a food mill or sieve. If you desire something creamier, a dollop of crème fraîche or sour cream would be a tasty addition (substitute cashew cream or aquafaba if keeping it vegan or dairy-free is a priority). Should you want to add a little kick, some Tabasco® or piri-piri sauce will accomplish that nicely (especially if you left out the red pepper flakes in consideration of your Scoville scale-challenged partners, guests, or friends).

The pic above is the real deal, as served for dinnner earlier tonight. As you can see, it’s not completely puréed and strained, as the opening photo would suggest, though it could easily be done. When I make this again — and I will — I may substitute either basil or dill for the oregano. Kinda like moving it from B♭ to C; same melody, different key.