Split Belly (Karniyarik) — or — The Imam Fainted a Second Time When He Had a Mouthful of Meat

0
10237637-391f-406e-865f-da239fe55a04.jpeg

No, it’s NOT just stuffed eggplant! Well, maybe.

First and foremost, this is a recipe — well, actually a roadmap — for stuffed aubergine (a/k/a eggplant), loosely adapted from a Turkish recipe for karniyarik, which I have read translates literally to “split bellies.” I don’t speak Turkish, and I’m guessing you don’t either, so we’ll just have to rely on the experts.

Karniyarik is a meat-enhanced dish, apparently loosely based on a vegetarian version of stuffed aubergine known as Imam Bayildi (literally, “the imam fainted”). Some stories would have it that he fainted because it was so delicious, and I will take that at face value, because stuffed aubergine is indeed swoonworthy.

Those of you who follow the blog will know it’s not uncommon for me to plunge headlong down the rabbit hole of a recipe’s provenance and expression; this one was no different. I viewed no fewer than a dozen recipes, and found no definitive formula, nor did I discover its origin. I don’t consider the investigatory time wasted, though, because I discovered several variants on the recipe that may find their way into my oven sometime in the future. I have to hand big props to Chef John at foodwishes.blogspot.com, whose video popped up in my YouTube feed and started me down this road to begin with.

Typically, the meat in this recipe is ground, generally beef or lamb. As it happened, I had excess smoked pork shoulder hanging about in the fridge, so that was my meat of choice. The balance of my ingredients hew fairly closely to the harmonized medium of the canon: tomato paste, onion, garlic, cumin, peppers, etc. Some versions include cheese in the filling, but I wasn’t feeling it (although I might in future). Many would have you serve this over (or with) rice or orzo. Fine, but not strictly necessary.

f45b12ec-33a4-4ef3-933b-817b836e0729

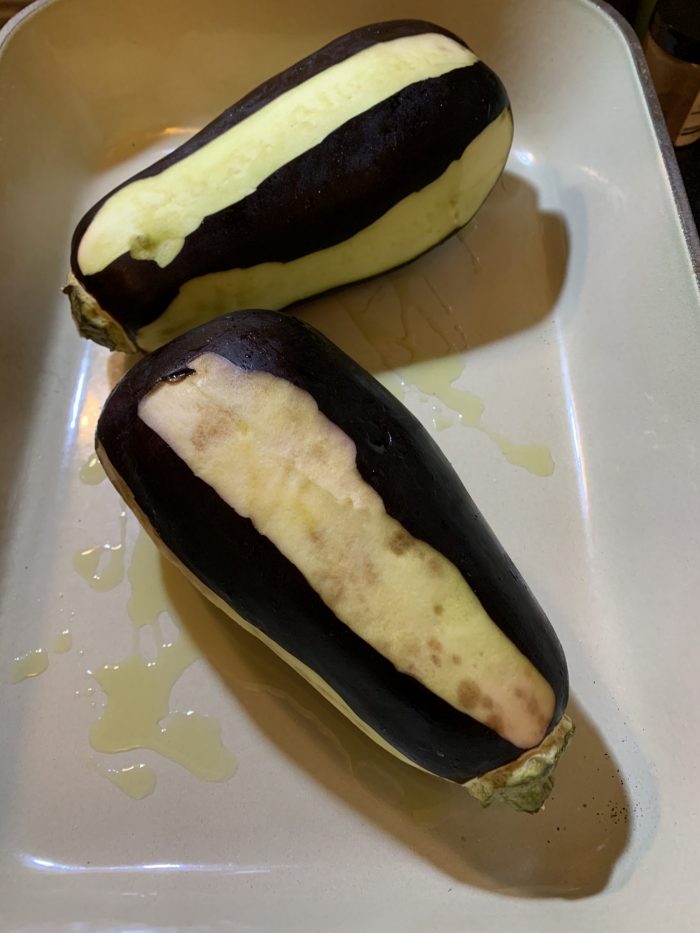
The semi-peeling keeps them from bursting, and gives you a flat surface they can sit on.

INGREDIENTS
2 similarly-sized aubergines (a/k/a eggplant)
.75 lb / .33 kg roasted pork shoulder, shredded
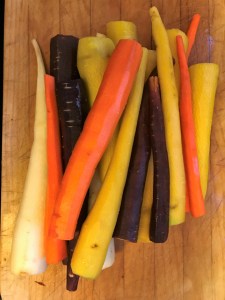
6 mini red bell peppers, diced
1/2 large or 1 small onion, diced
2 cloves garlic, minced
1 can (7 oz. / 198 g) diced roasted green chilies (with juice)
1 tbsp / 7 g cumin powder
1 tsp / 2.5 g ground cinnamon
2 tbsp / 15 g tomato paste
2 tbsp / 15 g Darrell & Nil’s Turkish Spice Blend*
salt and black pepper to taste
2 tbsp / 30 ml olive oil
1 cup / 250 ml chicken stock

*This is a custom spice blend made by some friends. It’s made from paprika, black pepper, cumin, coriander, allspice, cassia, sumac, oregano, Maras chile, clove, cardamom, and nutmeg. Maybe I can get them to cough up the actual recipe, but if not, make sure you include the sumac and Maras chile, which really push the blend toward Istanbul


8dd089f7-8330-4b8c-b4f7-ad9595e31b01

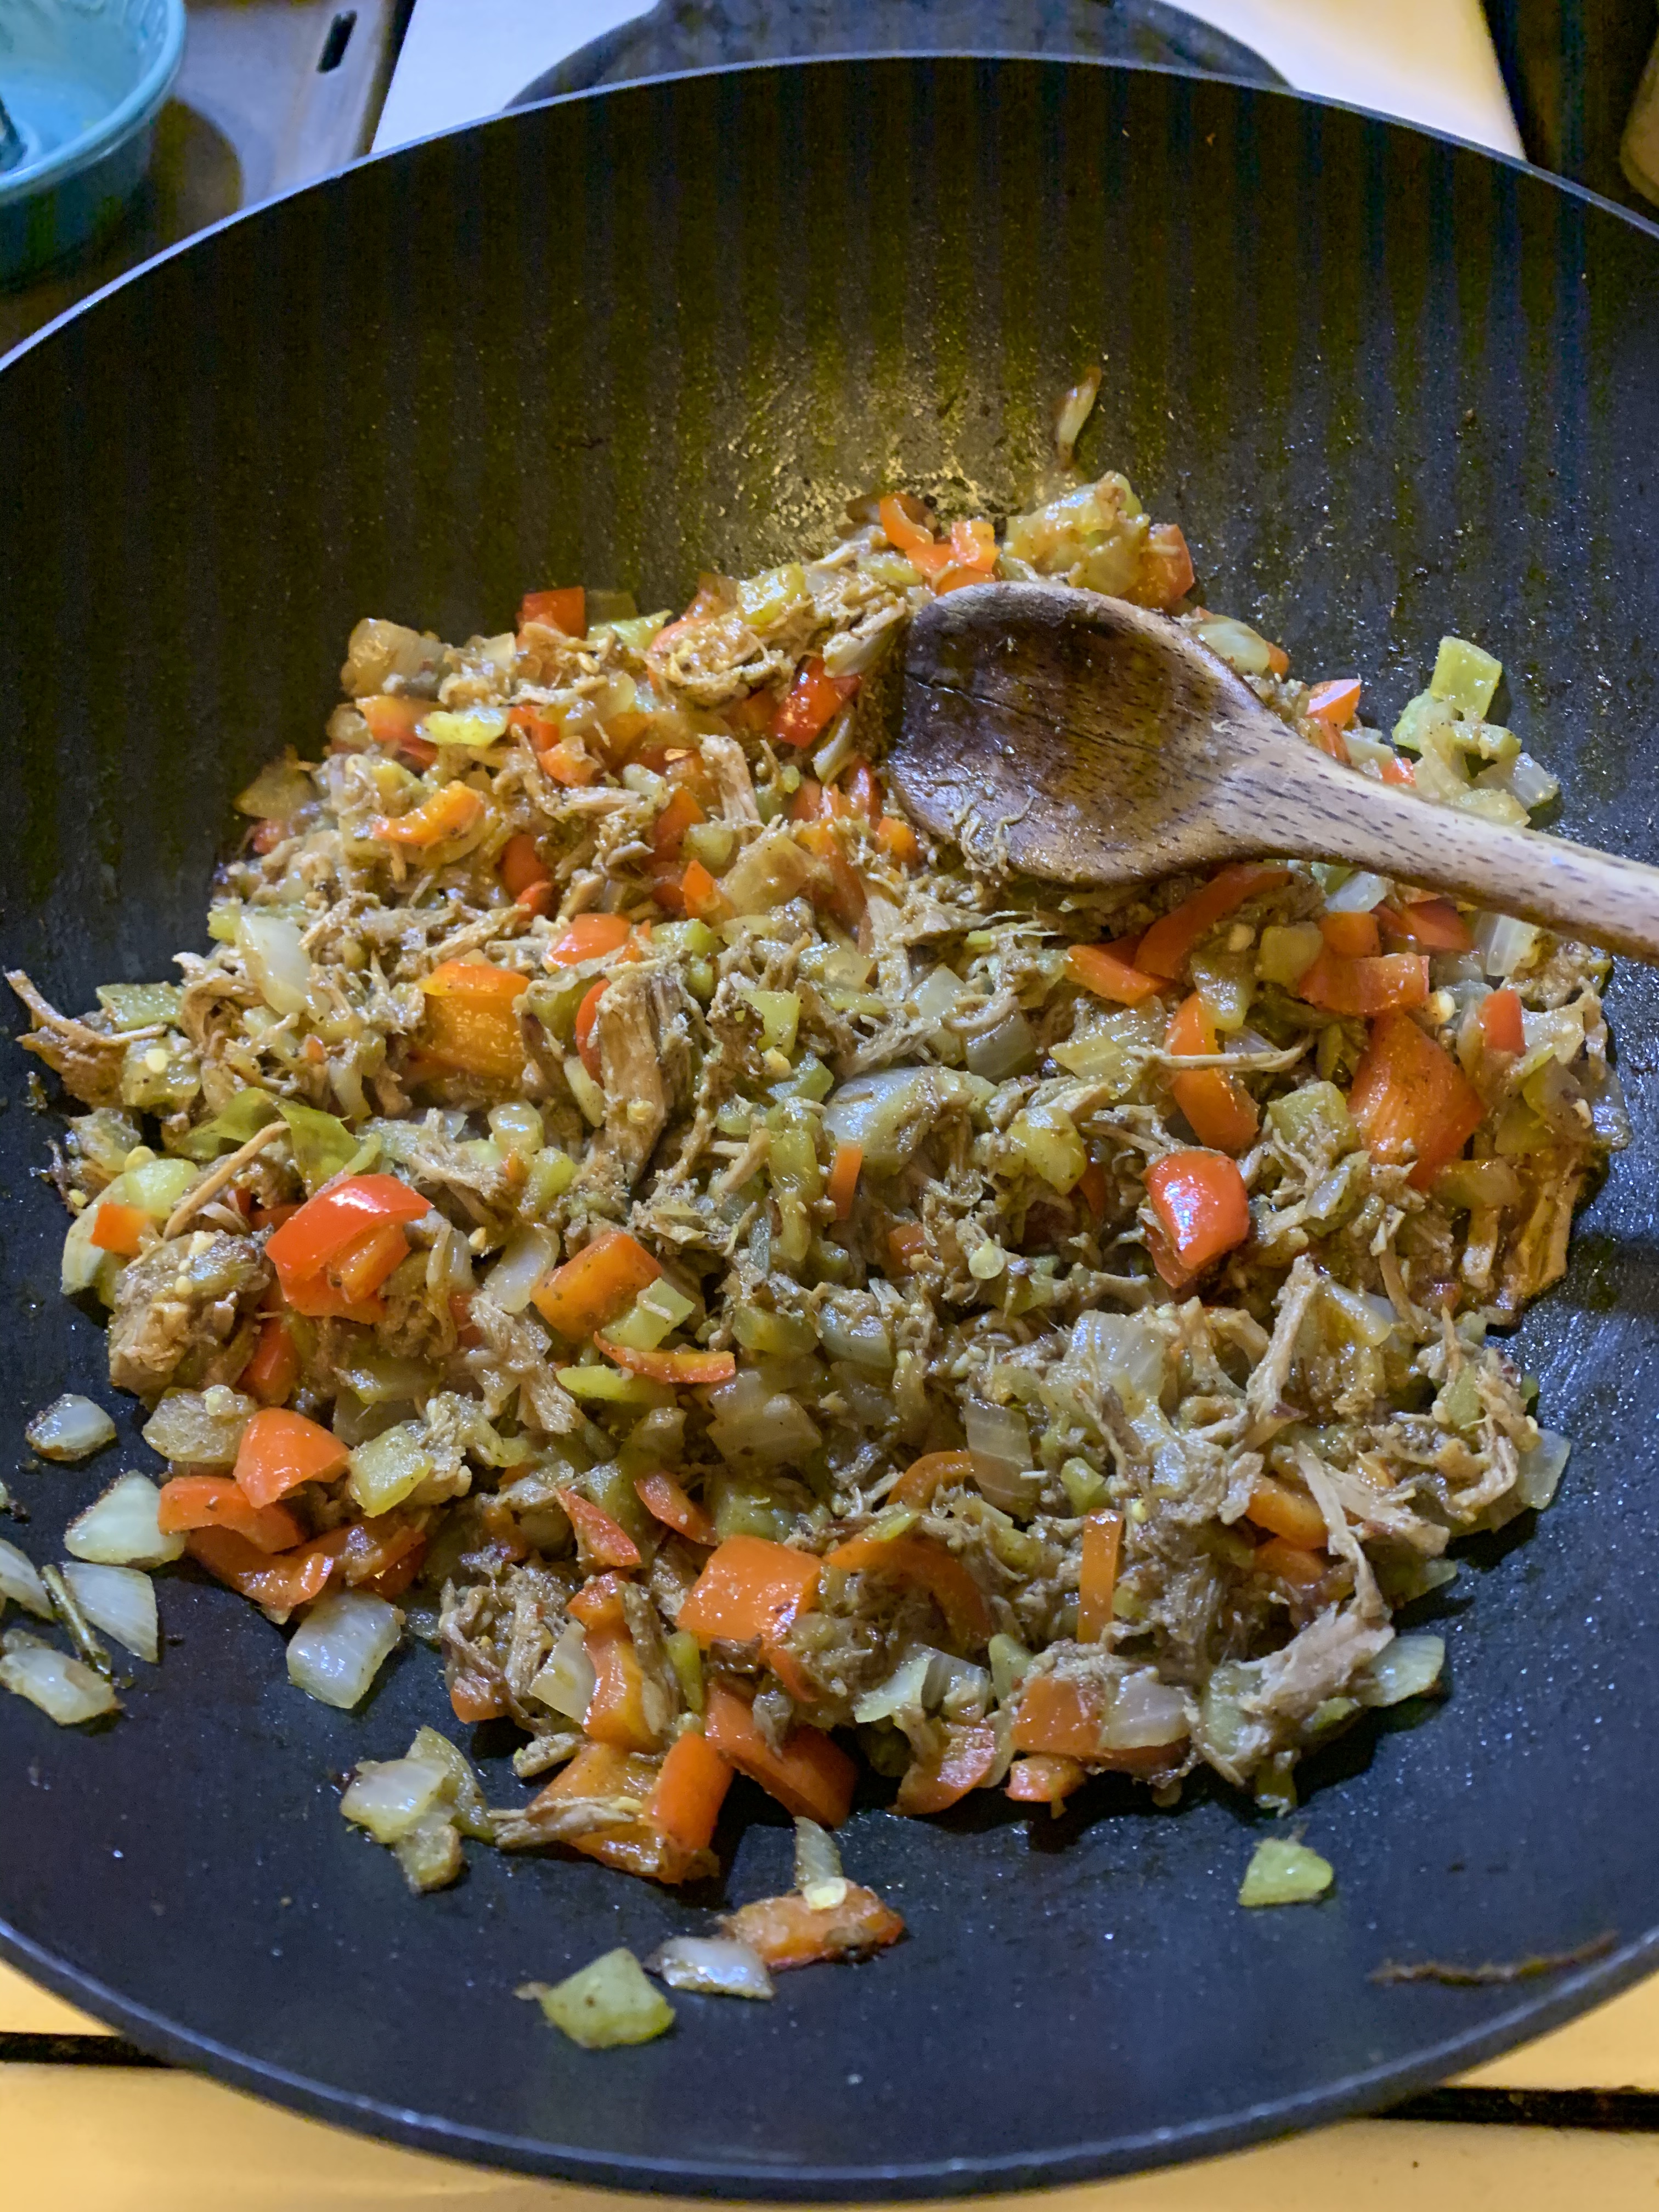
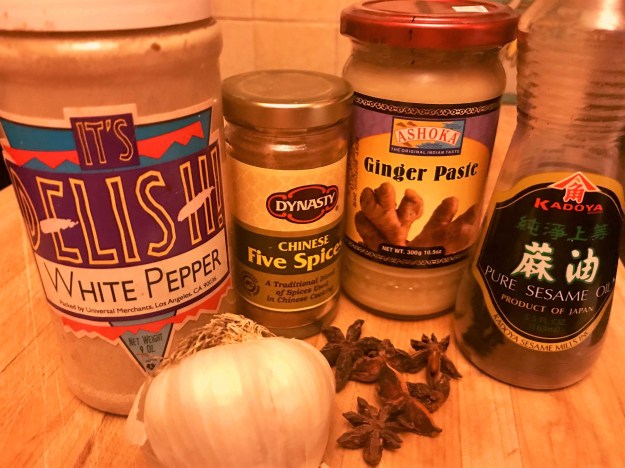
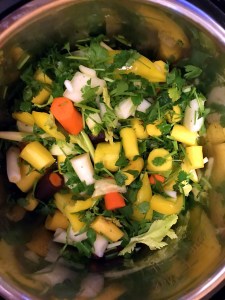
Stuff for the stuffing.


DIRECTIONS
Wash the aubergines, peel four equally spaced strips and set aside. The peel allows them to sit flat in the casserole dish or roasting tin.
Preheat oven to 400°F / 205°C.
Drizzle a little olive oil into a casserole dish or small roasting pan sufficient to hold the two aubergines, then pop the veggies into the dish and pop the dish into the oven.
You’ll want to roast the aubergines for 45 minutes to an hour, depending on their size. You don’t want them cooked all the way, because you will be stuffing them. When you take them out of the oven, they should still be fairly firm and holding their shape.

During that time, you can prepare your filling.
Warm a frying pan over a medium heat, and put in the cumin, cinnamon, spice blend, and black pepper; toast the spices for 1-2 minutes, just to bring out a little more flavour. The add the salt, onion, green chilies, and bell peppers; cook for 5-8 minutes, or until the bell peppers are softened and the onions are translucent. You don’t need to brown them, but don’t freak out if they take on a little colour or if they’re still slightly firm. Remember, they have more time to cook when you stuff the aubergine.
Add the garlic and tomato paste, and cook for a couple of minutes more, just to take the rough edges off the garlic. Then remove the pan from the heat and set aside until it’s time to stuff the aubergines.
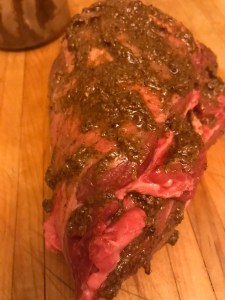
7d973c03-e5db-4565-b288-4929f98bdf50

Fit to be stuffed.

When the aubergines are partially cooked, but still firm(-ish), take them out of the oven and allow them to cool sufficiently that you can stuff them without burning your fingers. Take a knife and “split their bellies” (vertically of course), then spoon in a generous amount of filling. Don’t pack it in too much, though, or the aubergines will split during their second oven sojourn. Pour the chicken stock into the pan (but not over the aubergines), so they don’t burn. You can also use the resulting sauce to spoon over the finished dish, although in my case most of the liquid had evaporated.

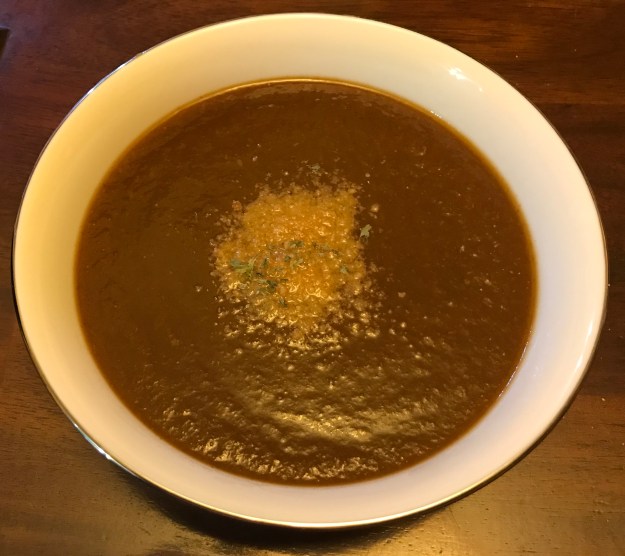
Return the stuffed aubergines to the oven for 30-35 minutes, or until a knife can pierce their flesh without resistance. Allow them to cool for about 10 minutes, because they are molten lava hot straight from the furnace. Plate, spoon over some of the drippings, and serve. [Although inauthentic, cheese, sour cream, or crème fraîche could be used as toppings. You could also sprinkle some fresh chopped parsley on top for colour. ]

This is scalable, depending on the number of diners, and is quite mutable while still staying within the parameters of karniyarik. Find the ingredients that exist in your pantry and/or suit your palate, pour yourself a glass of raki for a job well done, and offer a hearty şerefe to your dining companions.


Electric Smoker Meats Its Match With Leg Of Lamb Two Ways

0

Sell by? It will have been long gone by.

Headline pun intended.

The Internets have no shortage of opinions when it comes to smoking meats, and one is on a fool’s errand to attempt to secure a definitive answer. PRO TIP: This is NOT a definitive answer.

I’ve been grilling leg of lamb for about half my life now (which is to say over 30 years), and I was excited to try our new pellet smoker to find out how it stacked up against the various other methods (Big Green Egg, gas grill, trad charcoal grill) I’ve employed before.

The short version: Very Well.

You don’t need to follow me down the rabbit hole unless you’re slightly — like me — monomaniacal about research prior to grillage. If you are, I suggest these YouTube vids, one from Malcom Reed’s HowToBBQRight, the other from Darnell McGavock Sr.’s D Grill. Both of them used electric pellet smokers, so they were the most relevant to my immediate project, but I also watched a bunch of others. The reason I frequently turn to YouTube first is to see the actual cooks and their process(es) in motion, as well as to hear comments they might not bother to include in a printed recipe. [I also visited Steven Raichlen’s very informative online home, which I recommend highly.]

Originally, my intention was to make pulled lamb, which in theory comes off the smoke at a higher temp than your standard smoked leg. From what I’ve read (at least in terms of pork), there are two sweet spots for removing meat from the grill/smoker: one is about 145-150°F/63-65.5°C, the other is about 195-203°F/90-95°C. Apparently, the in-between is the “tough zone.” I’ve encountered this phenomenon before when cooking octopus, squid, and shrimp (not always on the grill), so it doesn’t surprise me. Perhaps a quick revisit to Harold McGee’s On Food and Cooking: The Science and Lore of the Kitchen will yield an answer as to why, but that’s for another post. I opted not to pursue the higher finished temperature, because I read that the leg was not sufficiently possessed of marbling fat to make it tender at that temp; that recipe recommended bone-in lamb shoulder instead.

Lose some, but not all, the fat.

PREP
No matter how thoroughly your butcher trims the fat off your lamb leg, it’s not enough. You don’t want to take all the fat away, but an excess will give it that “gamy” taste that causes people to think they don’t like lamb. You can see in the lower right of the photo above how much fat I excised. I cut the leg about 60/40%, because I was feeling a bit experimentative, both in terms of marinating and cooking.

Pan-Asian Marinade Ingredients.

Marinade #1 (Asian Style) (for the 60% piece)
INGREDIENTS
2 tbsp. / 30 ml sesame oil
2 tbsp. / 5-6 cloves minced garlic
3 tsp. / 16 g ginger paste
6 star anise pods, ground
3 tsp. / 5 g five-spice powder
1 tsp. / 2.5 g white pepper

It’s Turkish-ish, kinda.

Marinade #2 (Turkish-ish) (for the 40% piece)
INGREDIENTS
¼ cup / 60 ml olive oil (I used Olea Farm, which I love)
¼ cup / 60 ml pomegranate molasses
3 tbsp. / 55 g Darrell & Nil’s Turkish Blend Spice*
5 large slices preserved lemon
2 tbsp. salt (preferably kosher or flaked; I used Læsø Salt from Denmark, because I had some and it’s a good story)

*Yeah, you’re gonna have a tough time finding that. It’s made from paprika, black pepper, cumin, coriander, allspice, cassia, sumac, oregano, Maras chile, clove, cardamom, and nutmeg. Maybe I can get them to cough up the actual recipe, but if not, make sure you include the sumac and Maras chile, which really push the blend toward Istanbul.

Rub rub rub it in; get your fingers into it; don’t be shy.

MARINATION DIRECTIONS

Rub it in to all the cracks and crevasses, and allow the lamb to chill overnight in the fridge. Due to a scheduling conflict, I left it in for two nights. Not a problem.

A WORD ON PELLET SMOKING

Ask 15 pitmasters what the best type of wood for smoking lamb might be, and you’ll get 67¾ answers. After way too much agita, I succumbed to crowdsourcing and went with Amazon’s Choice, Traeger’s Signature Blend (their hickory pellets were the #1 Best Seller). I am sure that at some point in the future, I will have a hankering to try a specific type of wood with a specific recipe, but this wasn’t it. Think Ford, not Ferrari.

A little over an hour in the smoker. Some colour, but no “bark.”

ON THE SMOKER

I checked the pellet level and fired up the smoker, letting the machine come up to temp (250°F/121°C) while I took the lamb out of the chill chest and tied it up with butcher’s twine to help ensure an even roast. 20 minutes later, I placed the pieces fat side up on the grill and left them alone, apart from one quick peek about halfway through to see if they needed to be swaddled in aluminum foil to keep from drying out (they didn’t). After 3.5 hours on the electric pellet smoker at 250°F/121°C, the one on the left came off at an internal temp of 148°F/64.4°C, the one on the right came off at an internal temp of 166°F/74.4°C (which is regarded as the high end of acceptable for lamb). Obviously, the marinades made some difference in the appearance of the two pieces, and I can say that the 166°F/74.4°C piece was not quite as tender as the other one, though both were highly acceptable, texture-wise, and both were absolutely delicious.

After the meat rested, I popped it back in the fridge for a few hours, but it re-emerged at dinnertime for “lambwiches” (lamb sandwich with rocket and mayo on a Kaiser roll). Still moist and tender, full of flavour. And hands down, the most effortless process for leg of lamb I’ve found yet. Just like I would be happy with my Instant Pot even if I used it for nothing other than beans, I’m thrilled with the Camp Chef SmokePro DLX even if it only ever gets used for lamb… which it surely won’t.

Soupe de la Semaine: Sopa de Fideo… sin fideo [Gluten-Free & Vegan] [Instant Pot® recipe]

0

¿Dónde está el fideo?

Because I’m not Mexican, I hesitate to call sopa de fideo the ultimate Mexican comfort food soup — probably sopa de tortilla or caldo Mexicano de albóndigas gets the nod there — but it’s certainly in the running for the propreantepenultimate Mexican comfort food soup. For those of you unfamiliar with fideo noodles, they’re like a thin vermicelli (itself the Kate Moss of the spaghetti world), and usually cut in short pieces (generally somewhere between an inch and 4 cm).

Given that the bride is currently on a carb-cutting crusade, I thought spaghetti squash might suitably supplant the original fideo. Nestled in broth, it doesn’t need to bear the weight of being the dish’s focal point, which it does when being substituted, rather unsatisfactorily, for actual spaghetti under a blanket of Bolognese. The Instant Pot® pulls double duty here, both cooking the squash and making the soup. All you need to do between steps is to remove the steamer insert and squash, then dump out the remaining water. No need for cleaning along the way, since the squash that just came out is going right back in.

[This recipe, of course, can be made on the stovetop as well; the spaghetti squash can either be roasted or microwaved beforehand (fire up the Internet Machine and ask the Google for advice on that). Once that’s done, you can pretty much follow the general directions under the “For the soup” section; allow about 30 minutes for simmering after all ingredients are added.]

As with many classic soups, recipes for this vary widely. While mine hews fairly closely to the down-the-middle basic version, I did add one exotic ingredient as a nod to the soup’s probable Spanish heritage: pimentón de la Vera, the Spanish smoked paprika whose mere scent sends me off dreaming Gallego dreams. If you want to keep it more anchored to the New World, you could sub chipotle chile powder, regular chile powder, or even a diced jalapeño or two. Look, some people put cayenne, cinnamon, and allspice(!) in this soup, so feel free to follow your tastebuds.

Sin fideo, incidentally, means “without fideo.”

Sopa de Fideo… sin fideo
(makes about 3.5 liters / 15 cups)

Spring onion, sometimes known as Mexican onion.

INGREDIENTS

1 spaghetti squash (approx. 3 lb. / 1½ kg.)
2 spring onions (or 5-6 scallions), sliced thin
3-4 garlic cloves, minced
2 tbsp. / 30 ml olive oil
½ teaspoon / 1.5 g cumin
1 teaspoon / 1 g oregano (preferably Mexican oregano)
½ tbsp. / 4 g pimentón de la Vera (or smoked paprika)
½ tbsp. / 9 g salt
1 can (28 oz. / 794 g) diced tomatoes
6 cups / 1½ liters vegetable broth
chopped cilantro leaves for garnish
slice of lime for garnish (optional)
thinly sliced radish for garnish (optional)
slice (or chunk) of avocado for garnish (optional)
salt to taste
pepper to taste

The Instant Pot® fits like a glove… if your hand is cylindrical and about seven inches deep. Or a spaghetti squash.

DIRECTIONS

For the spaghetti squash:

Take off store sticker, rinse squash and pat dry. Insert steamer trivet into Instant Pot® inner pot. Add 1 cup / 250 ml water. Place squash in Instant Pot®. Close and lock lid, making sure that release vent is set to “Sealing.” Press button for Bean/Chili (set pressure to “high”) and adjust timer to 18 minutes. When squash is finished, you can allow natural pressure release or use quick release; either works fine. Remove squash from pot, remove steamer insert, and discard steaming water when sufficiently cool. Cut squash in half, remove seeds and stringy debris. Scrape out “spaghetti” with fork, chop strands into short, fideo-like length (between an inch and 4 cm) and set aside in bowl.

All star alliums: garlic and spring onions prepare for what chef José Andrés calls “a dance” with olive oil.

For the soup:

Set Instant Pot® to “Sauté.” Add olive oil to inner pot insert and allow to warm, then add garlic and spring onions. Sweat the onions and garlic until soft, stirring occasionally, for maybe 4-5 minutes. [No big deal if they begin to brown, but don’t let them burn or stick to the pot.] Add spaghetti squash and spices, stir to mix. Add tomatoes (with juice) and vegetable broth (you can use the tomato can for measuring the broth if you wish; add two cans). Secure lid, making sure vent is set to “sealing.” Press the “Keep Warm/Cancel” button once to stop the sauté function. The press the “Soup” button, adjust pressure to “high” (if necessary) and time to 10 minutes. When soup is finished, either natural pressure release or quick release work fine. Adjust seasonings and ladle into bowls. Garnish with cilantro leaves and the optional avocado, radish, and lime.

Soupe de la Semaine: Vegan “Sofrito” Soup [Instant Pot® recipe]

1

Leaves you “sofrito” experiment.

This is not going to be so much a recipe for a soup (although there will be one) as a roadmap to soup. Please keep all your appendages inside the vehicle while it’s moving.

Like many people, I occasionally find that I have a few vegetables in the fridge that really call for imminent use, lest they turn into science experiments. Today, that happened to be a two-pound package of carrots, some celery, a yellow bell pepper, and the better part of a bunch of cilantro, plus an onion that was in the unrefrigerated veggie basket. Because February is traditionally a vegetarian month for the bride and me, I decided to fold the ingredients into a soup, rather than use them as a sofrito/soffritto, mirepoix, refogado, or Suppengrün for a meat or poultry dish. [The terms in italics are all variants on the same concept, which is that a group of chopped vegetables can serve as a flavour base for stews, gravies, sauces, and the like. Ingredients and proportions vary from country to country (and from kitchen to kitchen), but not so widely that they aren’t all kissin’ culinary cousins.]

Here’s where it gets interesting: with the possible exception of the cilantro, all the vegetables can easily be enhanced to make soups that will fit in a variety of culinary traditions. For example, if I’d added lemongrass, ginger, and soy sauce to the soup (even keeping the cilantro), it would have taken a turn for Southeast Asia. Some garlic, basil, oregano, rosemary, and marjoram would have pushed it toward Italy. Turmeric, ginger, cinnamon, cardamom, coriander, and cumin would lend it an Indian or Sri Lankan vibe. I decided I wanted something else, a kind of mutt — er, hybrid — cuisine with elements of both Spanish and Tex-Mex.

And while this can definitely be made on the stovetop, it would take way longer than it does in a pressure cooker (Instant Pot® to the rescue again!). Basically, you’d follow all the main steps, but I would chop the vegetables into much smaller pieces to soften them more quickly. I’m guessing that 45 minutes to an hour in the stock at a high simmer (just below boiling) would do it. Then purée the vegetables and adjust spices as in the directions below.

WARNING: I like, and am accustomed to, spicy food. I would advise anyone trying out this recipe to cut the pimentón de la Vera and chipotle powder IN HALF to start. You can always make it spicier later in the process, if you wish. [If you cut the spices, you will also need only about half of the carob molasses as a consequence.]

Vegan “Sofrito” Soup
Makes about 10 cups (about 2¼ liters)

Carrots of many colours.

INGREDIENTS
2 lbs. / 1kg carrots, roughly chopped
1 onion, roughly chopped
1 red or yellow bell pepper, roughly chopped
3 stalks celery (need I say roughly chopped?)
1½ cups / 30g chopped fresh cilantro
5 cups / 1.25 liters vegetable stock (I used Better Than Bouillon and water)
1-2 teaspoons / 2-4g hot pimentón de la Vera (or smoked paprika)*
½-1 teaspoon / 1.5-3g chipotle powder (or other chili powder)*
1½-3 tbsp. / 33-66g carob (or regular) molasses*
½ teaspoon / 1g cumin
½ teaspoon / 3g salt
½ tbsp. / 8g apple cider vinegar (or other vinegar, or lemon juice)

Chopped up, mixed up.

DIRECTIONS [Instant Pot®]

Chop vegetables and cilantro and add them all to inner cooking pot. Add vegetable stock, pimentón de la Vera*, and chipotle powder*.

Lock lid (making sure the vent is set to “Sealing”), select “Soup,” set pressure to “High,” and time to 20 minutes. When finished, you may allow pressure to release naturally before unlocking lid, or you can do a “quick release” by turning the vent to “Venting.”

[At this juncture, the soup will look like you left your vegetables in dishwater overnight. Don’t be discouraged!]

Process soup with immersion blender or in batches in a blender/food processor. [If you’re using either of the latter, drape a towel over the input tube or lid to allow the steam to vent.] Add cumin, carob molasses, salt, and cider vinegar. Stir and allow soup to sit for a couple of minutes before tasting and adjusting spices. It’s at this juncture that you would add the remaining half of the pimentón de la Vera, chipotle powder, and carob molasses, should you choose.

Ladle soup into bowls and garnish with a little extra chopped cilantro. I forgot to reserve some and wound up using bread crumbs and chopped parsley for the photo. If you’re not concerned about being vegan, a dollop of sour cream and/or a sprinkle of cotija cheese would go nicely. Cashew cream is a fine vegan alternative.

*Please read the warning in red in the fifth paragraph; it’s there for your own good.

***********************************************************************

P.S. I’m perfectly happy if you want to replicate this recipe step by step, but it would bring me (and you!) greater joy if you use it as a “serving suggestion” instead, playing around with spices and quantities so that you can truly make it your own. Plus, you can clean out your fridge a bit in the process.