Potatoes au Gratin sans Fromage (Vegan-style)

3
It's plane to see.

It’s plane to see.

We’ve been doing Meatless Mondays around the pad for years now, and that frequently means one of several standbys, often involving potatoes. [What can I say, I’m Irish.] My original intent had been to take a whack at Chef Thomas Keller’s Potato Pavé recipe, but time and energy conspired against me, so I opted for Potatoes au Gratin. As luck would have it, The Bride and I dined a few days ago at Crossroads, an excellent vegan restaurant in Los Angeles, and that inspired me to retool the cheese-oozing, cream-dripping, diet-busting fave of my youth.

Generally speaking, I’m not much of a fan of ersatz food products (diet sodas largely excepted). I’d much rather have a beautifully grilled portobello mushroom served like a burger than any sort of the Frankenmeats that often try to pass themselves off as beef patties. As a consequence, my first order of business was to strike off most of the over-the-counter vegan cheese substitutes available, as they more often taste like Firma-Grip paste with a side of FD&C Yellow No. 6 than anything resembling fromage. What I wasn’t willing to sacrifice, though, was the creamy, viscous, umami-laden mouthfeel of the real deal. Fortunately, I didn’t have to.

Gotta give some props here to Tori Avey’s blog, The Shiksa in the Kitchen, which published a recipe for Dairy-Free Saffron Scalloped Potatoes that launched me in the right direction. Basically, there are two parts to the recipe: The potatoes and onions, and the sauce. Here’s a list of ingredients:

100_4774100_4770100_4768

DAIRY-FREE, GLUTEN-FREE, VEGAN POTATOES AU GRATIN

For the Sauce:
2 tbsp non-hydrogenated butter substitute (I used Earth Balance)
3 1/2 tbsp flour (I used Cup4Cup gluten-free flour)
1 can (13.5 or 15 oz) coconut milk* — NOT THE NON-FAT OR LOW-FAT VERSION!
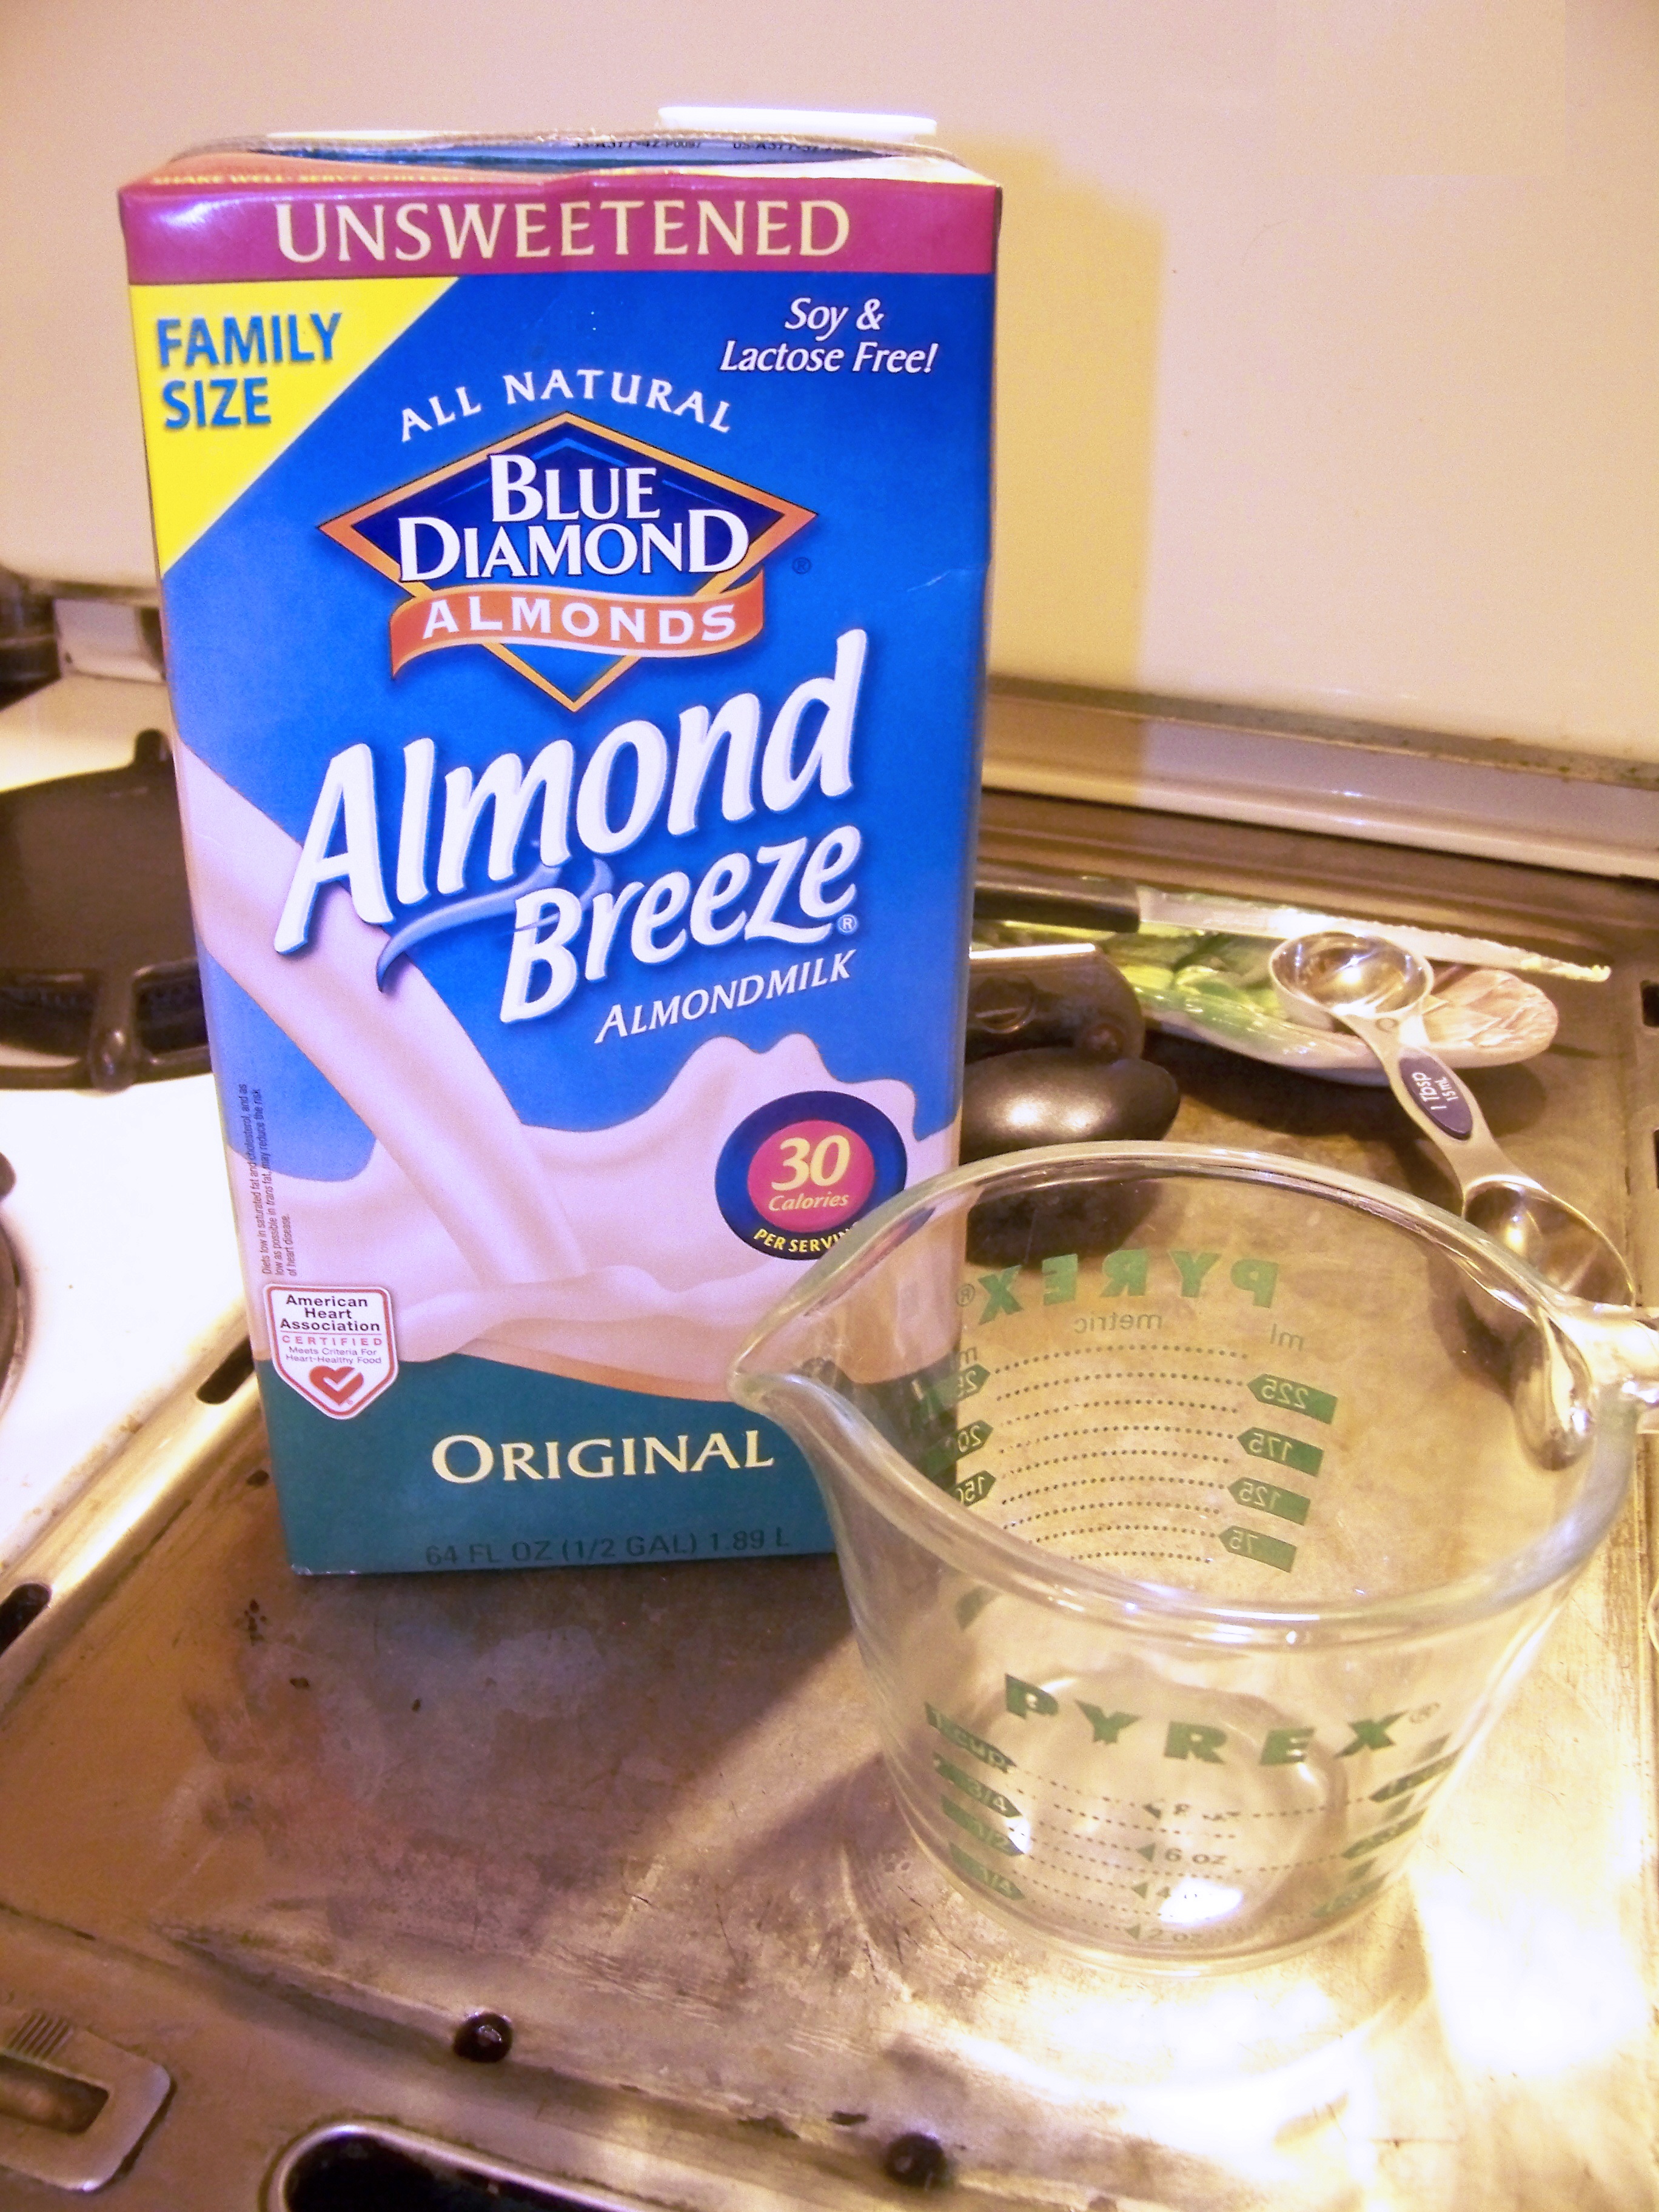
1 cup Almond Breeze almond milk, unsweetened
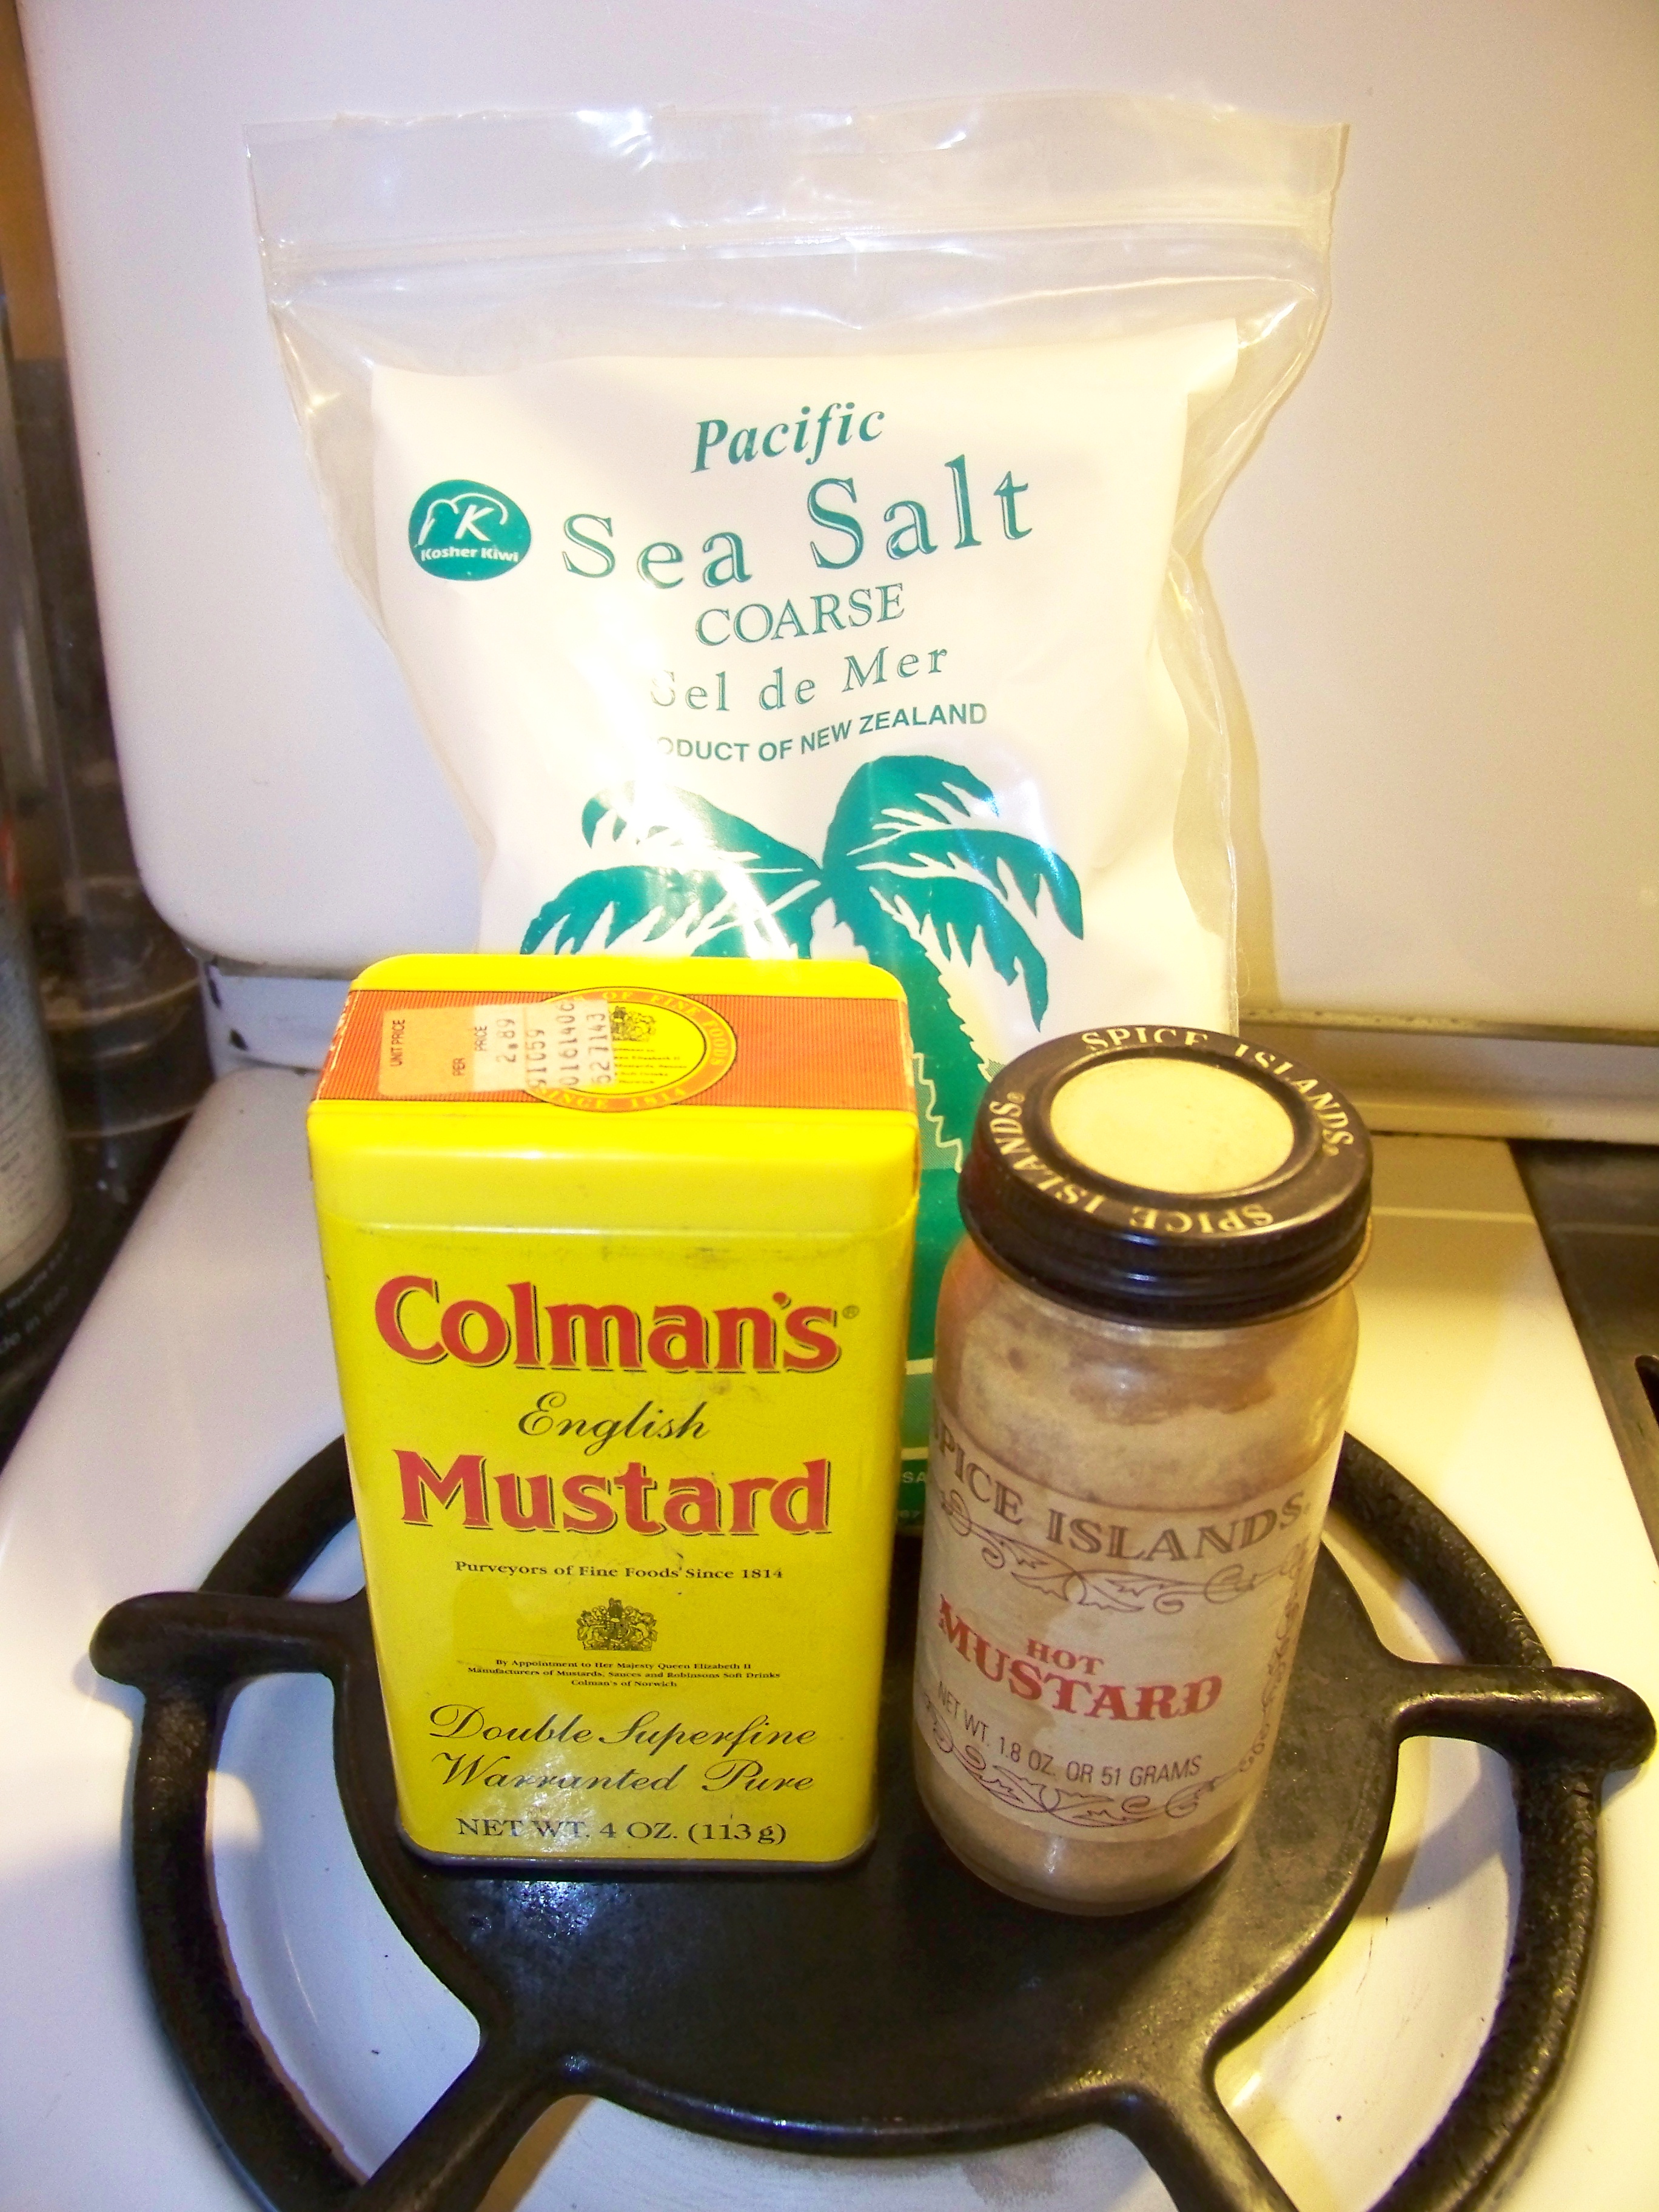
1 tsp sea salt
1 tsp finely minced garlic (or 1/2 tsp garlic powder)
½ tsp tamari sauce (gluten-free soy sauce)
1 ½ tsp mustard powder
¼ tsp Piment d’Espelette (or hot paprika or cayenne powder)
1 tsp celery flakes or parsley flakes (optional)

For the Taters:
4-5 lbs Russet potatoes (you could use Yukon Gold as well, but Russets are way cheaper)
1 large onion
several dashes paprika for colour and presentation, optional

You have a couple of choices here (more if you are not acting as your own sous chef, which I was). Either make the sauce first (which I did), or slice the potatoes and onions first. If you are slicing the veggies first, please feel free to skip ahead. [Do remember to put your potato slices in a bowl of cold water to keep them from going brown while you’re working on other stuff.]

Making the Sauce:

Making the roux.

Roux the day.

Melt the butter substitute (or margarine, even if it’s not called that) over medium heat in a saucepan or pot, and whisk in the flour a tablespoon at a time, stirring more or less constantly to make a roux. Let it brown a bit, maybe two minutes or so, and then begin adding the coconut milk, about 1/3 of a can at a time. [The full fat variety of coconut milk will probably have a big fatty plug at the top of the can; this is a good thing. Smooth it as you whisk.] Then add the almond milk and spices, continuing to whisk all the while (nothing says “M-m-m-m, tasty!” quite like a thumbnail-sized lump of mustard powder in your finished dish). The reason I used tamari rather than regular soy sauce was to keep the recipe gluten-free; if you don’t care about that, your basic Kikkoman will work just fine. All that need be done from here on is to keep it at a simmer; it only has to be warm (and liquid) enough to pour over the potatoes. Cover it (to keep it from reducing) and turn the heat down low while you focus on the next task: preparing the potatoes.

Preparing the Vegetables:
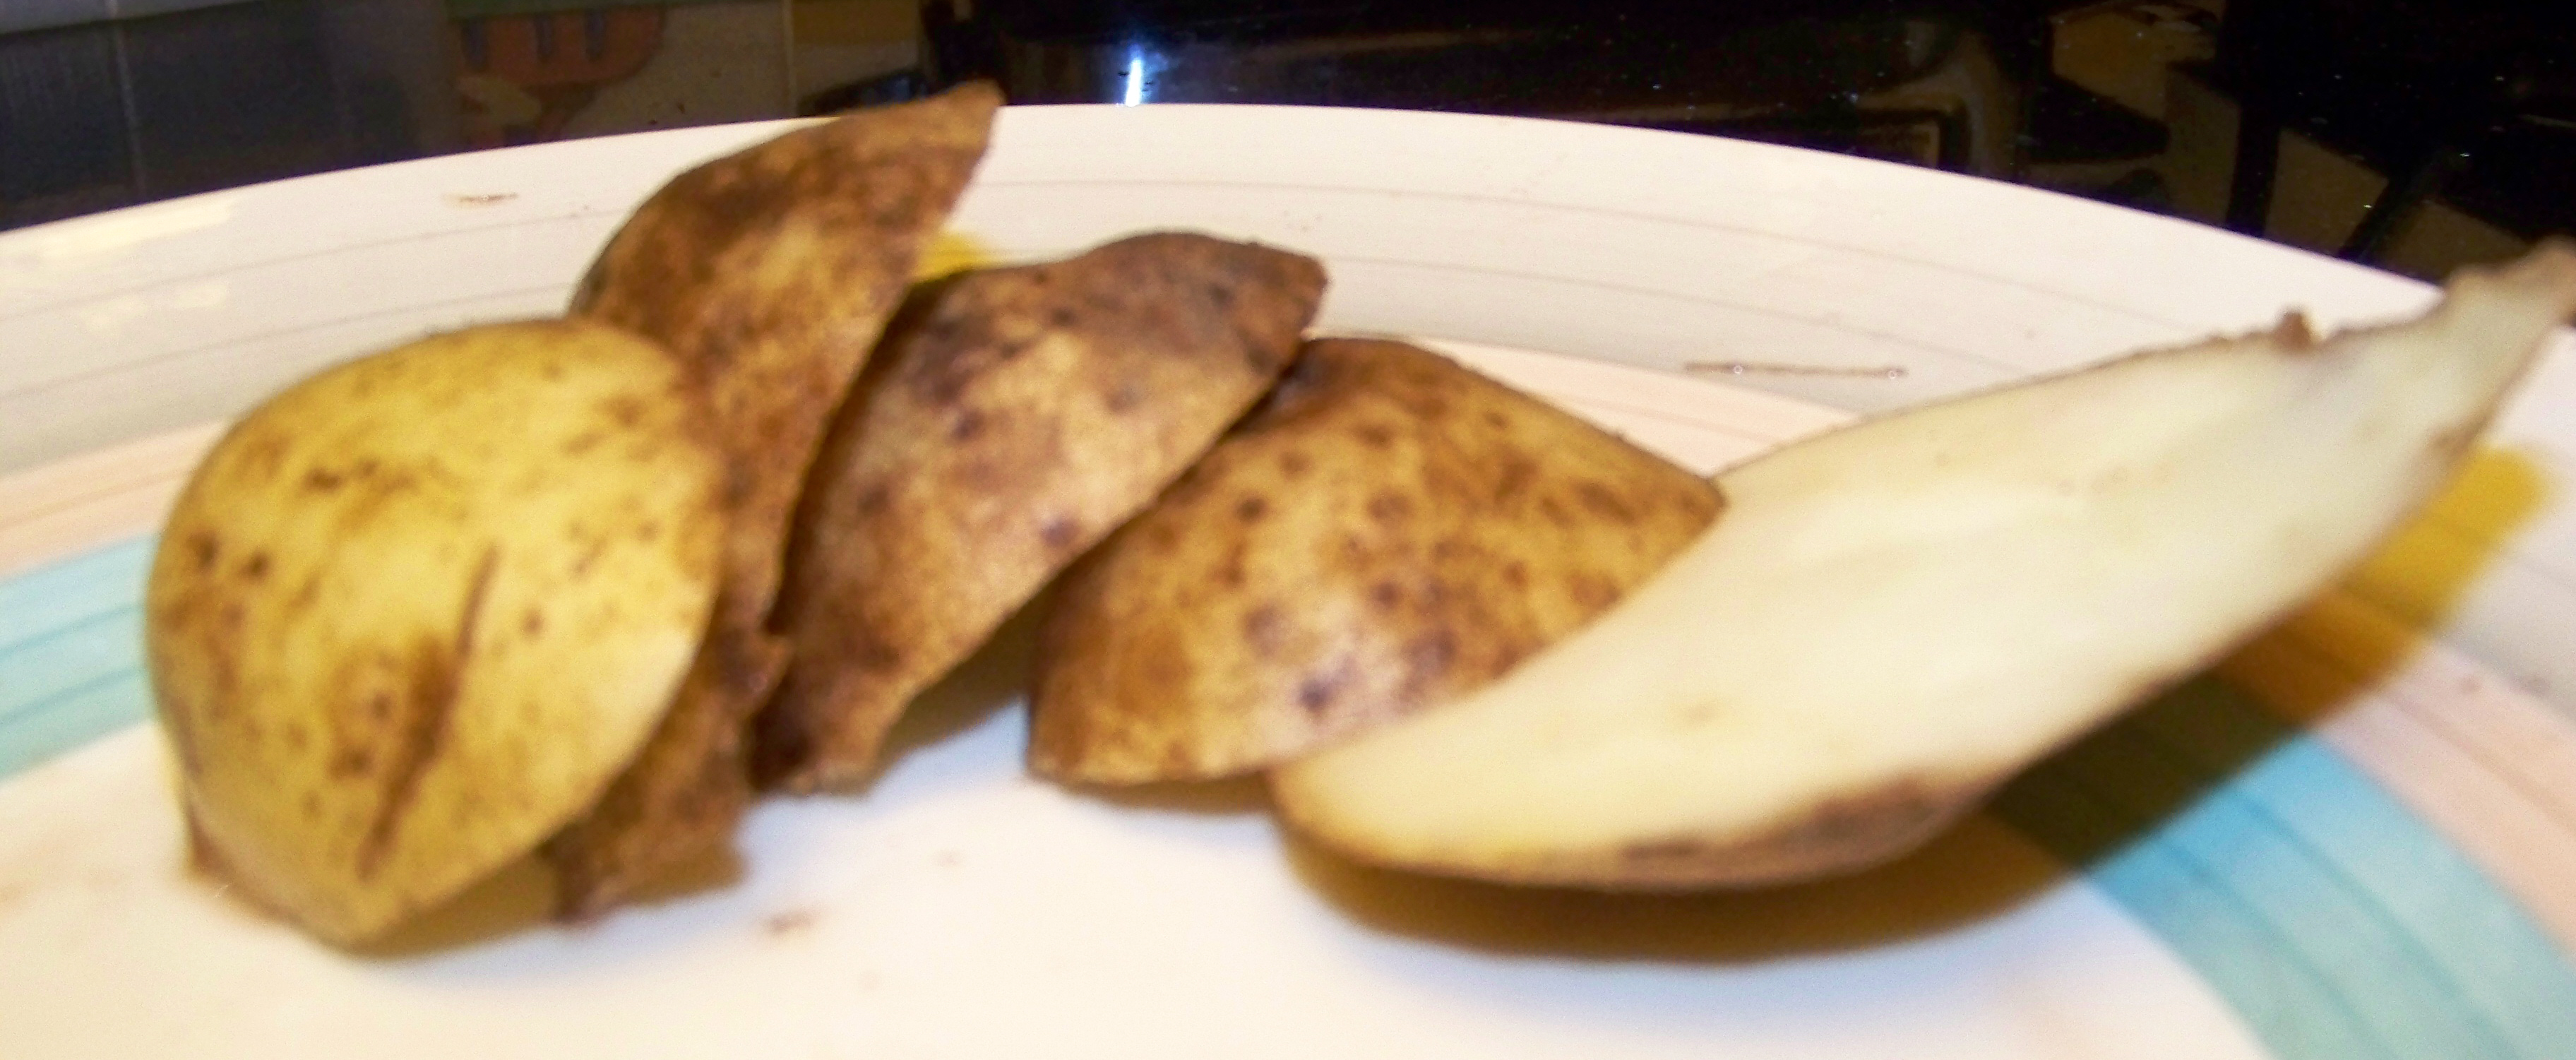
Spud ends.

Spud ends.

First, preheat your oven to 350ºF / 175 (actually 176.67)ºC

The potatoes (peeled or unpeeled, according to the chef’s whim) should be sliced to a thickness of about 1/8″ or so. More skilled craftsmen than I can perform this task handily with nothing more than a knife, but I use a mandoline (as you can see at the top of the post), and because I am a manly and foolhardy man, I use it without the safety guard. [THIS IS NOT RECOMMENDED!] Should you find the safety guard oppressive, one alternative is to wear a steel mesh or Kevlar glove. But in the true Anthony Bourdain spirit of recklessness, well, I don’t do either of those things. That being said, not only is slicing off your fingertips or shaving your palm — a real possibility! — painful and disfiguring, it also invalidates the recipe’s claim to being vegan. (Blood, even accidentally spilled, is an animal product.) When all the potatoes are sliced (and put in a bowl of water to prevent their discolouring), repeat the process with the onion.

Potatoes and onions, ring the bells of St. Bunion's.

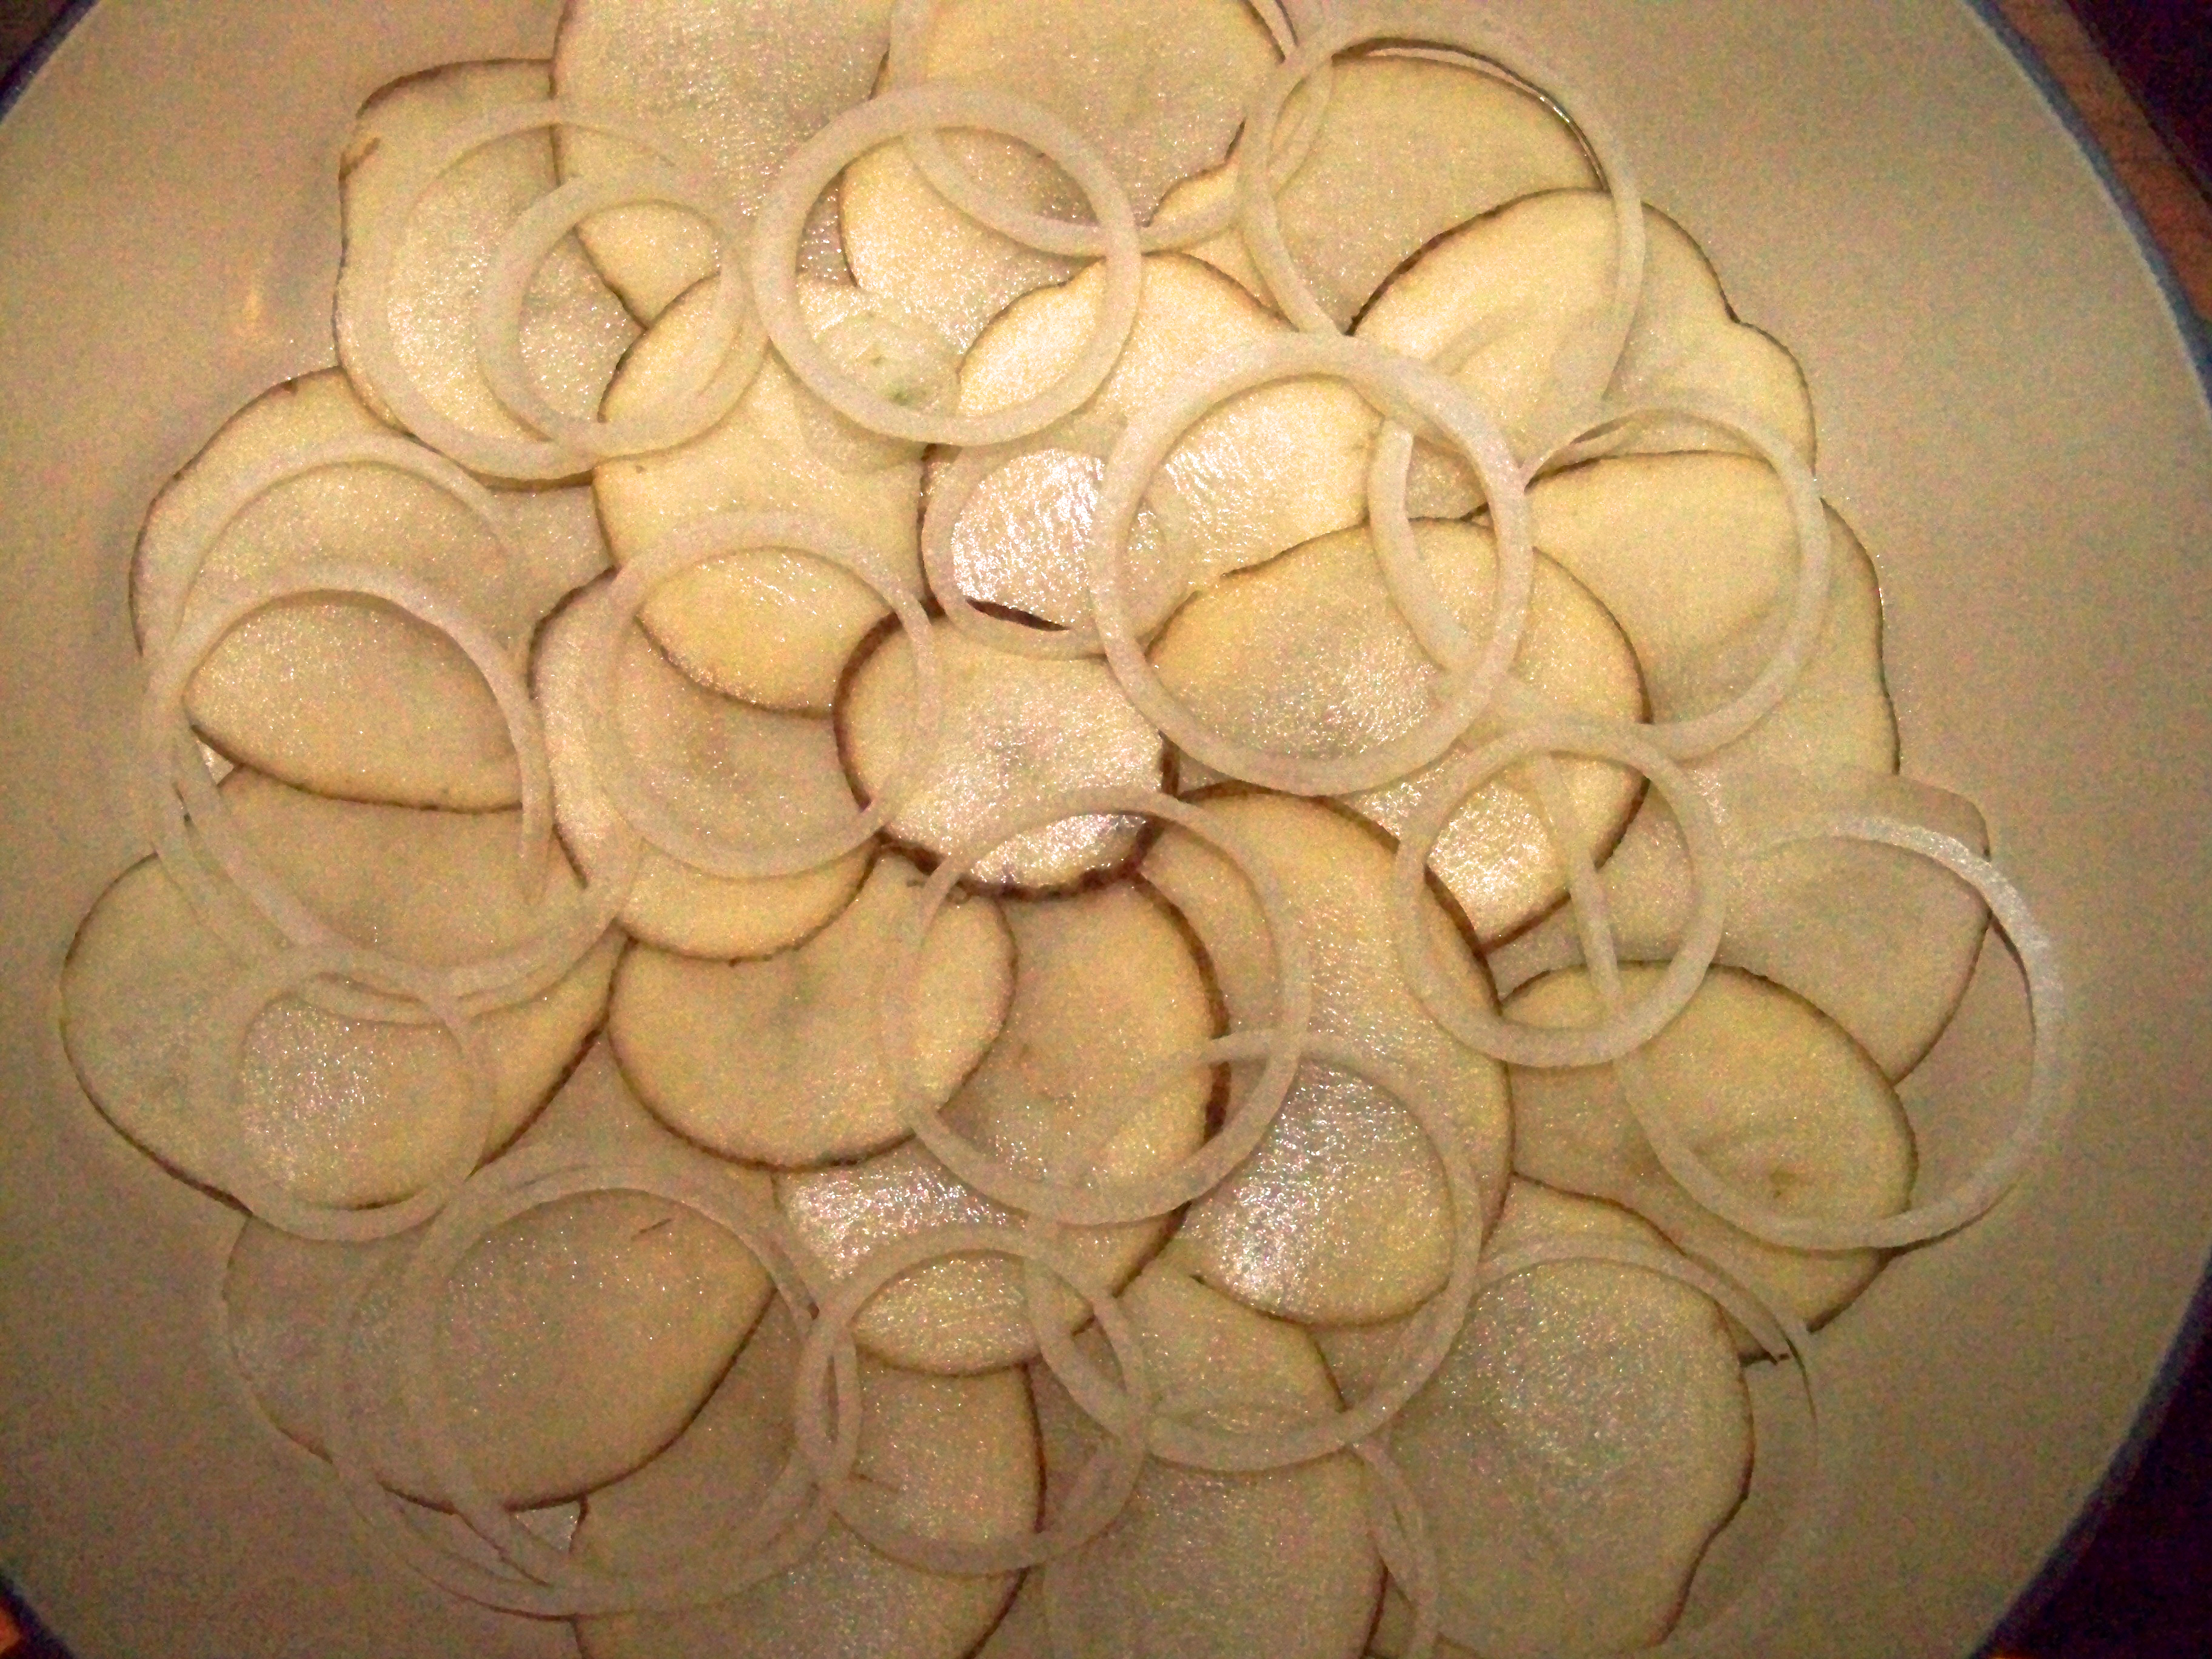
Potatoes and onions, ring the bells of St. Bunion’s.

Layer the potatoes and onions into a greased large baking dish or Dutch oven (I used a 5 qt. Le Creuset Braiser, which worked magnificently). First set down a layer of overlapping potato slices, then scatter some onions on it, then ladle some of the sauce over. Lather, rinse, repeat, until the dish is full (I had about 1/2 lb of sliced potatoes left, which I put in the fridge, and will roast or fry later). Sprinkle some paprika on the top, if you so desire.

Ready for some ovenizing.

Ready for some ovenizing.

Cover with foil (or put on the lid), and pop it into the oven for 60 minutes at the aforementioned 350ºF / 175ºC. By then, the potatoes should be soft and yield easily to a fork. Give them another 10 minutes in the oven uncovered, and finish them off with about 5 minutes under the broiler to brown the top (be watchful during this process, because it can go pretty fast, depending on the distance between the dish and the flame).

Remove from oven, and allow them to cool for about 10 minutes.
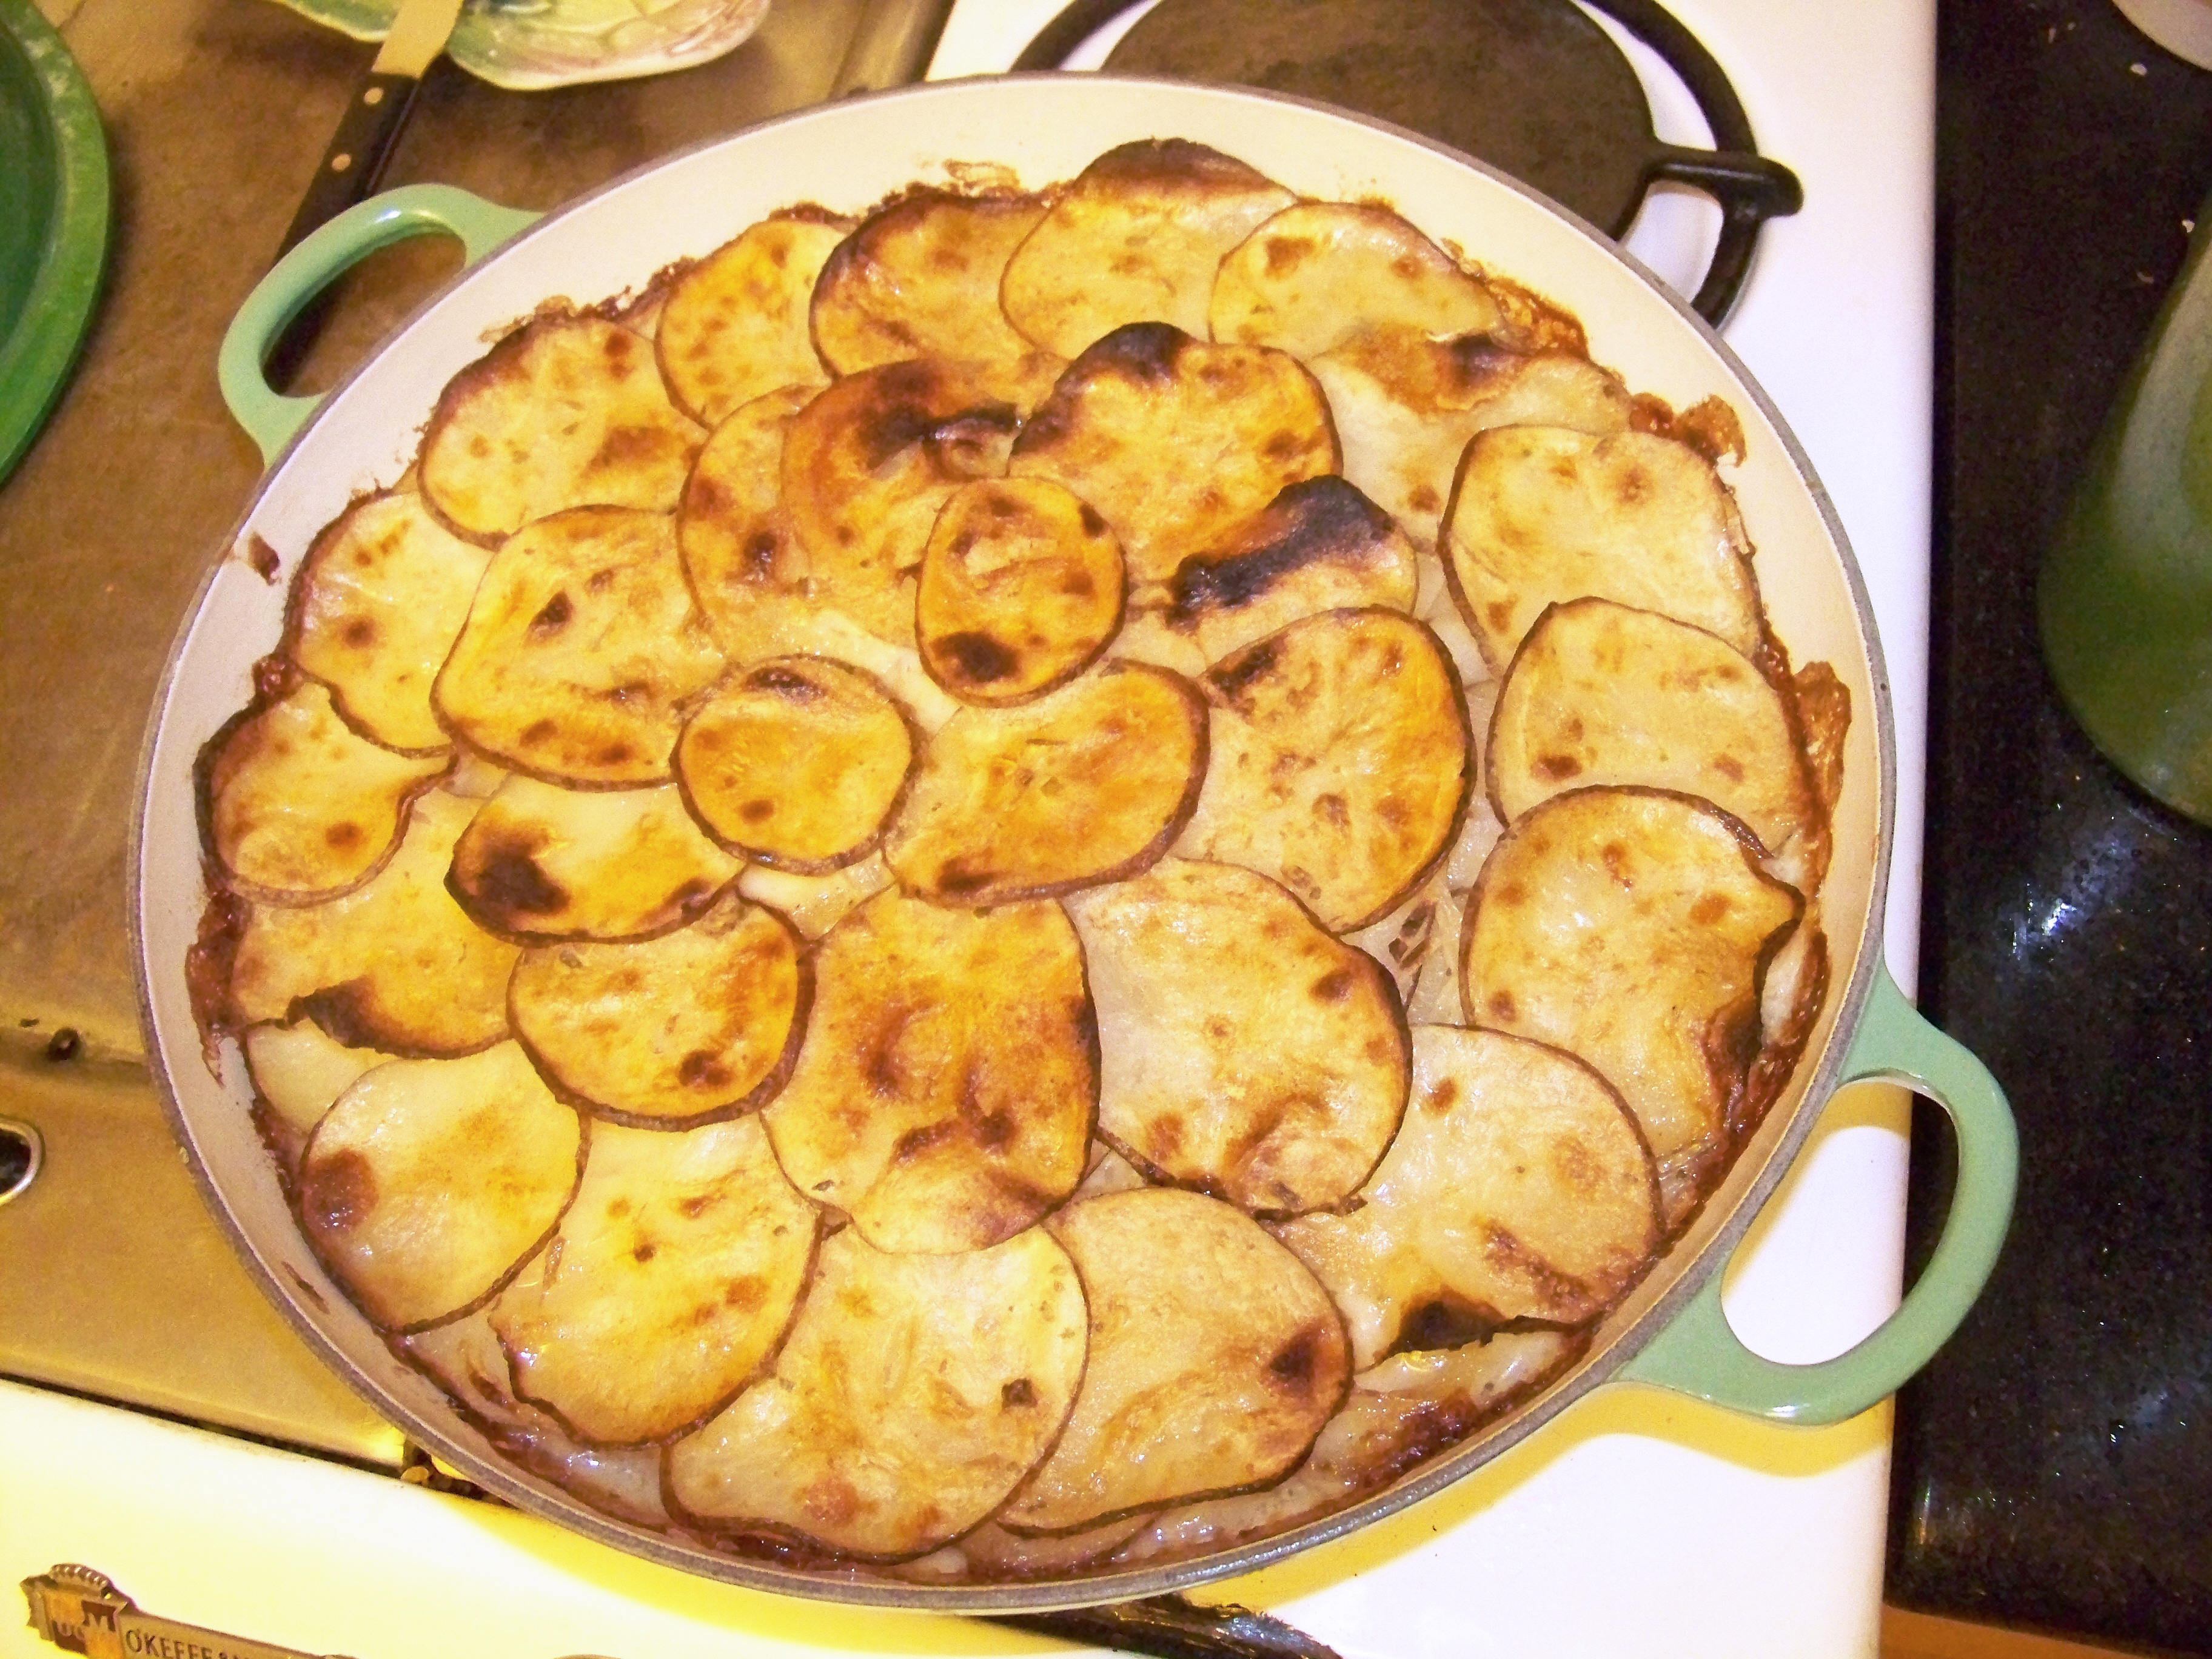
Brown is beautiful.

Brown is beautiful.

Coda: I realized (a little too late) that some diced green chiles would be a terrific addition to the sauce; I heated some up and spooned them over top, but it didn’t have quite the same effect. Also, you may want to add some salt (or allow your diners to) at the table, as it was a tiny bit shy on the NaCl for my taste. And a little fresh ground pepper is also nice.

*The full-fat variety of coconut milk runs about 700 calories a can, which is a not inconsiderable amount, but don’t be tempted by low- or non-fat substitutions, because they won’t provide the same mouthfeel. And when you consider how many fewer calories it has than cream (52 per ounce vs. 103), it’s totally worth the “splurge.” [Also, the almond milk is only 7.5 calories per ounce, and given that you’ve also left out all the cheese, there’s a pretty dramatic reduction in calories compared to the standard au gratin recipe.]

Je suis sous vide

1
Sous Vide Supreme

Sous Vide Supreme

First off, I should explain the headline, because those of you who go to Google Translate to figure it out will discover that the phrase — at least in machine-translate speak — roughly equates to “I am vacuum.” And you might infer (possibly even correctly) from that translation that I had, in a cross-cultural display of bilingual ineptitude, intended to say, “I suck.” Not true. It’s up to you, dear reader, to determine if I suck, but it’s up to me to determine if that’s what I intended. The more appropriate translation of “sous vide” is “under pressure,” and on this Bastille Day, that’s precisely what I am.

Just to the right of the keyboard where this post is being composed sits a machine that The Bride gave to me as a Christmas present. In 2011. Here it is, nearly half way through July 2013, and it still sits there unused, mocking me. Not because I’m not keenly interested in giving it a spin, but because it terrifies me. Let me back up for a moment.

Sous vide began as an ingenious solution to a difficult problem: When you cook fois gras, it shrinks. And at $50+ per pound, even a little shrinkage hits the wallet in a pretty dramatic way. Just about 40 years ago, Georges Pralus invented the technique of sealing food in plastic and cooking it at low temperature for Restaurant Troisgros (of Pierre and Michel Troisgros fame) in Roanne, France. The technique has been adopted by restaurants across the world, not only to save on foie gras shrinkage (something that we in California don’t have to deal with because it’s been outlawed — wink wink), but to help tenderize meats gently, and without using additives. When you think about it, it makes perfect sense; typically, when you’re cooking meat, your intent is to bring the center of the meat to a given temperature, and the way we’d always done it was to apply a heat that was way too high to the outside, letting the energy radiate from the surface into the center until the desired temp had been attained. Done skillfully, this results in a perfect steak/chop/rib/whatever. Done poorly, the outside of the meat morphs into leather, encasing a Goldilocks band that’s “just right,” and an interior that’s a meager step above raw. What sous vide allows a cook to do is to set the temperature in the circulating water bath just slightly higher than the desired core temperature of the item to be cooked, place the bag in the water, and walk away for a few hours.

Yep, you read that right. A few hours. Sometimes as many as 72 hours. Anybody who’s used a slow cooker is reasonably familiar with the anti-microwave nature of this method. It relies on thinking things through well in advance of the meal; no spur-of-the-moment “Gee, I’d like some carnitas!”-type decisions here. And I’m good with that, at least most of the time. I usually know how many people will be dining here a couple of days in advance and am capable of following a calendar to schedule my meal-building appropriately.

So I started reading recipes and digging into the underlying science — it’s just part of my process. I read Thomas Keller’s Under Pressure: Cooking Sous Vide. I read Sous Vide for the Home Cook by Douglas Baldwin, Michael Eades, and Mary Dan Eades. I read the relevant passages in the massive six-volume set Modernist Cuisine: The Art and Science of Cooking by Nathan Myhrvold, Chris Young, and Maxime Bilet. I plowed through innumerable articles on the Interwebs. And in addition to the joys and benefits of this exciting new technique, I uncovered a staggering amount of information about food safety and how to avoid serving things one doesn’t care to eat, such as colonies of Escherichia coli O157:H7. And Salmonella. And Clostridium perfringens. And Bacillus cereus.

Let me say at this juncture that I keep surfaces in my kitchen pretty clean, but I wouldn’t want a USDA inspector poking his nose around with a black light and swabs for petri dishes. And I certainly don’t want to serve a lovely, tender roast that sends my dinner guests off to hospital. So I read more. And more. And more. For a period of time, I became convinced that I’d have to prepare my food in a hazmat suit, install negative air flow isolation chambers at both entrances to the kitchen, and finish my chemistry degree or run the risk of becoming known as the South Bay Poisoner. Clearly, along that route lay madness — or, in my case, paralysis.

Recently, as the Sous Vide Supreme was sticking out its figurative metal tongue at me from its perch below the printer, I had an epiphany: my kitchen isn’t so very different than many restaurant kitchens that employ this technology successfully. And unless one happens to be dining with Harold McGee or Nathan Myhrvold, the likelihood of the chef holding an advanced degree in food science or chemistry is fairly small. In short, I can do this.

And I’m going to. I’ve made myself a promise — now repeated in public — to enjoy the benefits of sous vide cooking while summer is still in full swing… if only to relieve the pressure.

Should you see any news stories about the South Bay Poisoner cropping up, all I can say is that it wasn’t me. I was miles away at the time, and I can prove it.

Kicking it, and kicking it off

2
Gluten-free Chocolate Chip Cookies

Gluten-free Chocolate Chip Cookies

When I was a wee sprout, the first real food I ever got to make “by myself” was chocolate chip cookies. The “by myself” is in quotes because I was performing under the hawk-like eye of my maternal grandmother, in whose company I had spent many hours in the kitchen prior to my first “solo” flight.

Chocolate chip cookies are a pretty good place for the budding baker/cook/chef to start, because the recipe on on the back of the Nestlé Semi-Sweet Morsels package is fairly bulletproof. I’ve made my own mods over the years, adding ingredients ranging from malt to orange zest to ground-up Altoids, changing the sweetening agent mix, modifying the flour — graham flour chocolate chip cookies were a remarkable failure, and maybe someday I’ll be motivated to figure that one out — but I had never made gluten-free chocolate chip cookies until the 3rd of July, 2013.

I had interviewed Chef Thomas Keller for Style Magazine, the in-house publication of The Venetian and The Palazzo in Las Vegas, and part of that interview centered around the gluten-free craze, and how his restaurants (The French Laundry, Per Se, Bouchon, Ad Hoc) dealt with it. Turns out, he had commissioned one of his chefs, Lena Kwak, to develop a gluten-free flour that looked, tasted, and behaved like “the real thing.” It is marketed as Cup4Cup.

The flour is not inexpensive, but Gilt.com had one of its flash sales, and I bought a 25lb. bag of Cup4Cup for $69. [Yeah, I know that seems a fairly excessive way to jump into a new product, but it was a great deal.]

Long story short, I made a double batch with my standard recipe, and the cookies came out great. Really tasty, if I do say so myself, every bit the equal of the ones I’ve been making for the better part of half a century. Nicely done, Lena. And Thomas.

You can find Alton Brown’s interesting and informative — if somewhat cornily acted — program on chocolate chip cookie variations at http://www.youtube.com/watch?v=5MYuXRaW0B0. And here’s a link to Cup4Cup: http://www.cup4cup.com/about-us/.

************************************************
Gluten-Free Chocolate Chip Cookies [Double Batch Style]

5 1/2 cups Cup4Cup® gluten-free flour
2 teaspoons baking soda
2 teaspoons salt
2 cups (4 sticks) butter or margarine, softened
3 cups packed brown sugar
3-4 tablespoons vanilla extract
5 medium eggs, room temperature
4 cups (24-oz. pkg.) NESTLÉ® Toll House® Semi-Sweet Chocolate Morsels
2 cups chopped nuts

Preheat oven to 375°F / 190°C

Combine dry ingredients (flour, baking soda, salt) in one bowl. In a separate bowl, beat butter/margarine, sugar, vanilla until creamy, then add eggs and continue beating until they are incorporated. Gradually stir in flour mixture, chocolate chips, and nuts. Drop dough onto ungreased baking sheets. Bake for 9-12 minutes or until golden brown. [I turn the sheet midway through, because my oven doesn’t have evenly-distributed heat, but you probably won’t have to worry about that.] Remove from oven and put cookies on wire racks to let them cool. Eat, or serve to friends, or both.

************************************************

Temple of the Tongue is gonna be (I hope, anyway) a funky amalgam of cooking tips, restaurant reviews, interviews, links to videos, my magazine articles, all sorts of odds and sods about making — and eating — food. Friends have been bugging me to do this for years now, and I’ve finally caved. I hope this little journey we’re taking together will be enjoyable, or, as we used to say back in the radio days, “If you’ve had half as much fun today as I have… well, then I’ve had twice as much as you.”