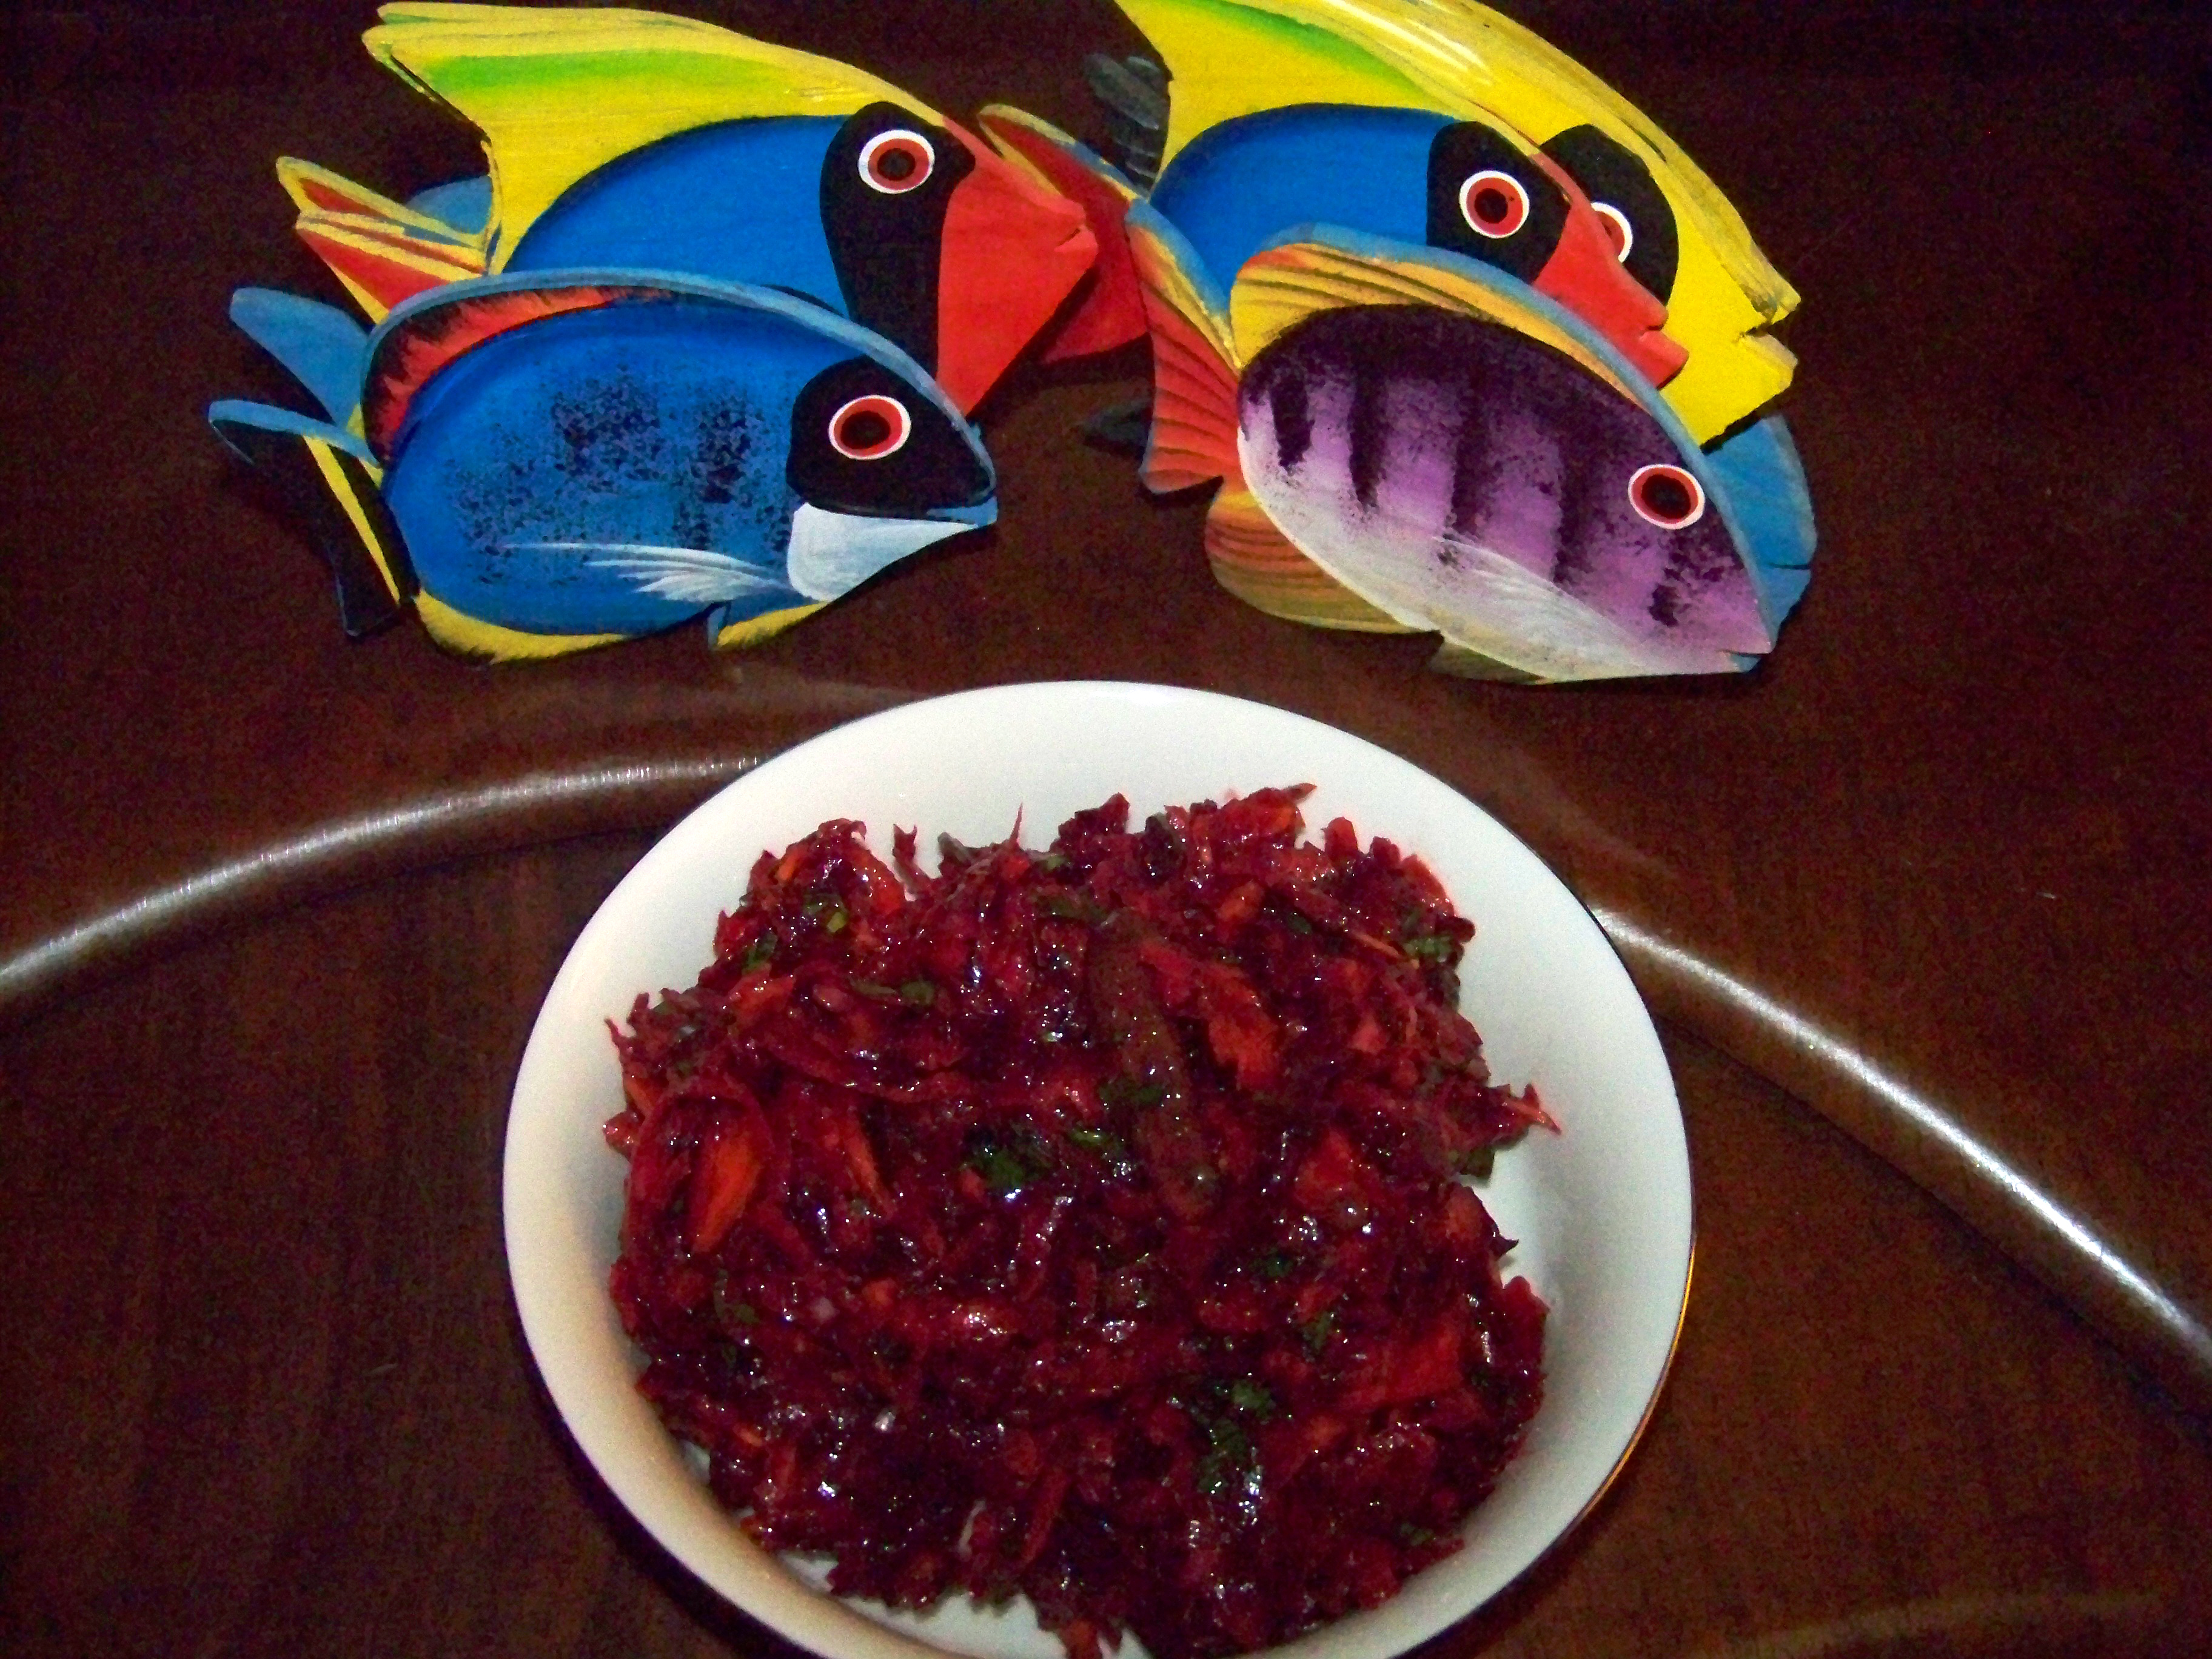
Best. Beets. Ever. Sans the hard-cooked eggs, which Tanis said were optional.
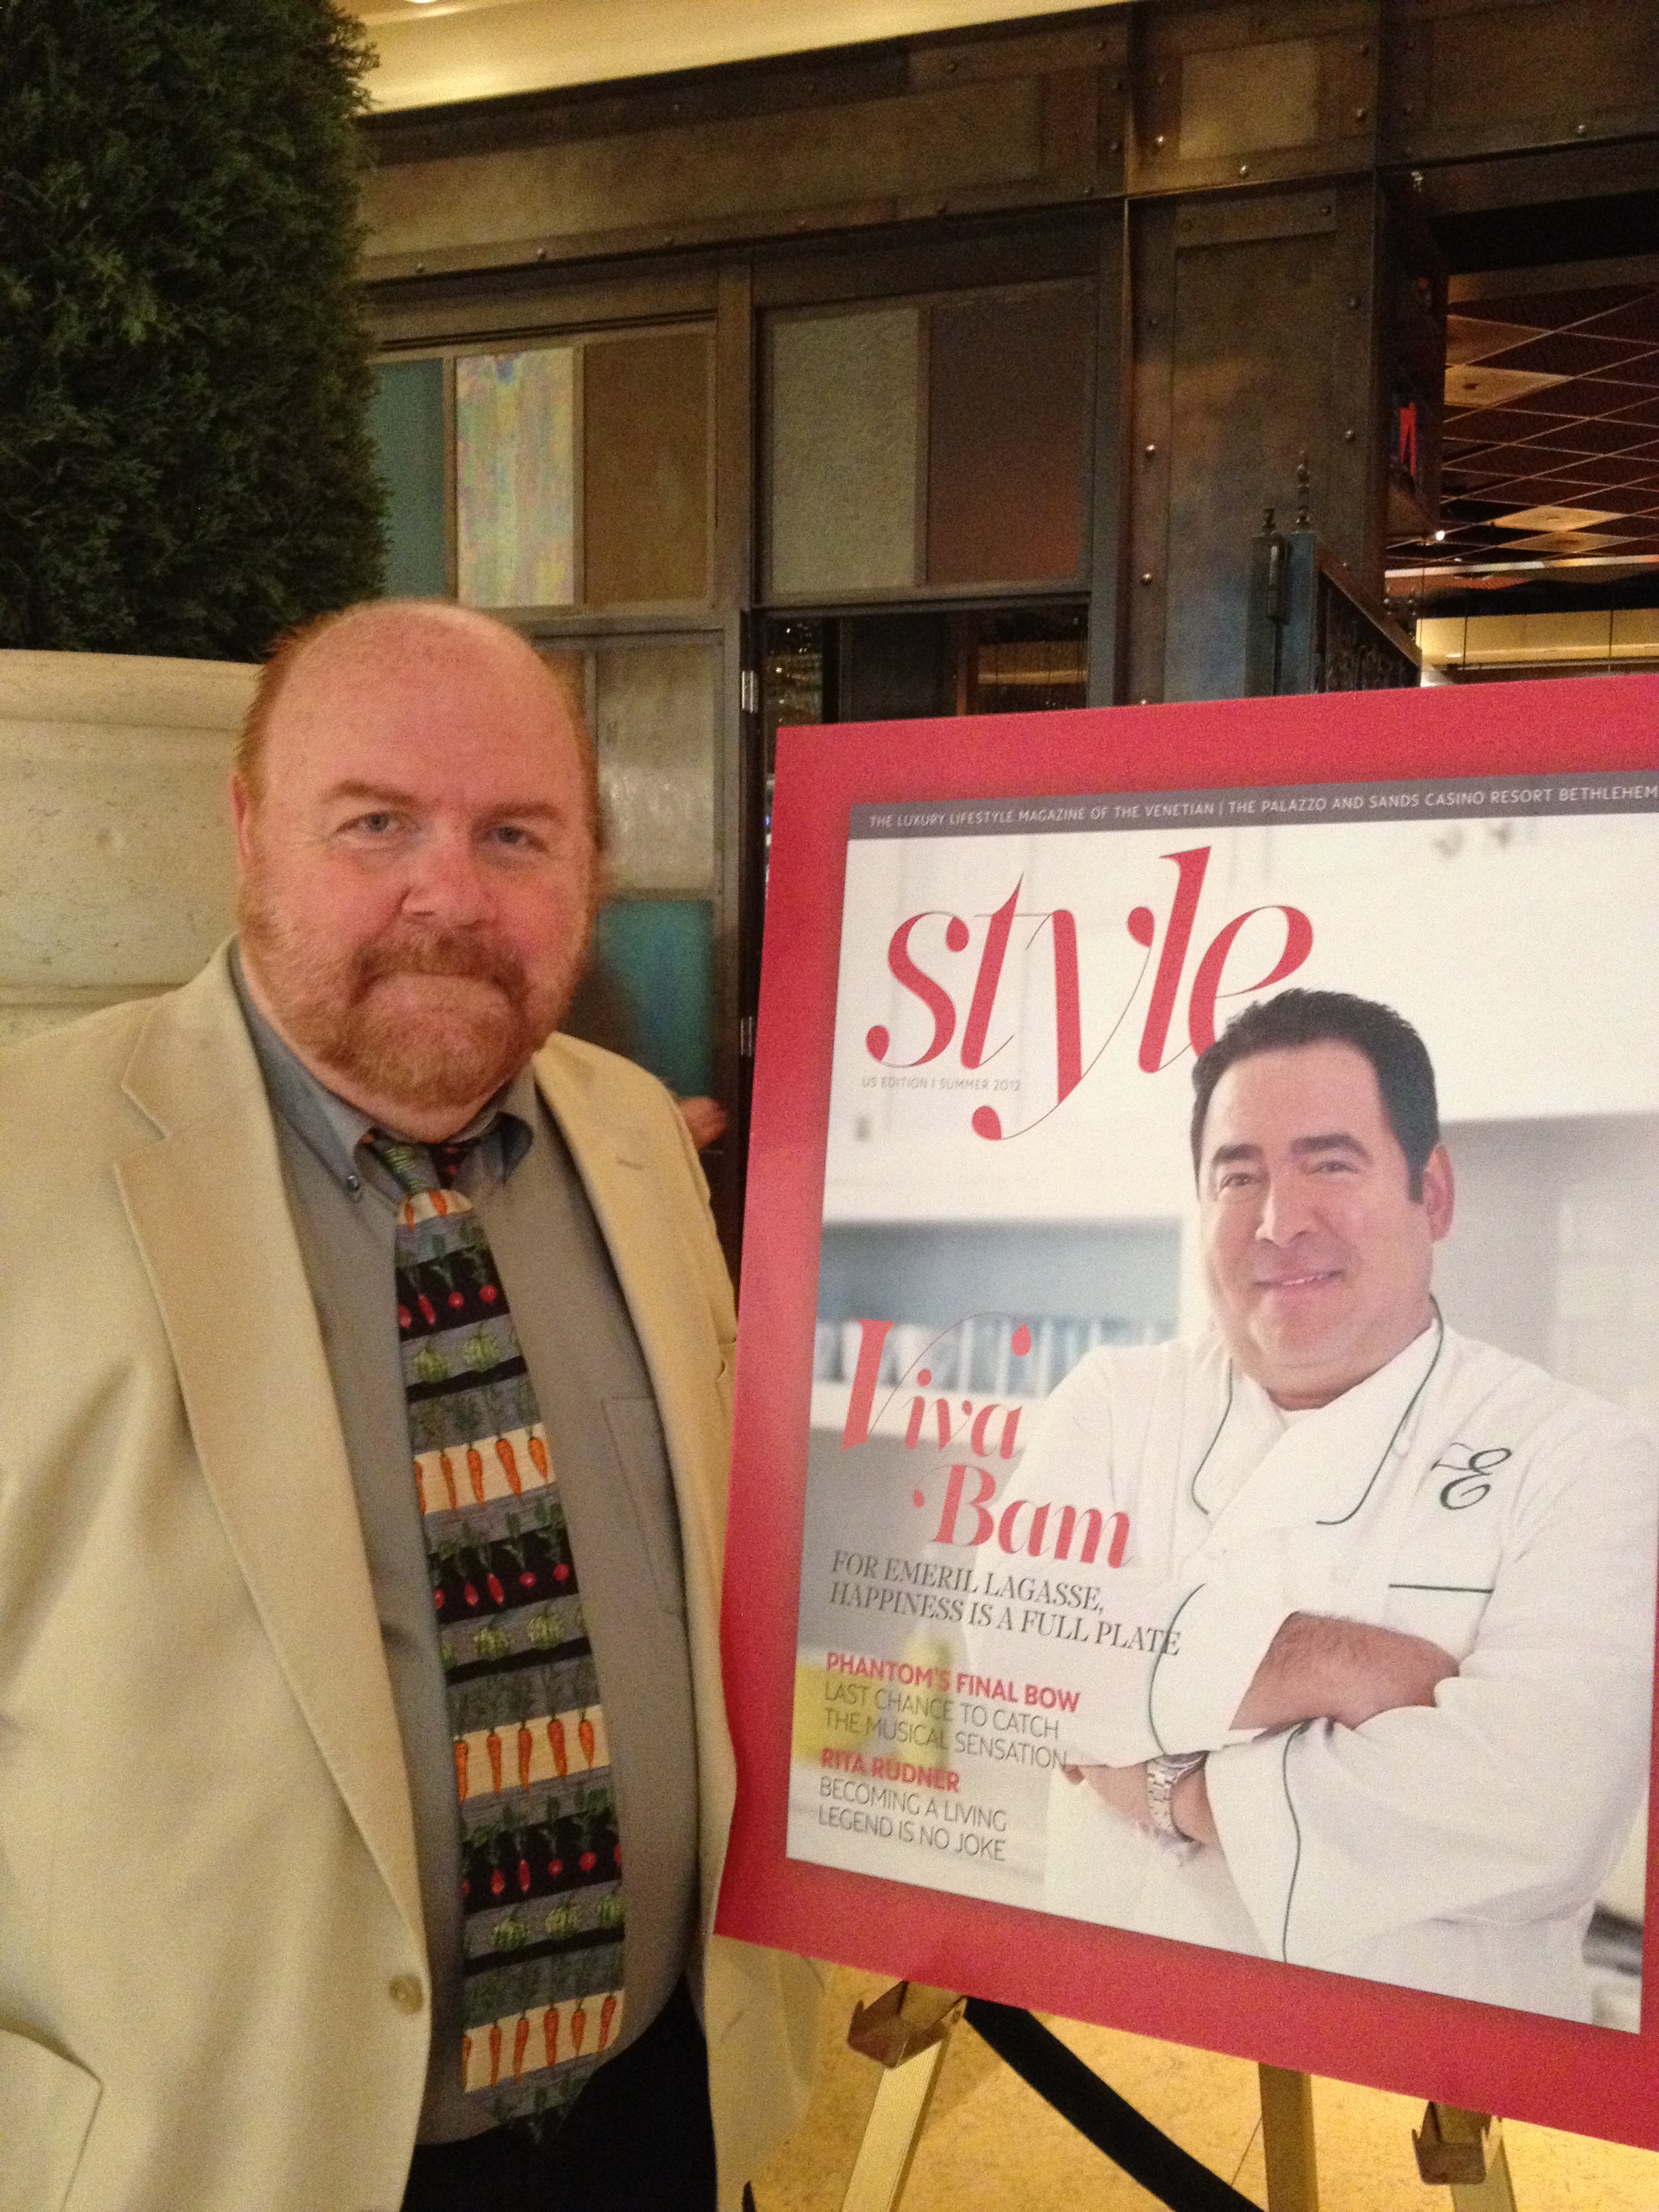
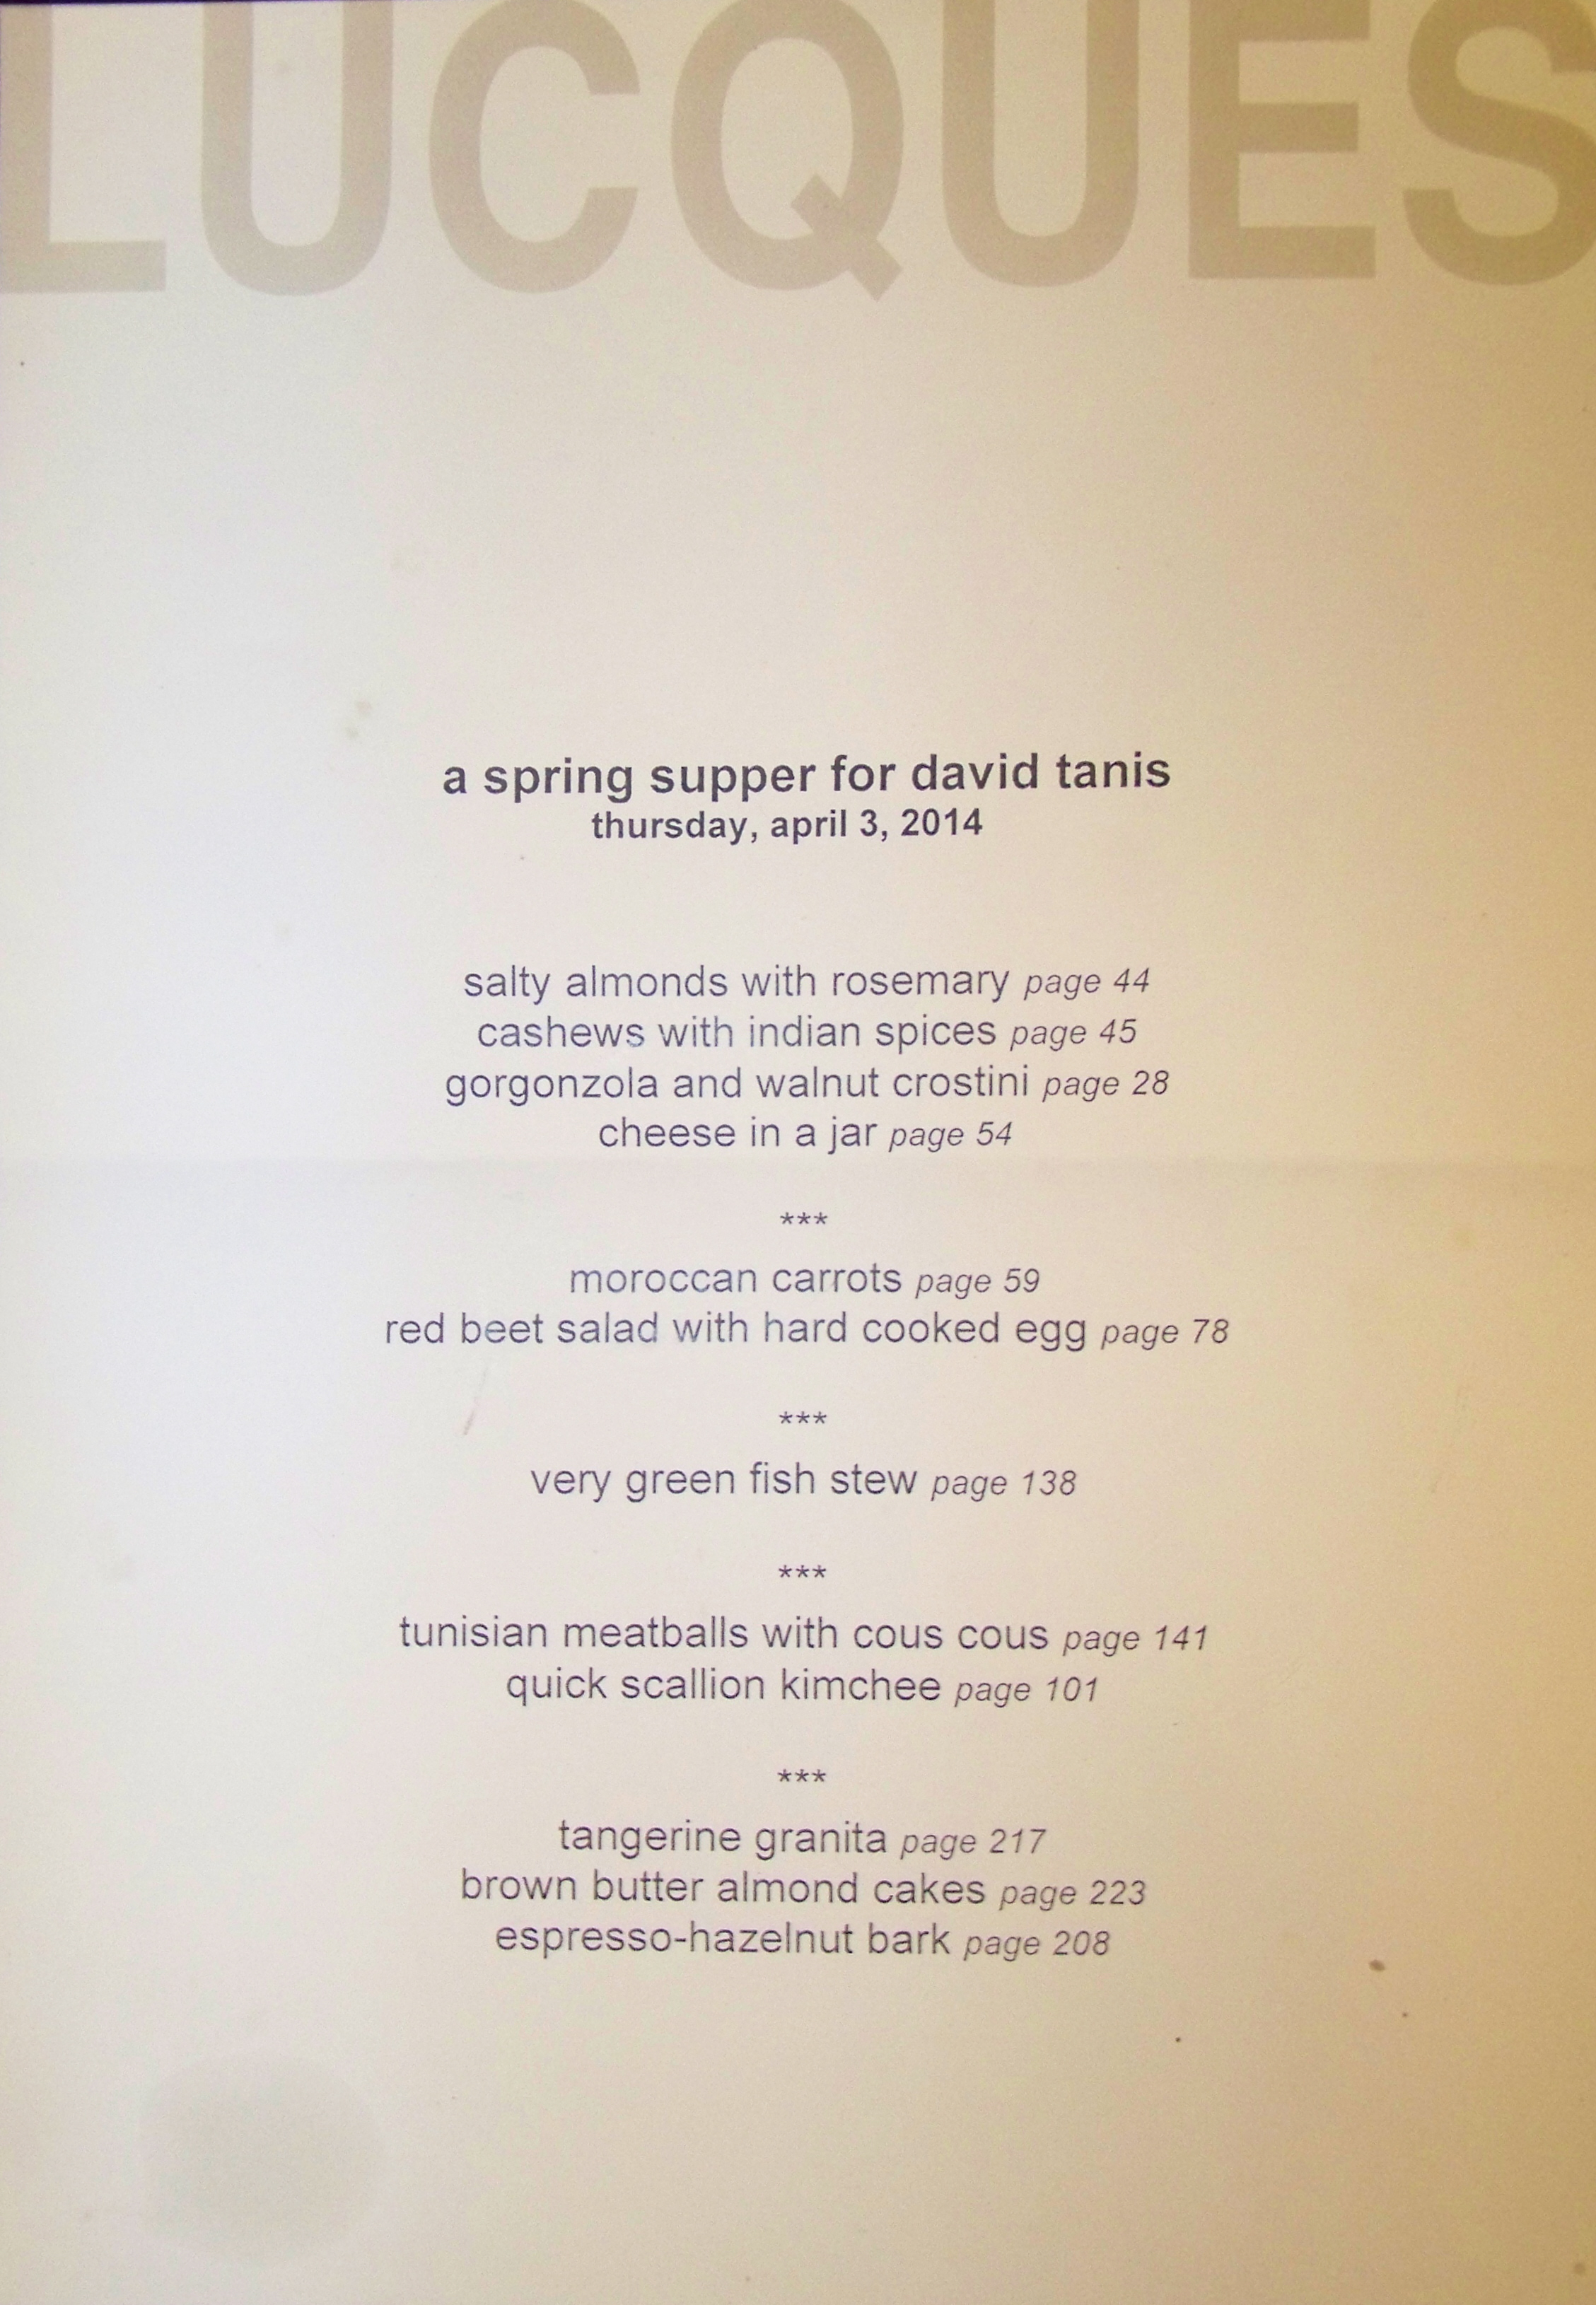
“As Bokonon [actually the late author Kurt Vonnegut] says: ‘Peculiar travel suggestions are dancing lessons from God.'” And I’m sure, were Bokonon here, he’d be happy to include “peculiar dining suggestions.” A couple of weeks ago, my pal Dan Fredman sent me an email about a wine dinner happening at Lucques in Beverly Hills, celebrating both the loose confederation of wine producers known as In Pursuit of Balance and the release of chef David Tanis‘ latest cookbook, One Good Dish. It was on a Thursday night, which interfered with The Bride’s workout schedule, and it was to start at 7 PM, which is always a challenge in Los Angeles traffic. I knew of Tanis tangentially, but I was not deeply acquainted with his history, so my natural tendency was to give it a miss. But Bokonon spoke to me, as he often has before, so I made the reservation, albeit with some reservations. But not many: dinner at Lucques has always been delightful, and at the worst, I’d have a chance to hang with Dan, which is always edifying. Also, as part of the deal, I’d get a copy of the cookbook, which kinda made the whole thing a bit of a no-brainer.
When we arrived, Dan greeted us and bade us to sit at his table, where Tanis himself was ensconced, along with a couple of other of our acquaintances whose conviviality is highly evident. The author was, by design, supposed to circulate. In practice, though, he hung out mostly at our table, often serving the dishes that he himself created.

He cooks, he scores. He even serves.
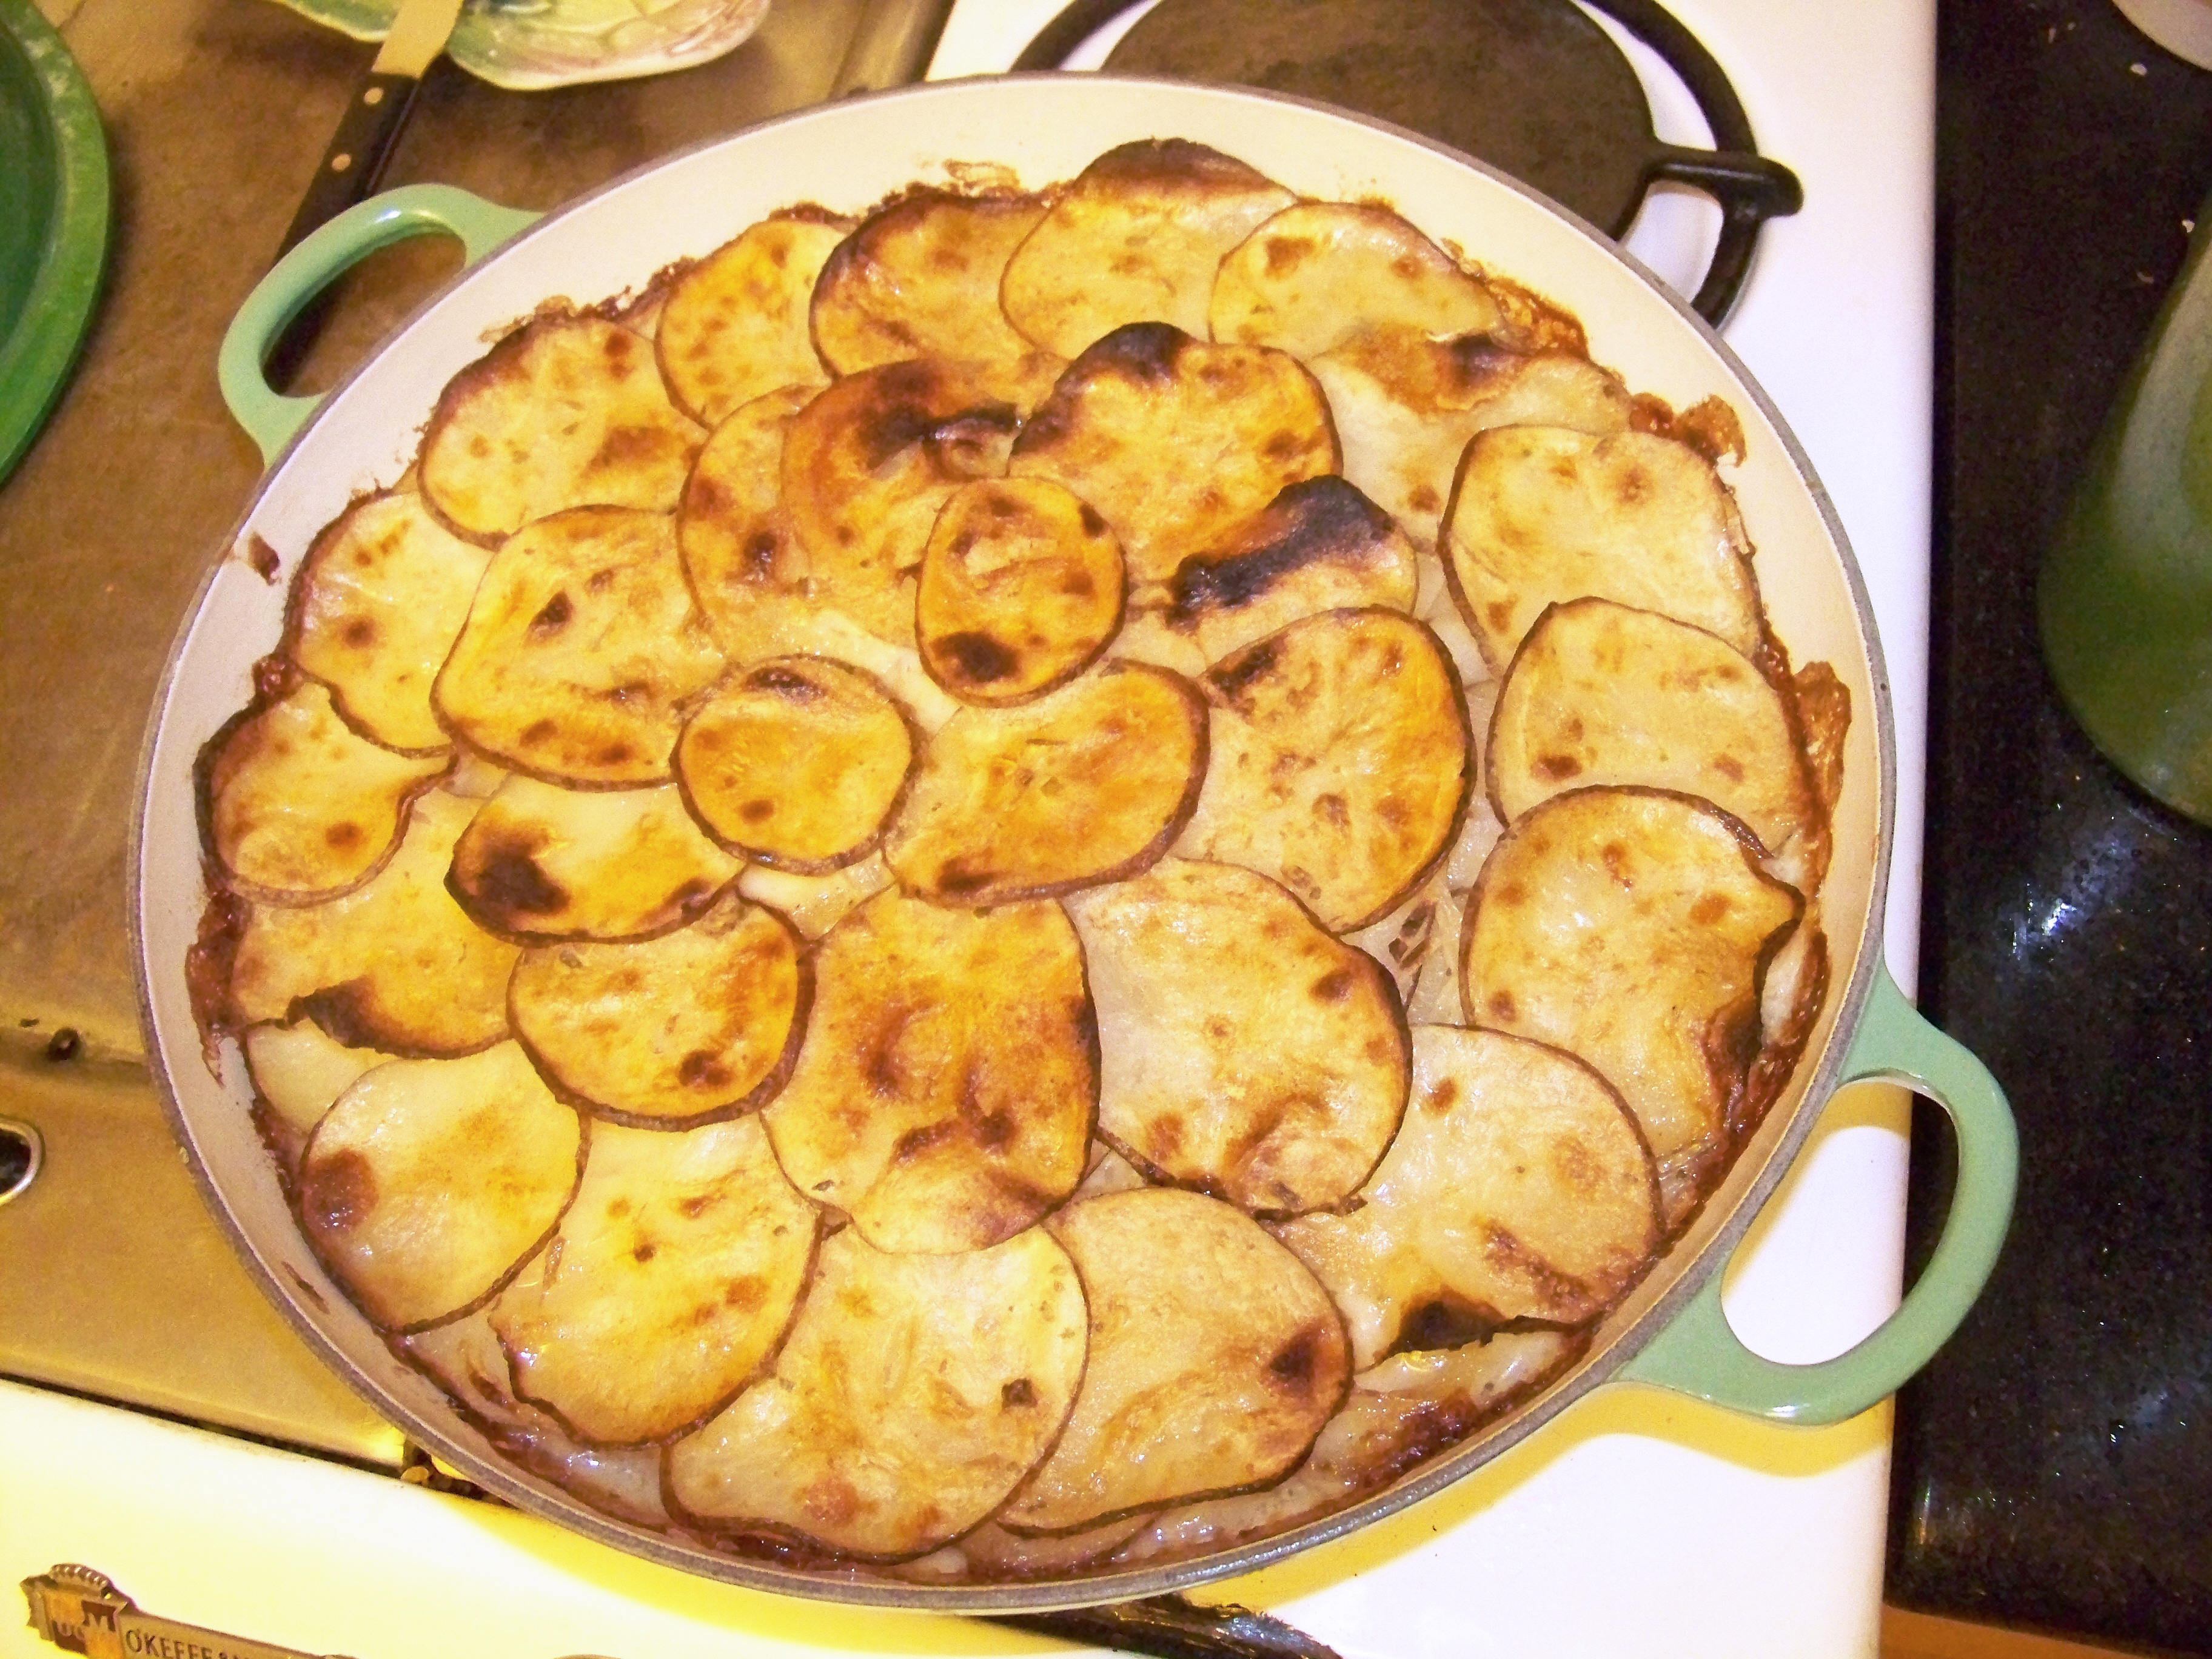
The entire menu was — and this is a technical term — really tasty. All of it came from One Good Dish, with page numbers thoughtfully included. No doubt I could wax poetic about the crostini, or the espresso-hazelnut bark, and perhaps I will after I have made them. But this time, I’m going to lavish my praise upon the beets.
A perfect meal.
I’ve never been a big fan of beets. I’ve tried roasting them, cooking them in soup, glazing them, whatever. It’s not like I haven’t tried to like them, but I never had a beet-eating experience that made me want more. Until April 3, 2014, when The Bride, with whom I have been paired for more than three decades now, heard these words pass my lips for the first time ever: “May I have some more of the beets, please?”
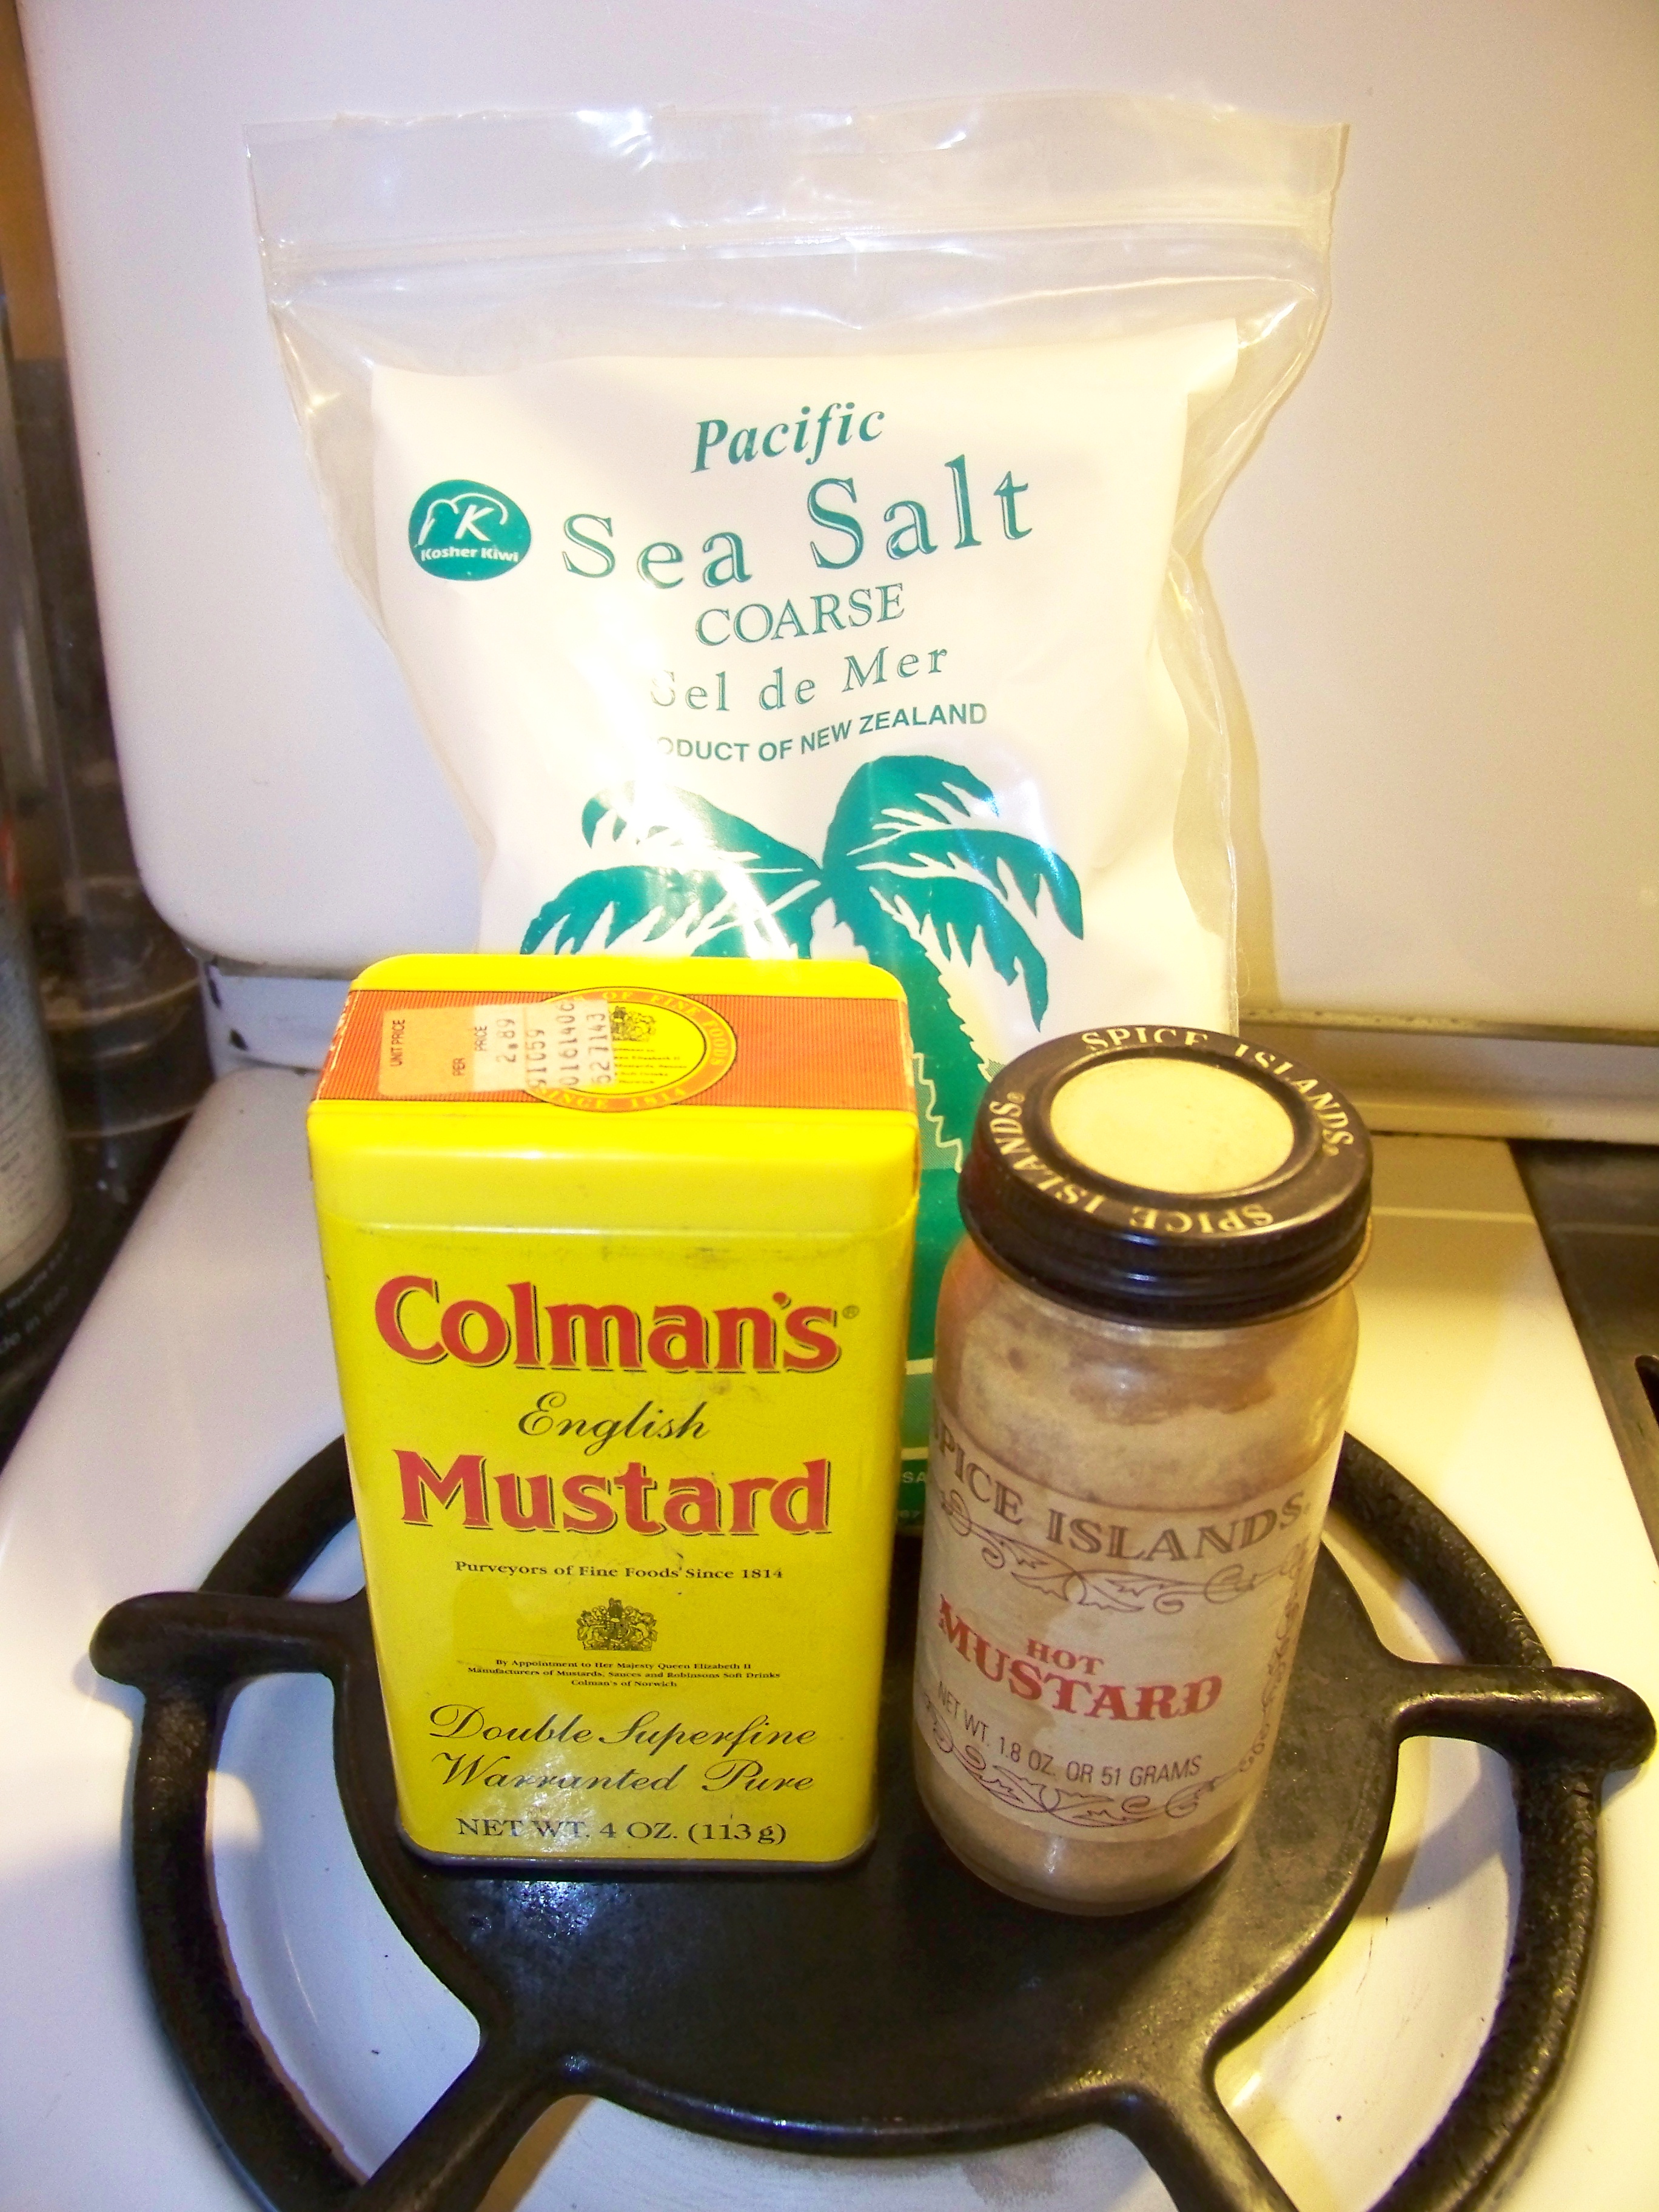
Tanis’ Red Beet Salad, at its heart, is grated raw beets served in a fancy vinaigrette. And the Bugatti Veyron, at its heart, is a motorcar. The ingredients aren’t hard to locate or particularly sophisticated, but it’s absolutely worth using the very best available to you, especially super-fresh beets, and really good Dijon mustard, red wine vinegar, and olive oil. I used some red wine vinegar that I had picked up at Turley Wine Cellars, and cold-pressed extra virgin olive oil from Oliana.
A minor digression: The difference between $15 olive oil and $3 olive oil is often hugely significant. I highly recommend splurging whatever your budget can afford on a great bottle of olive oil for finishing soups and salads, serving on bread, etc. Oliana in West Hollywood (sadly now closed) and Beyond the Olive in Pasadena (whose storefront is also now closed, but still sells online) and Stonehouse California Olive Oil in the San Francisco Ferry Building all have tasting rooms, where you can select from a variety of olive oils with a wide spectrum of characteristics. Most major cities in America have some gourmet store that offers a similar experience. [2017 update: Of late, we’ve been subscribing to a thrice-yearly variety package from Olea Farm in Templeton, CA.] Do give it a go; if you haven’t done it before, you will be shocked — pleasantly, but shocked nonetheless — at just how different olive oils can be.

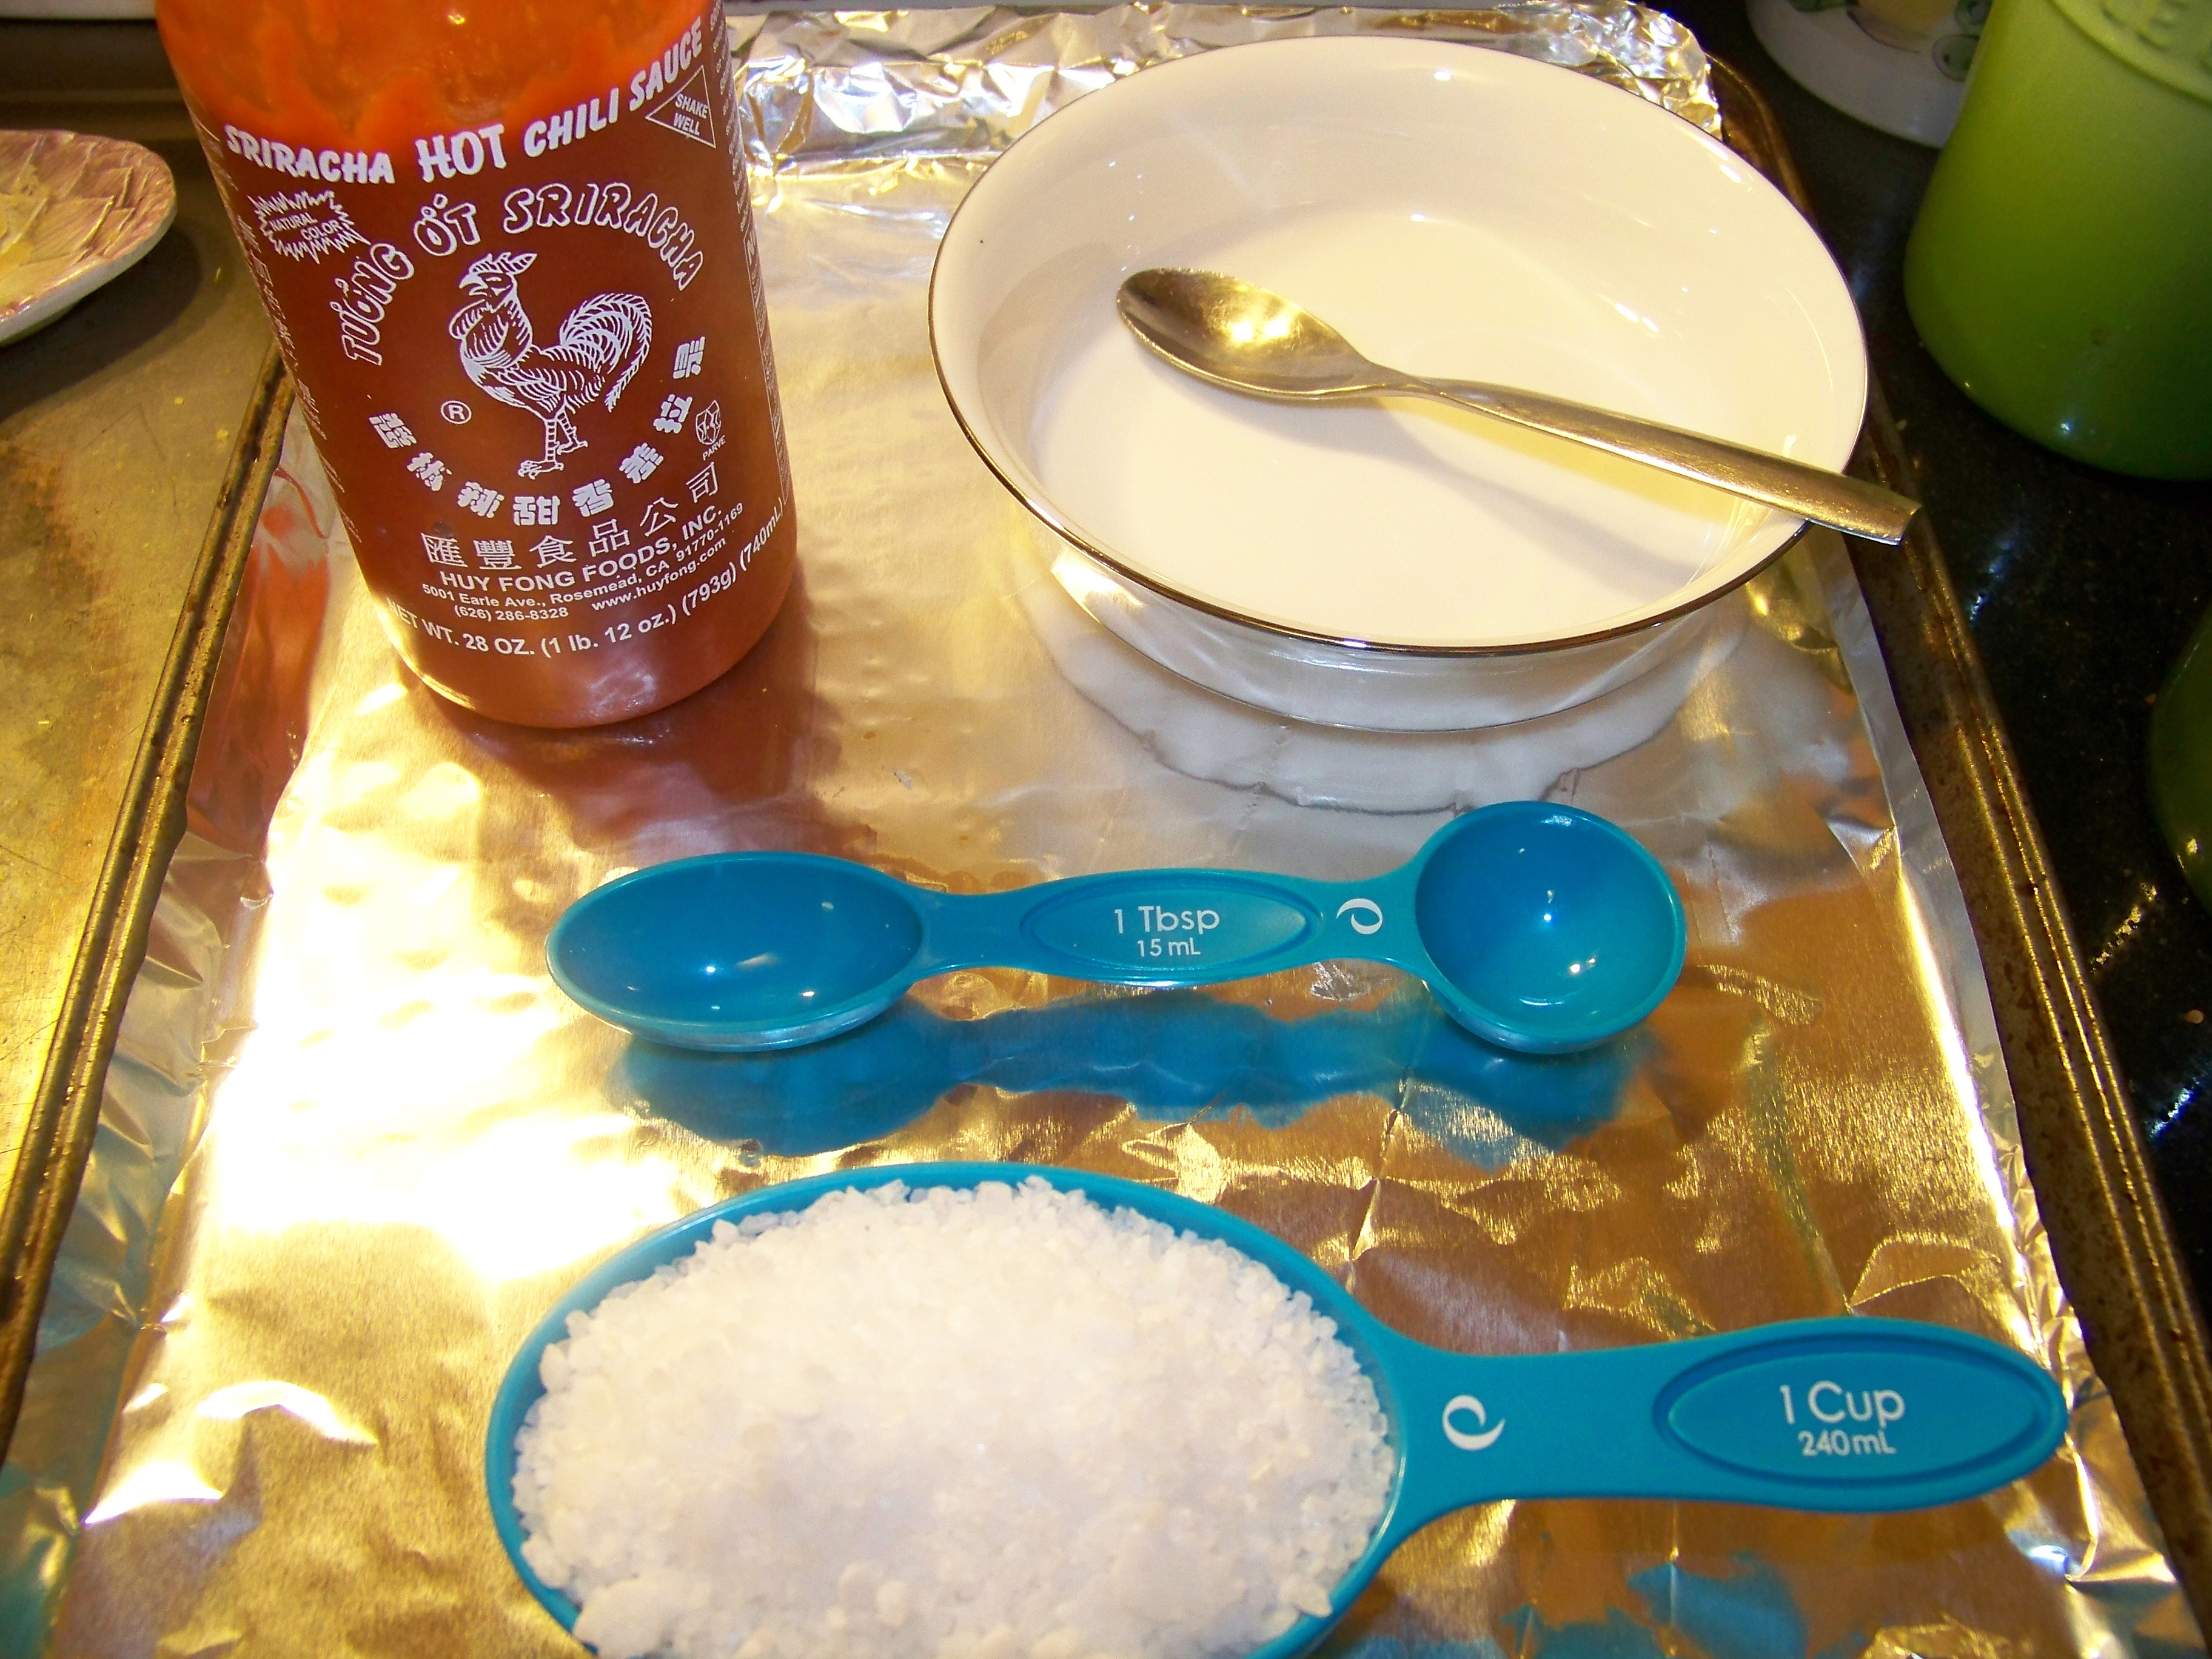
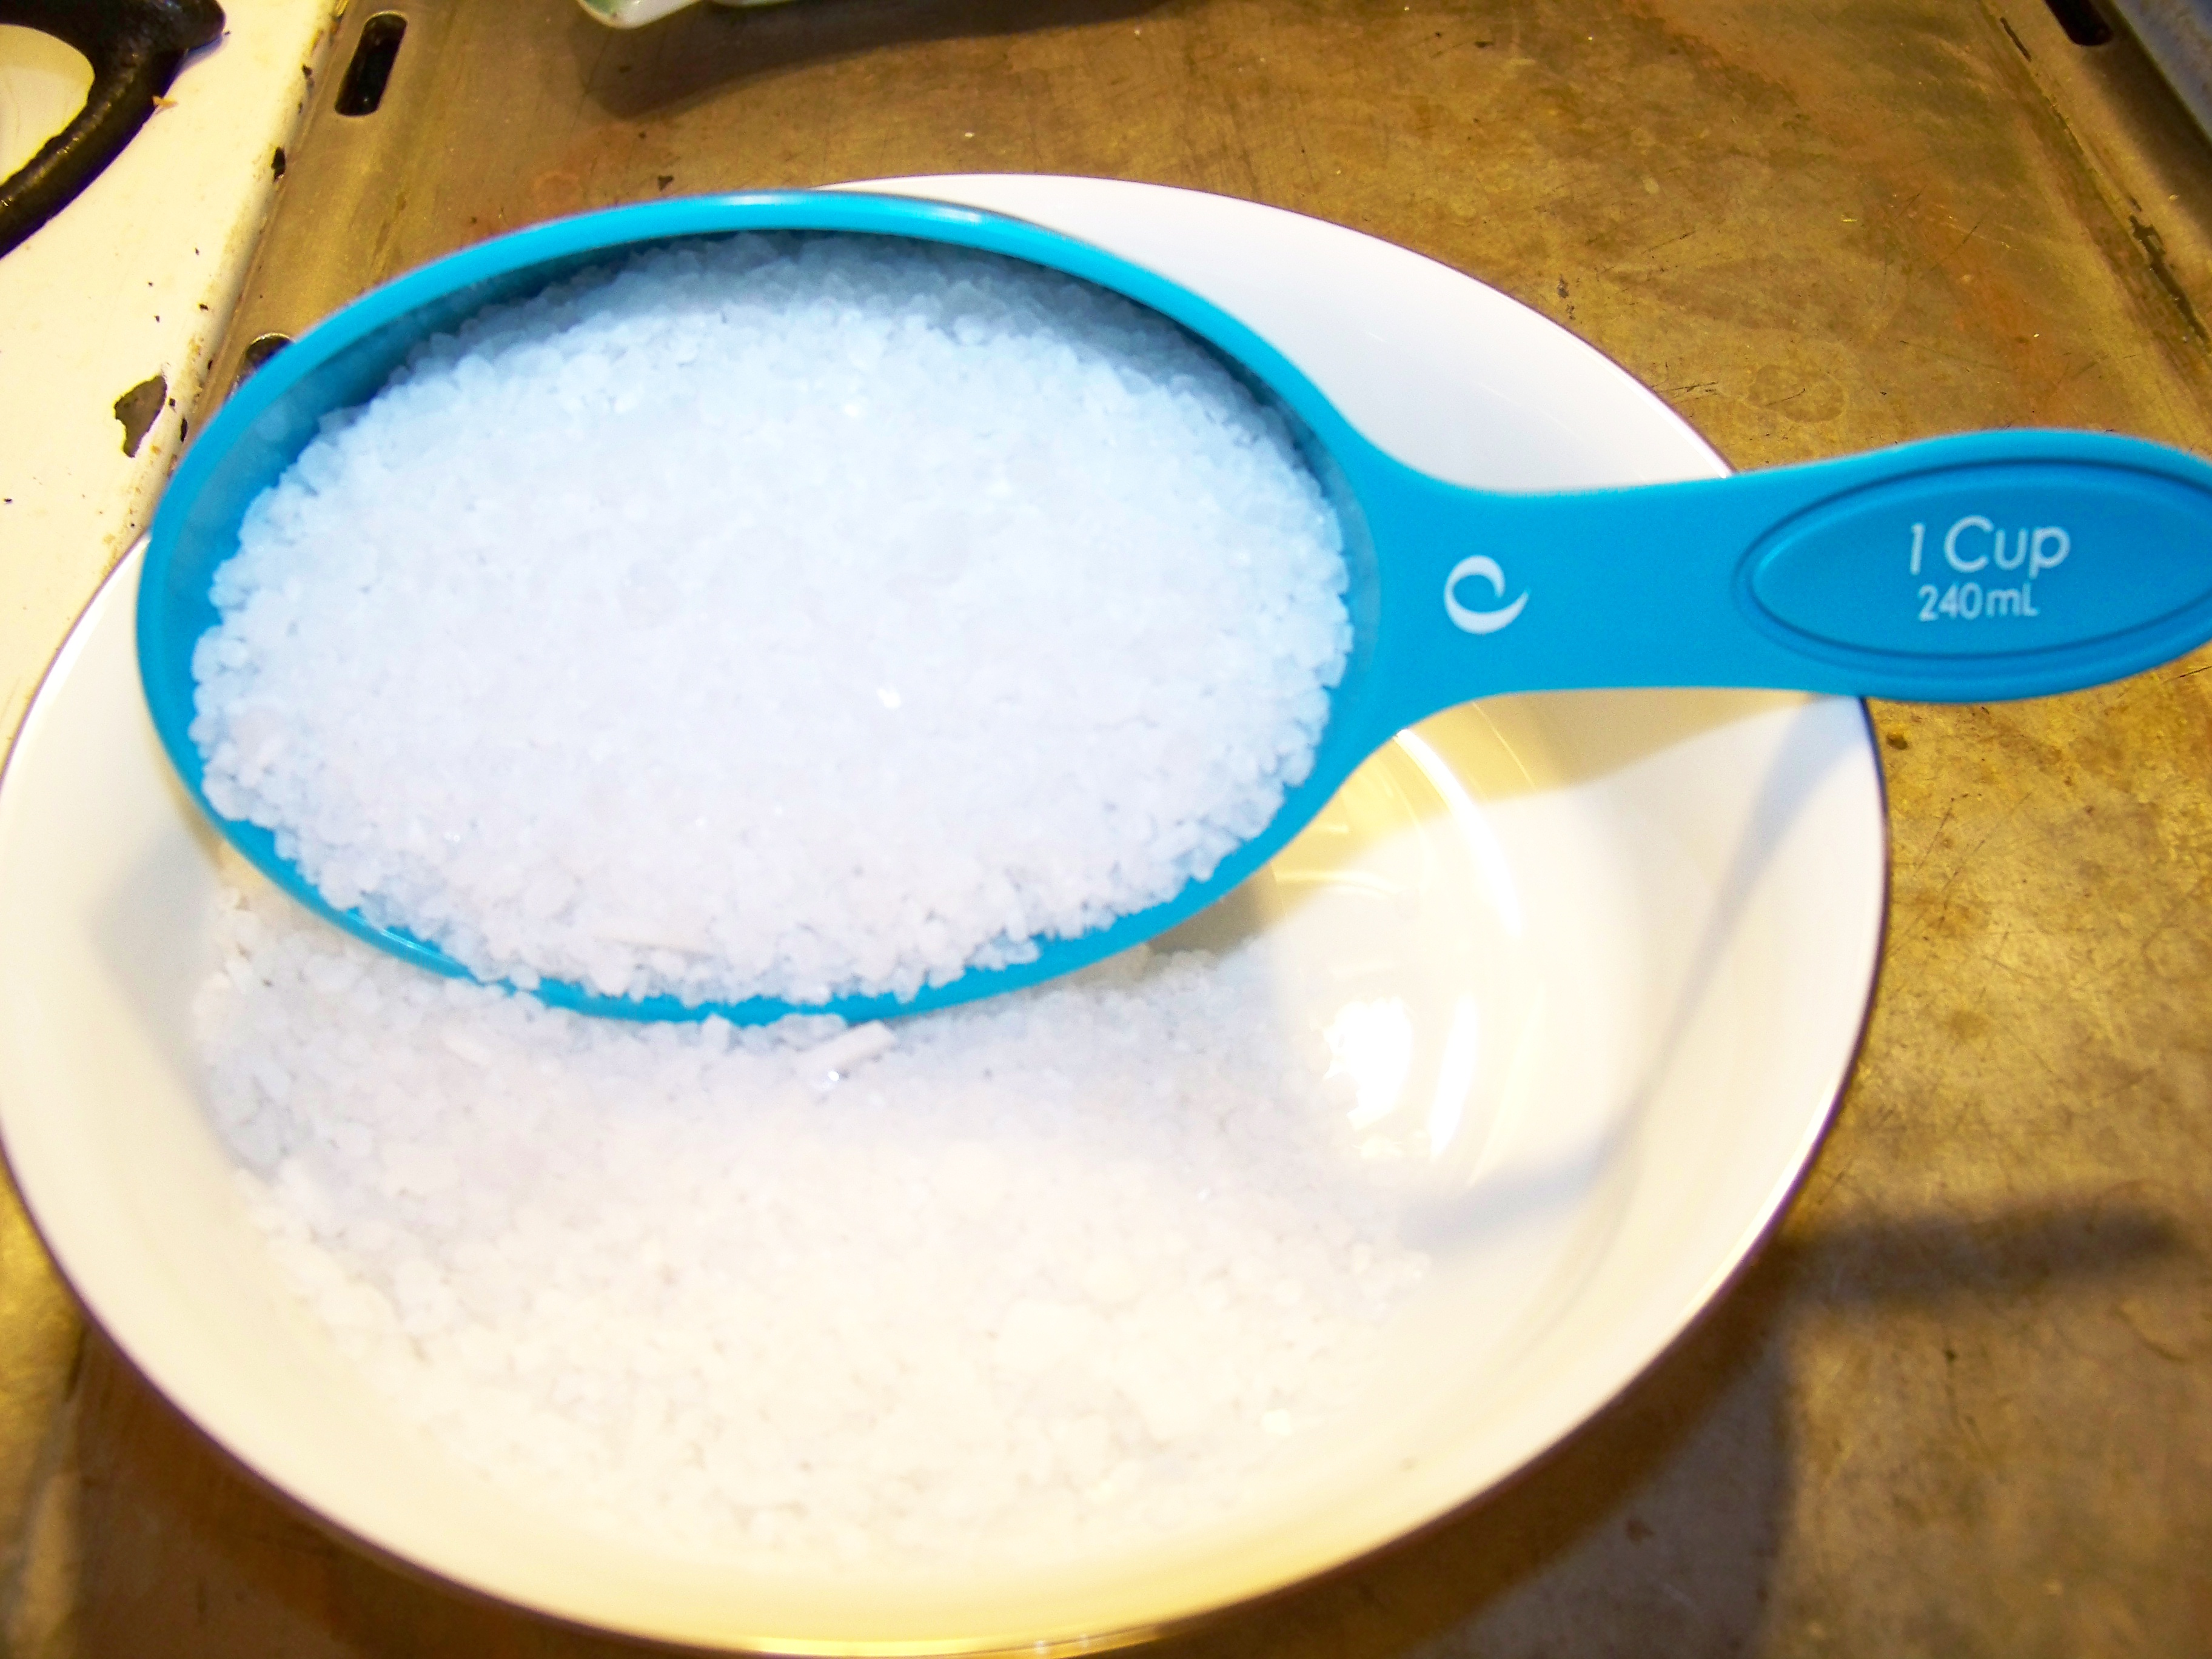
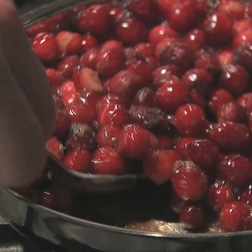
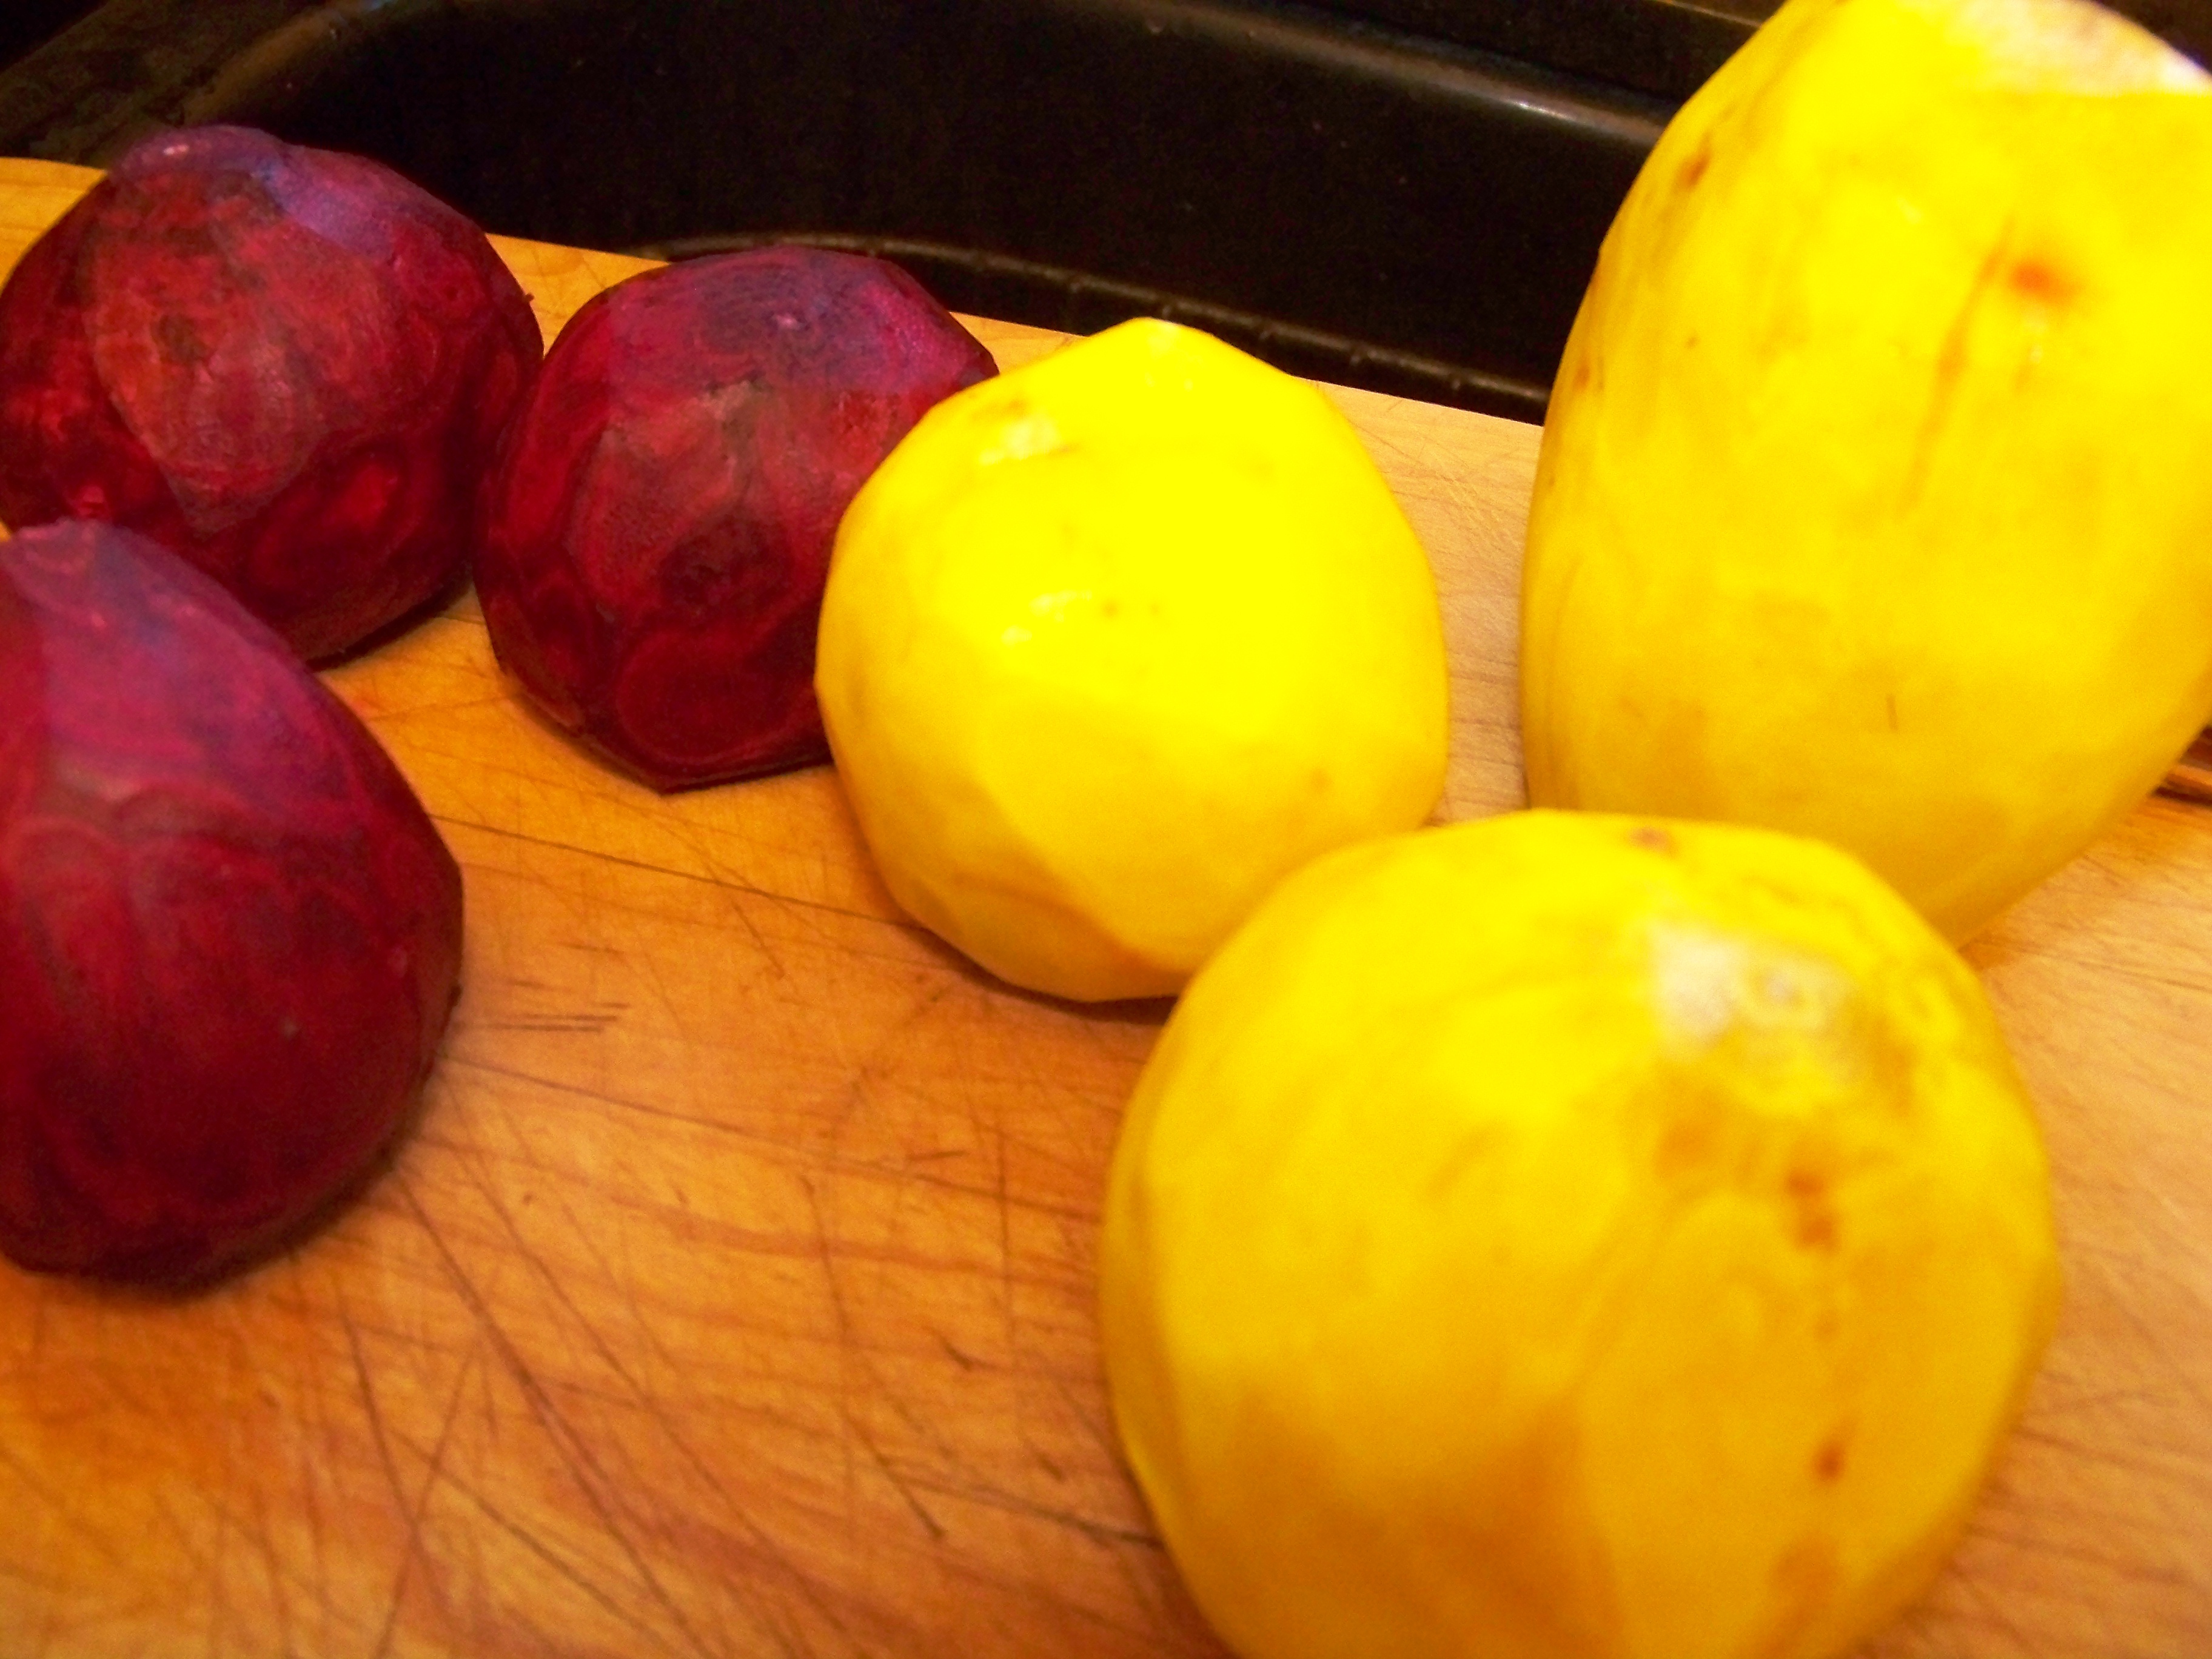
All you need to make this excellent salad.
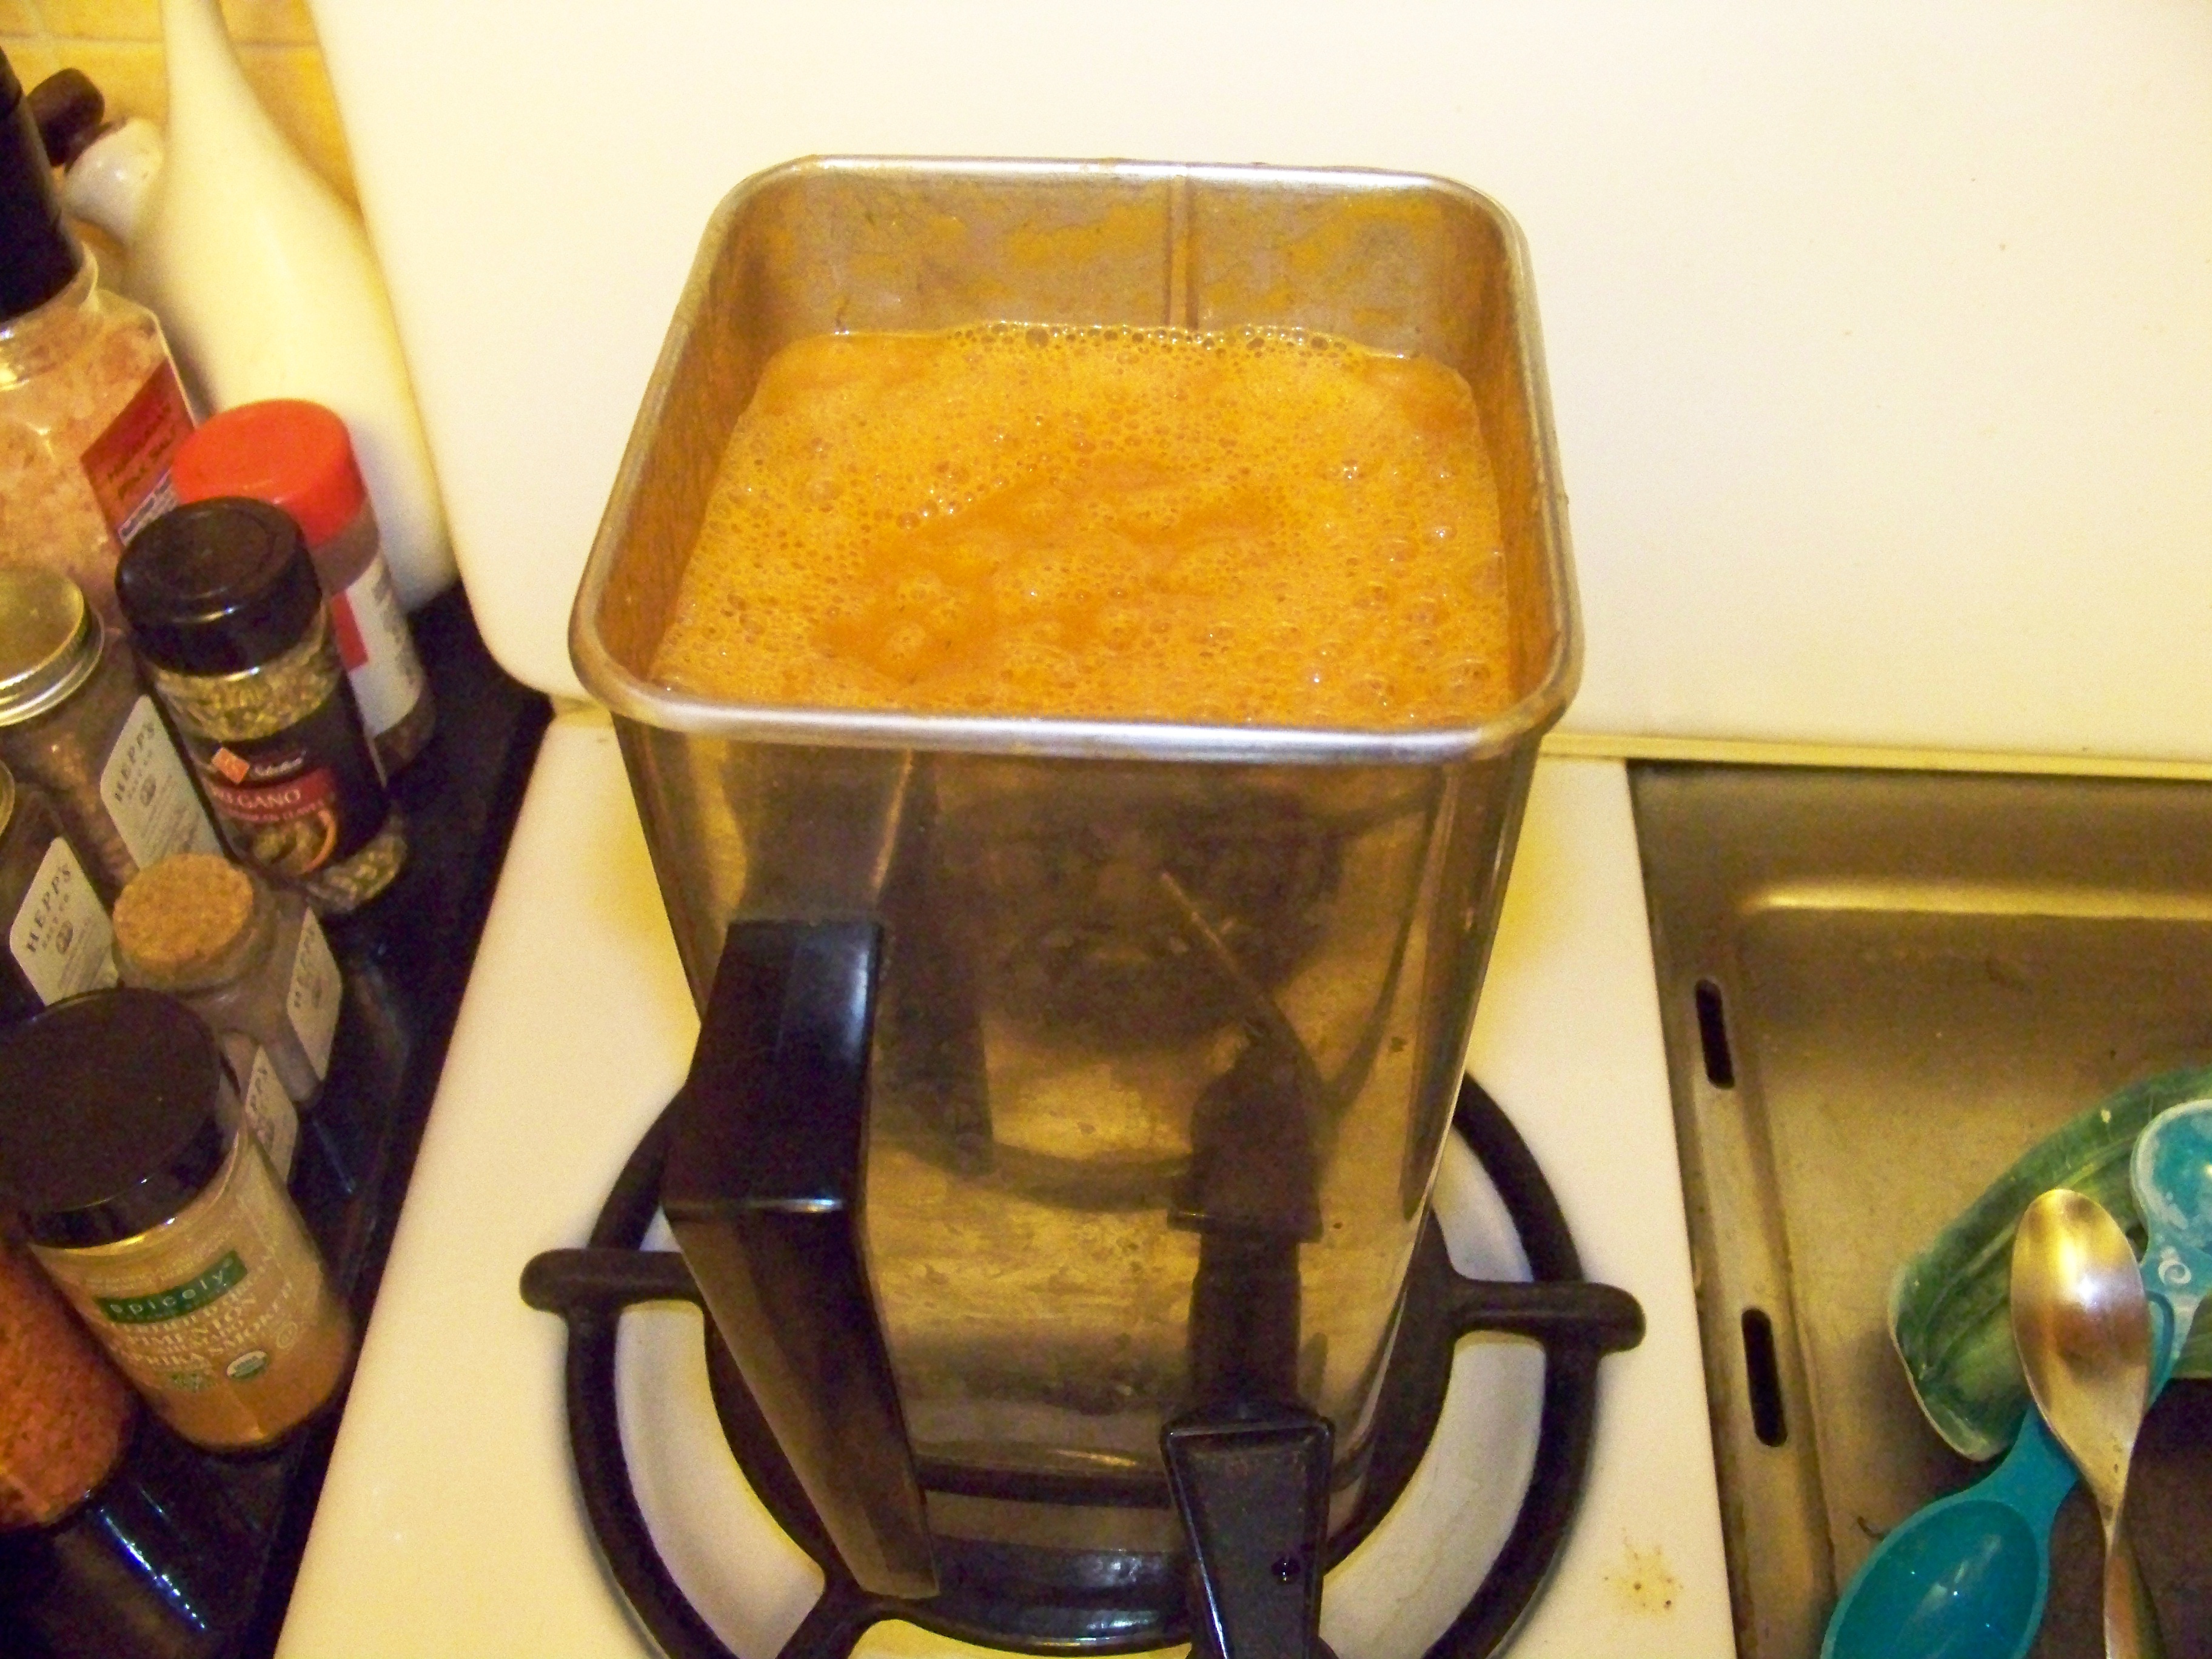
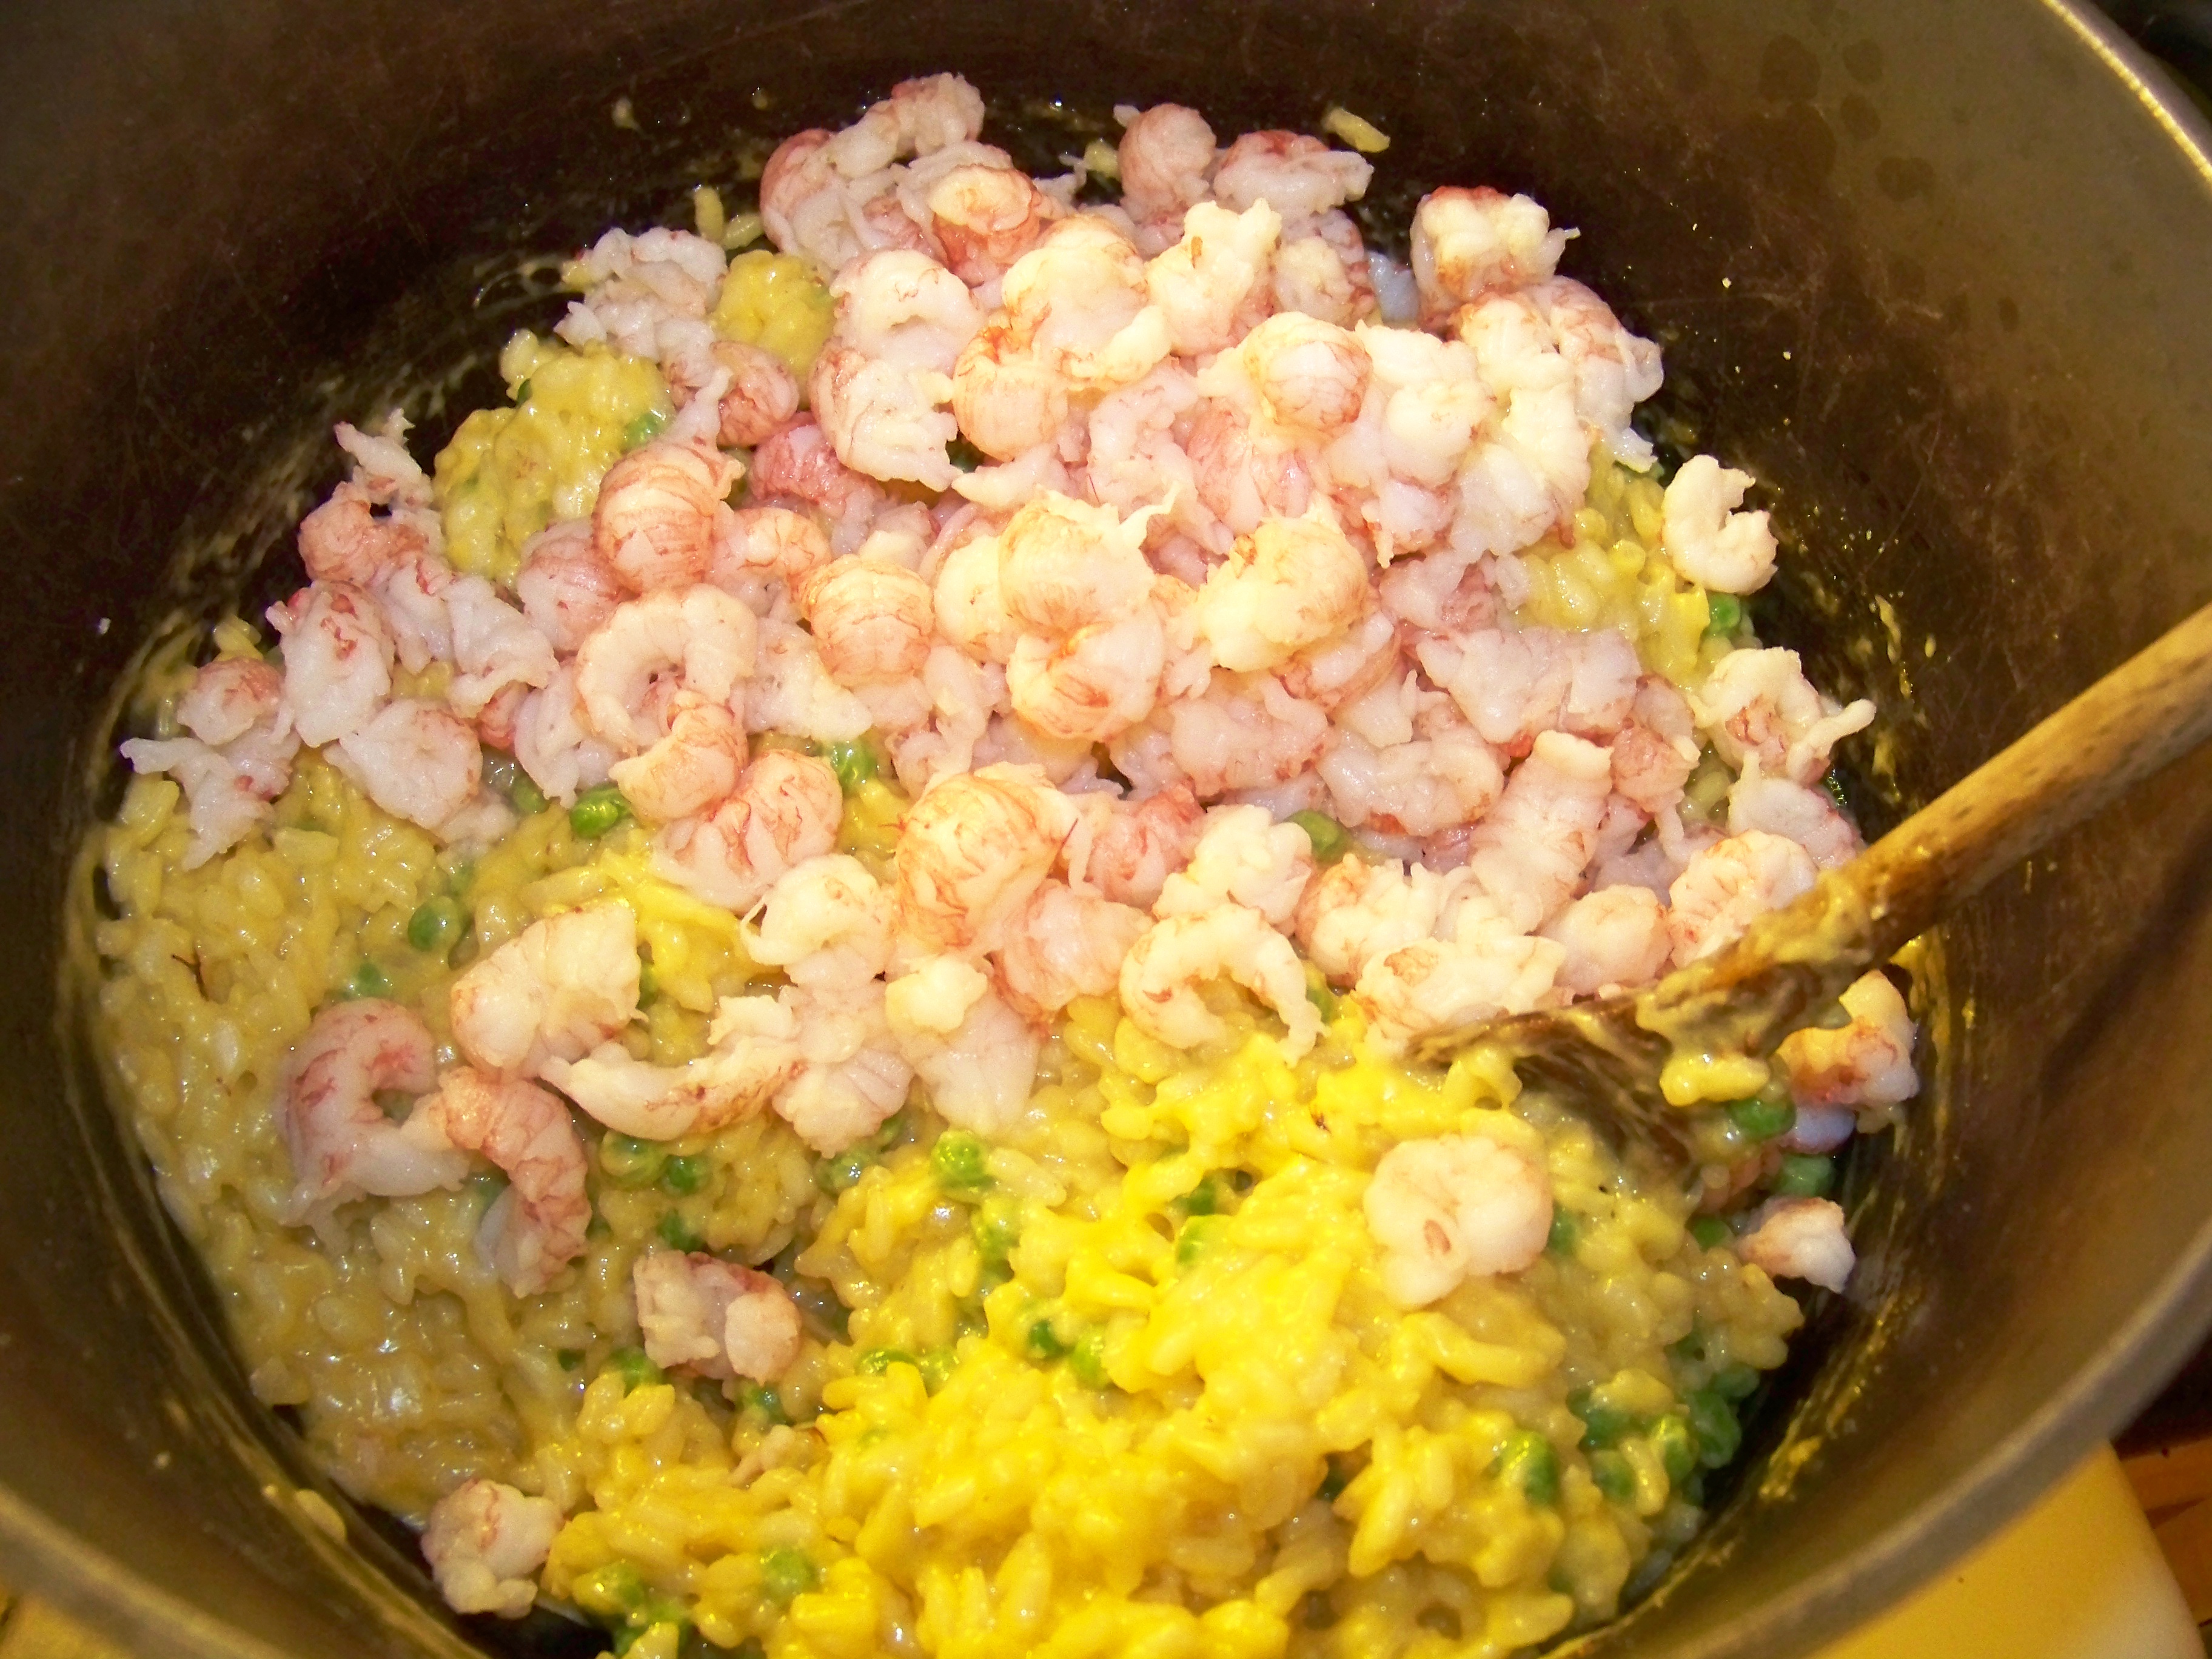
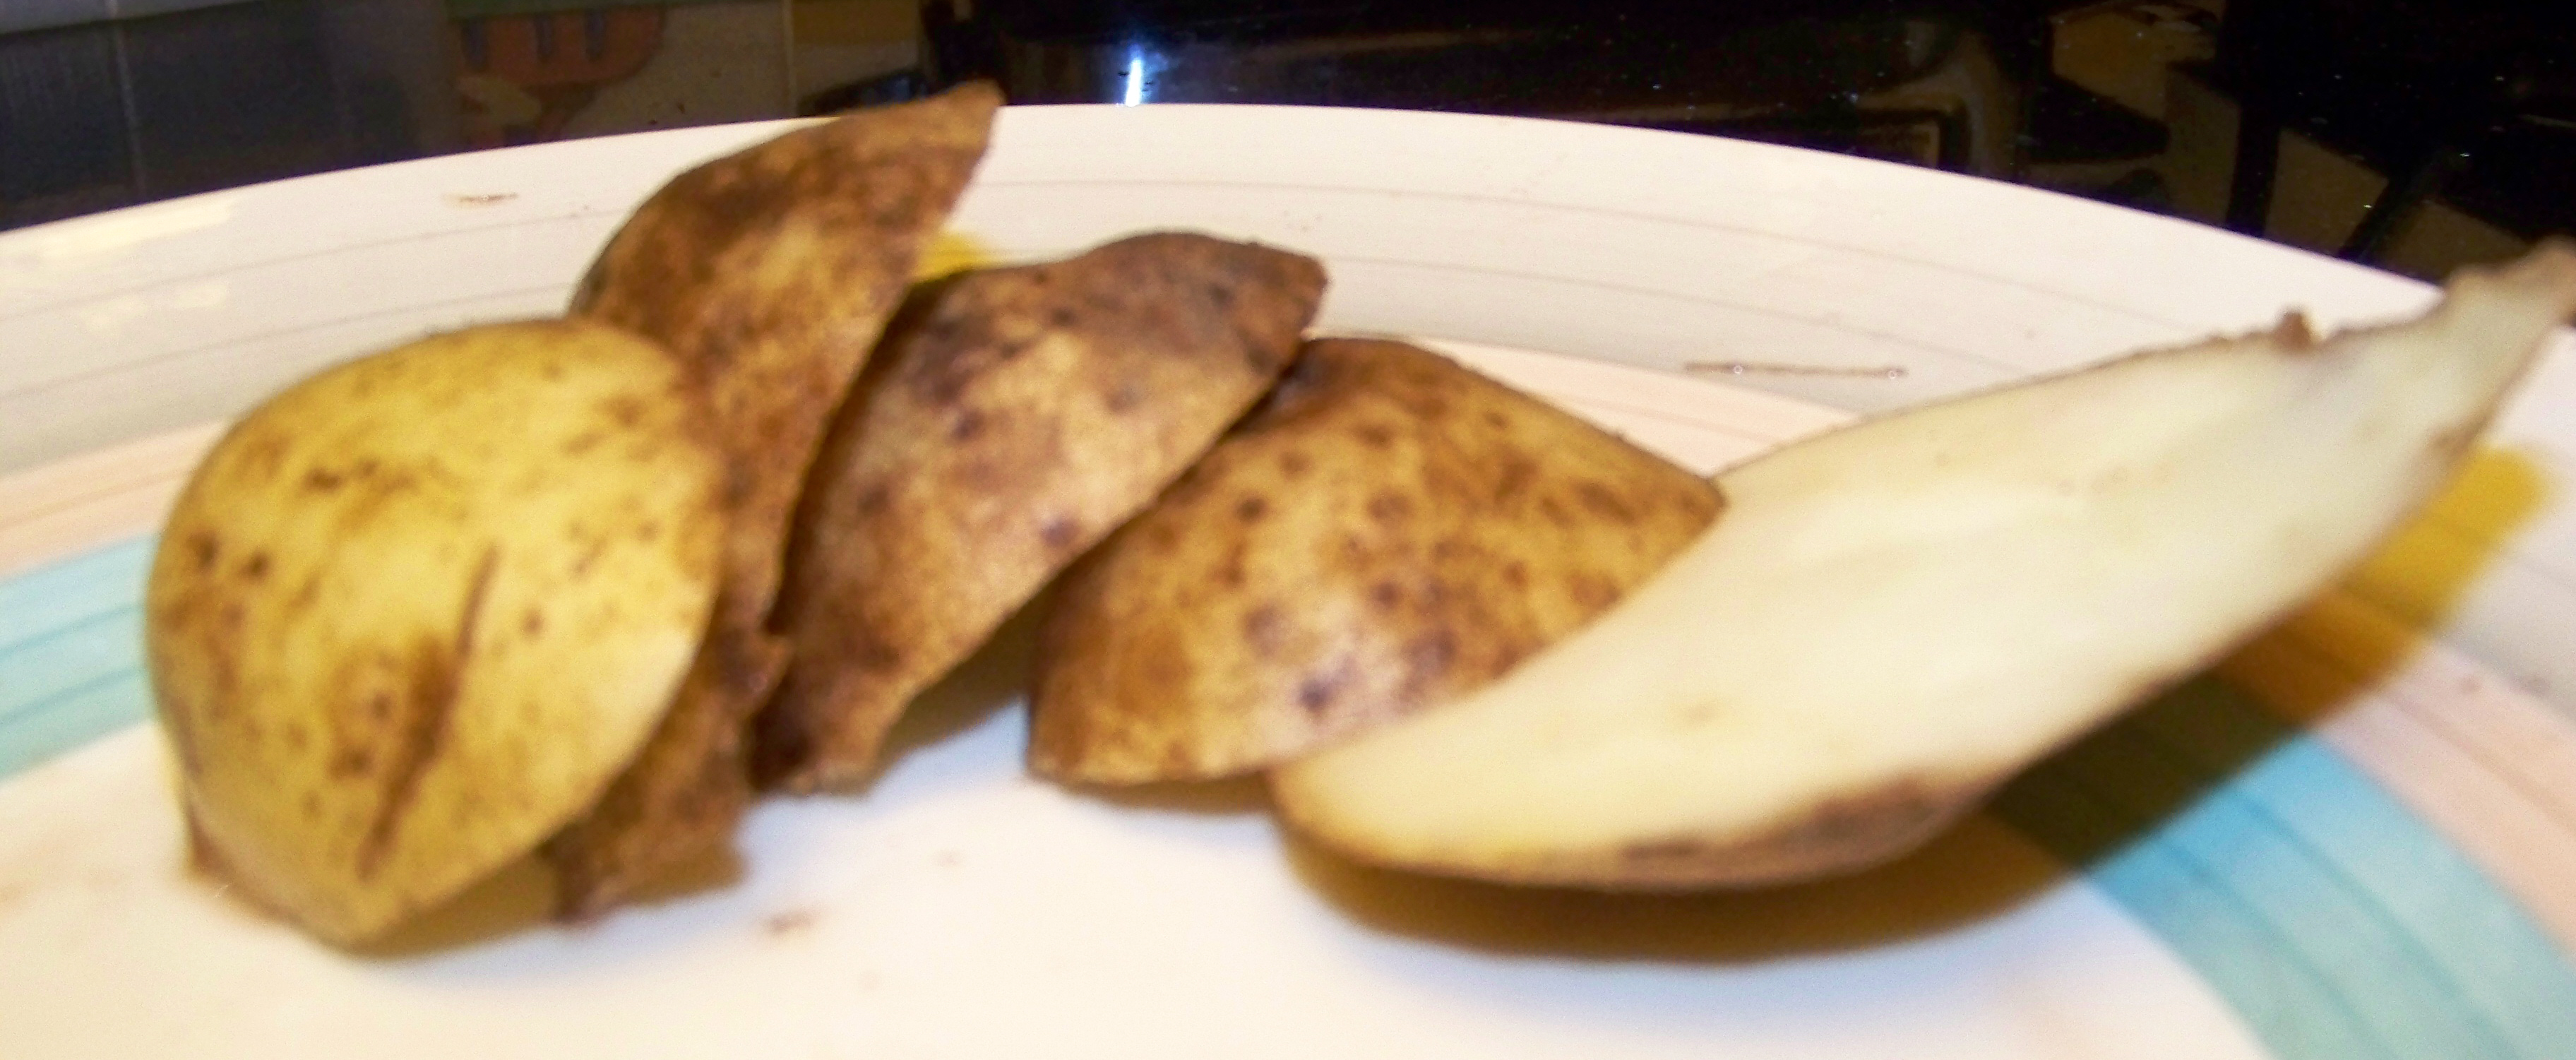
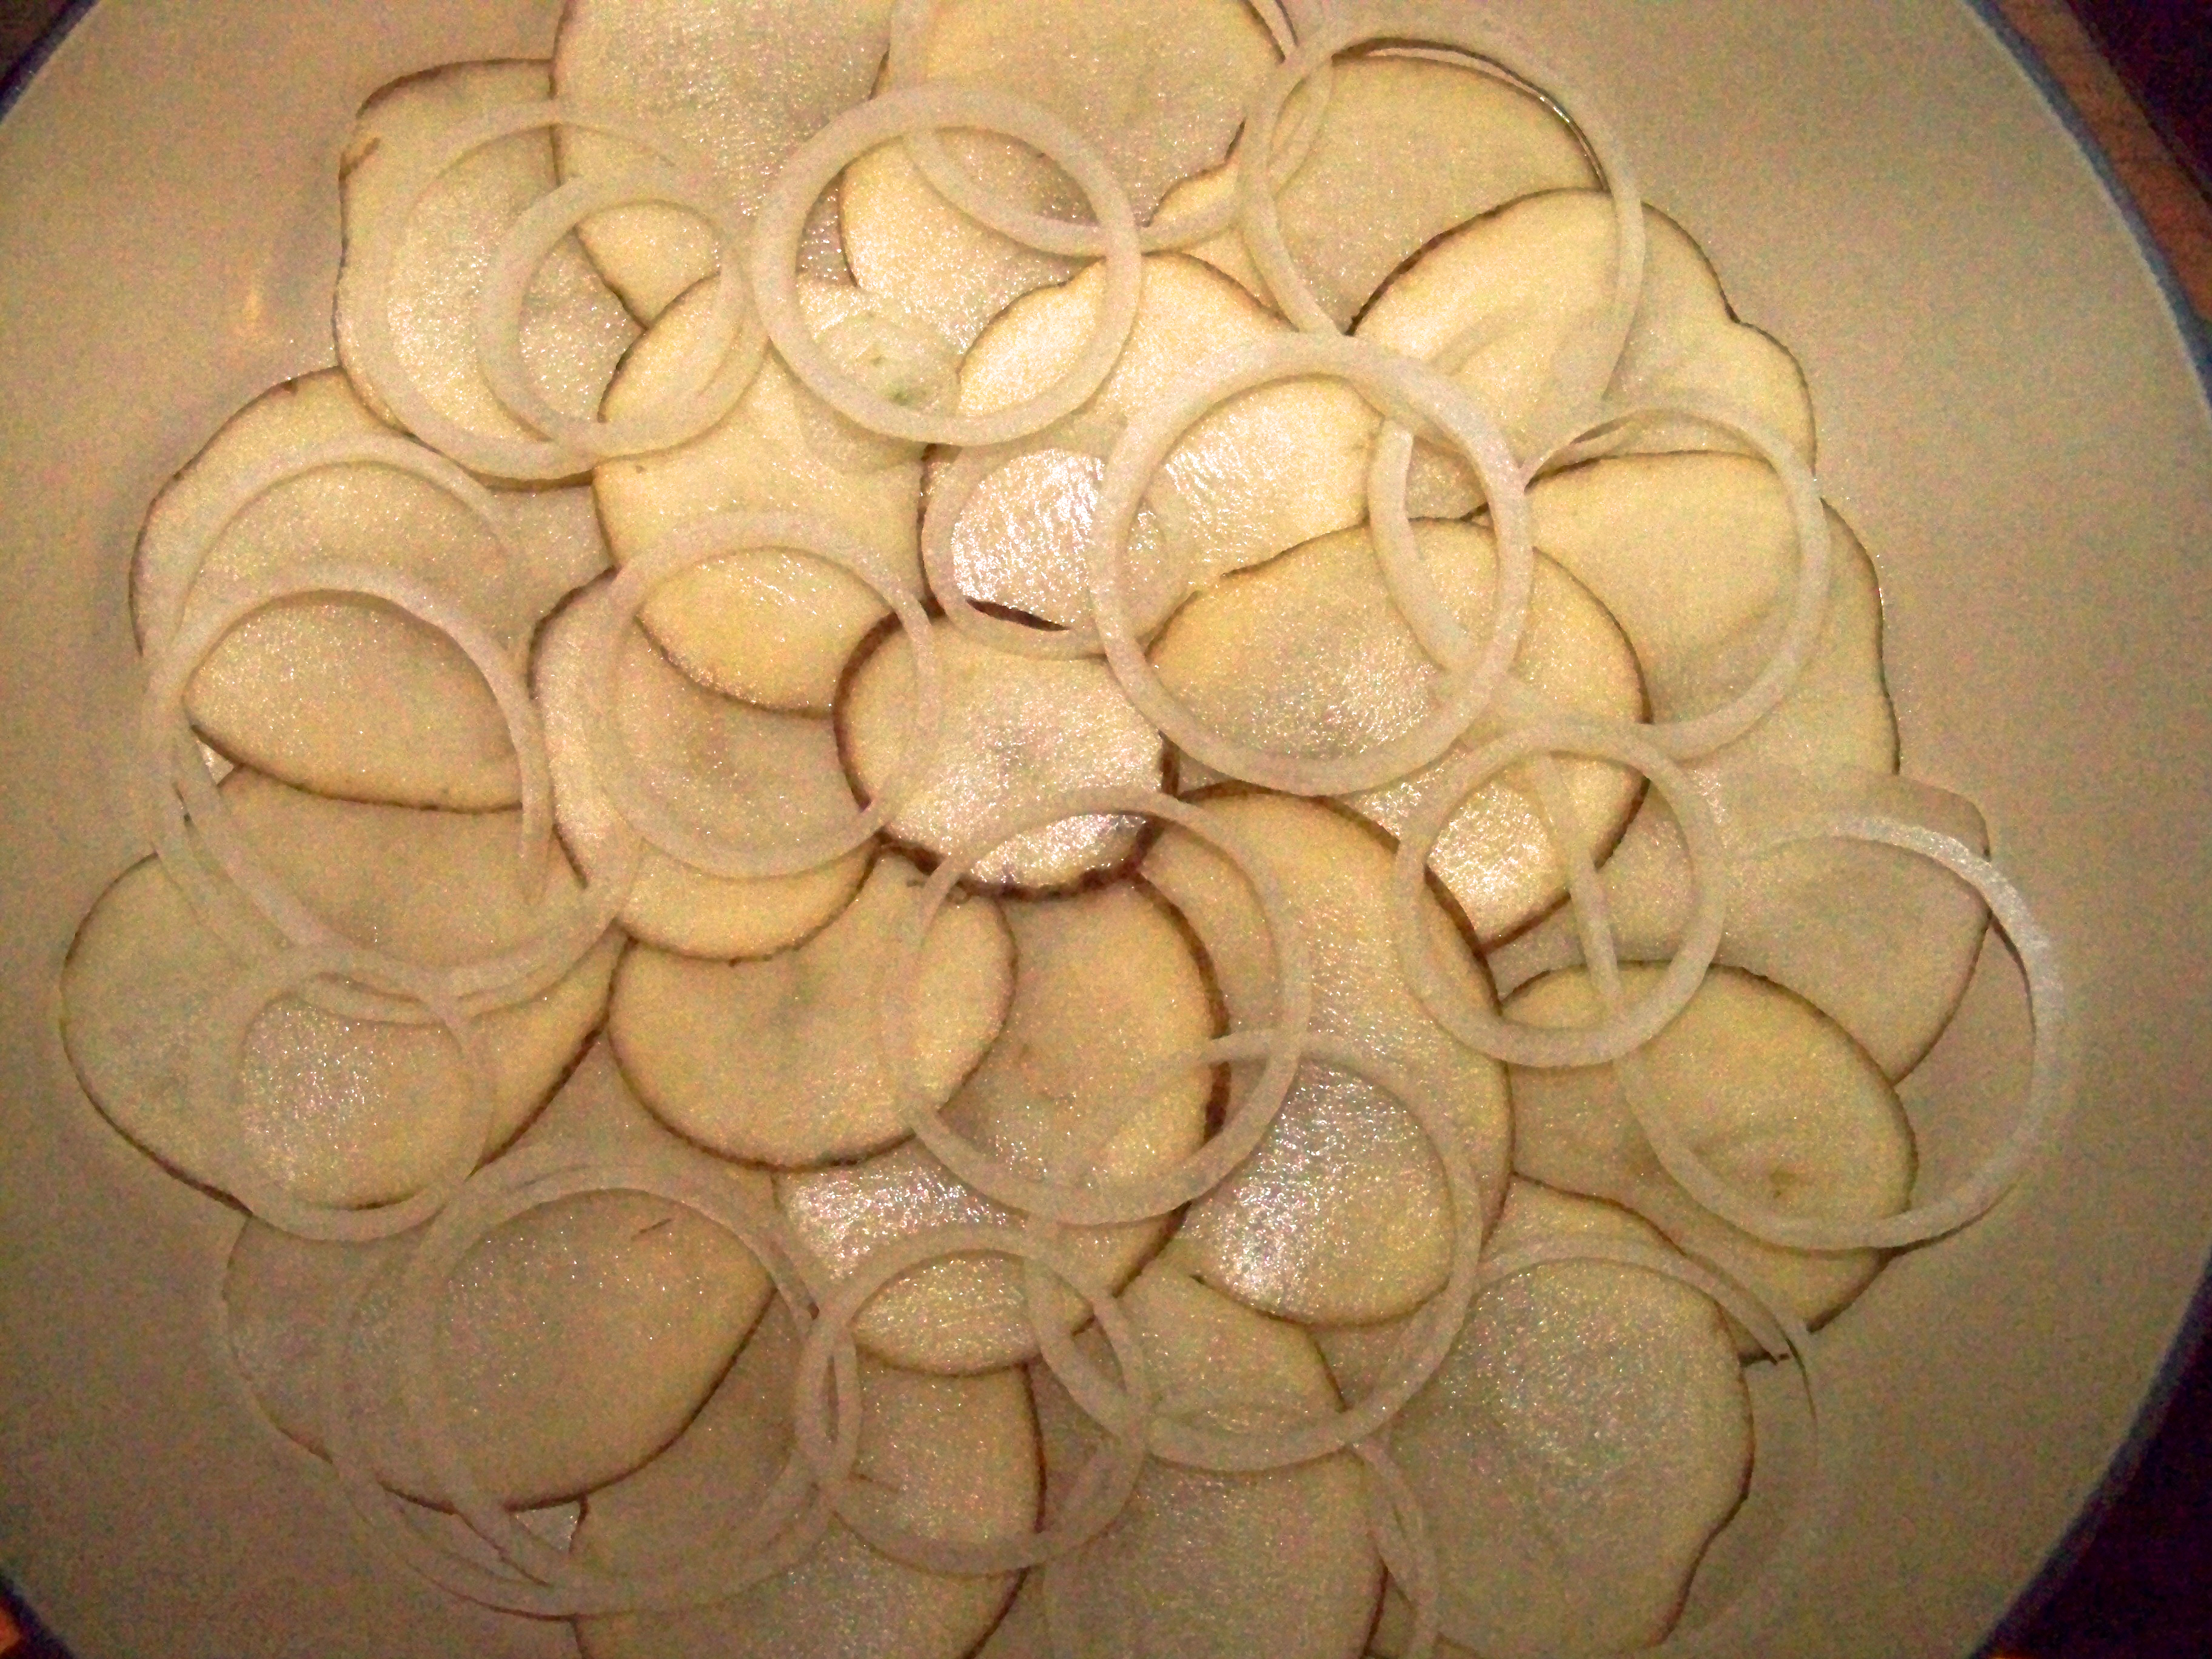
Basically, you need to peel and grate the beets (I used both red and golden beets for my version), being very careful not to give yourself a case of what I like to call “box grater rash.” Alternatively, you can julienne the beets with a sharp knife. You might be well advised not to be wearing your bestest white shirt while doing this. Fresh beets are juicy, n’est–ce pas?
A bunch of beets.
After the beets have been cut or grated, season them with a little salt and pepper and set them aside while you prepare the dressing. [I put them in the refrigerator to give them a slight chill-down.]

Great grated beets!
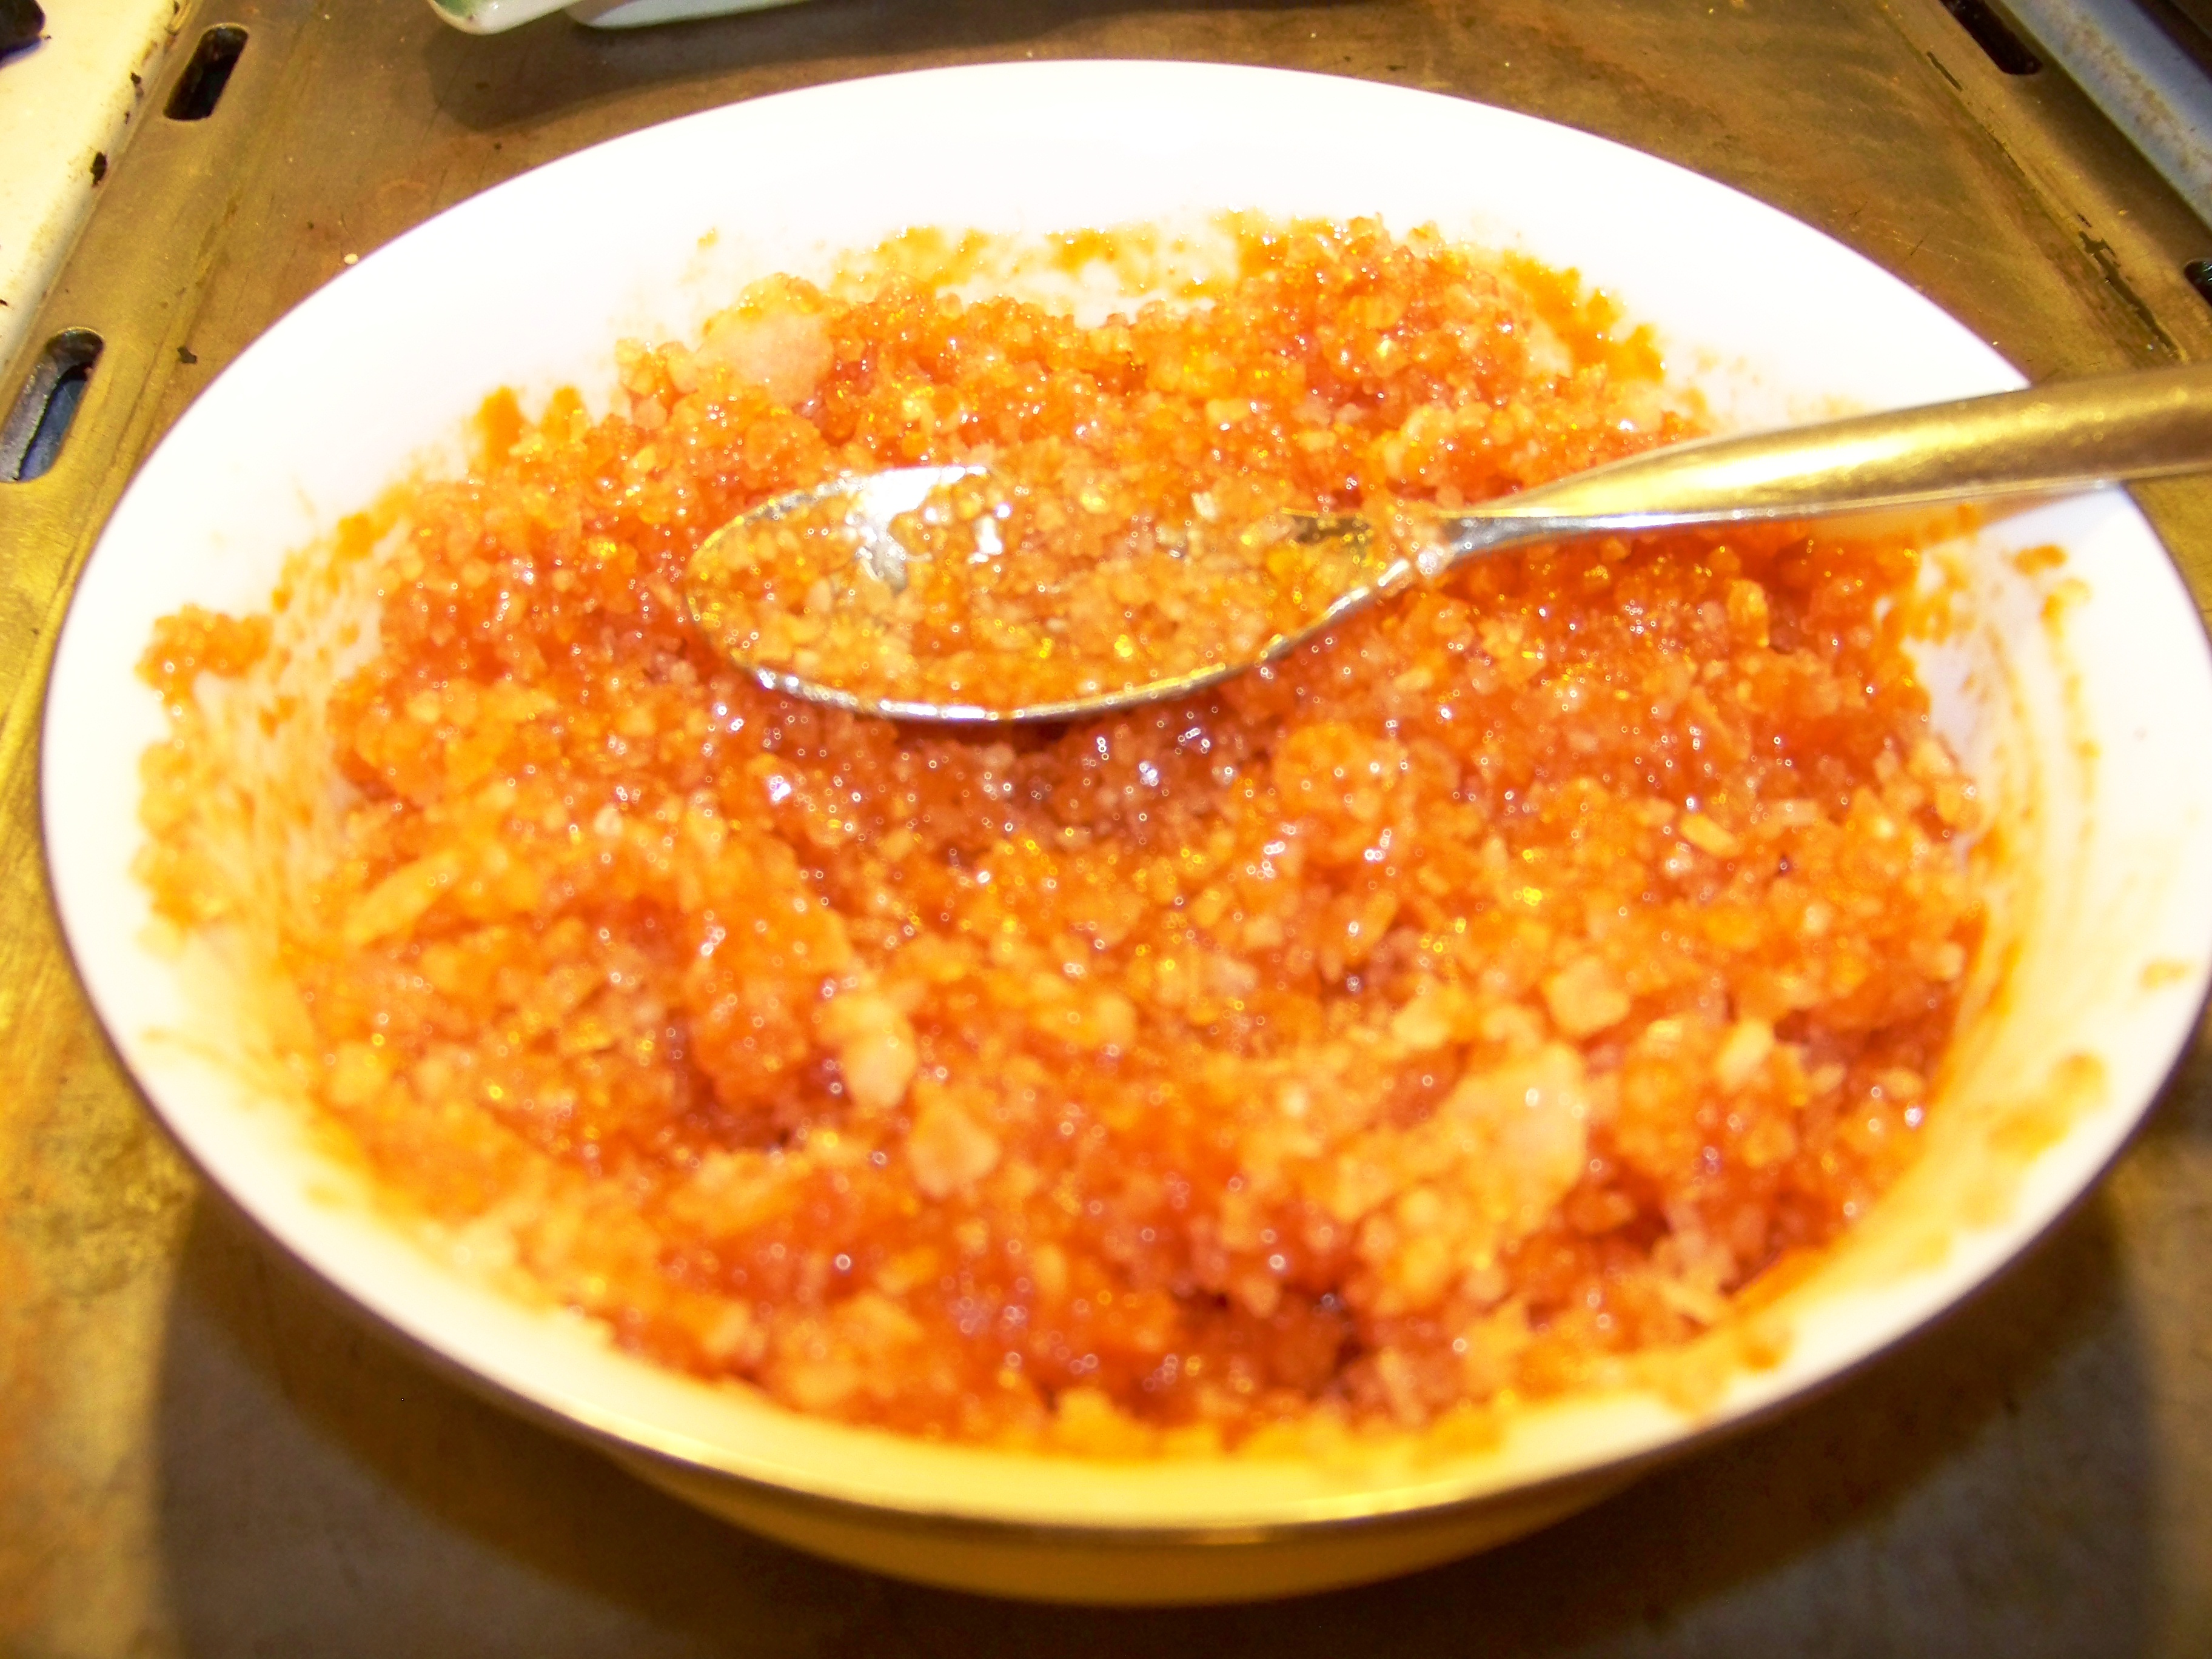
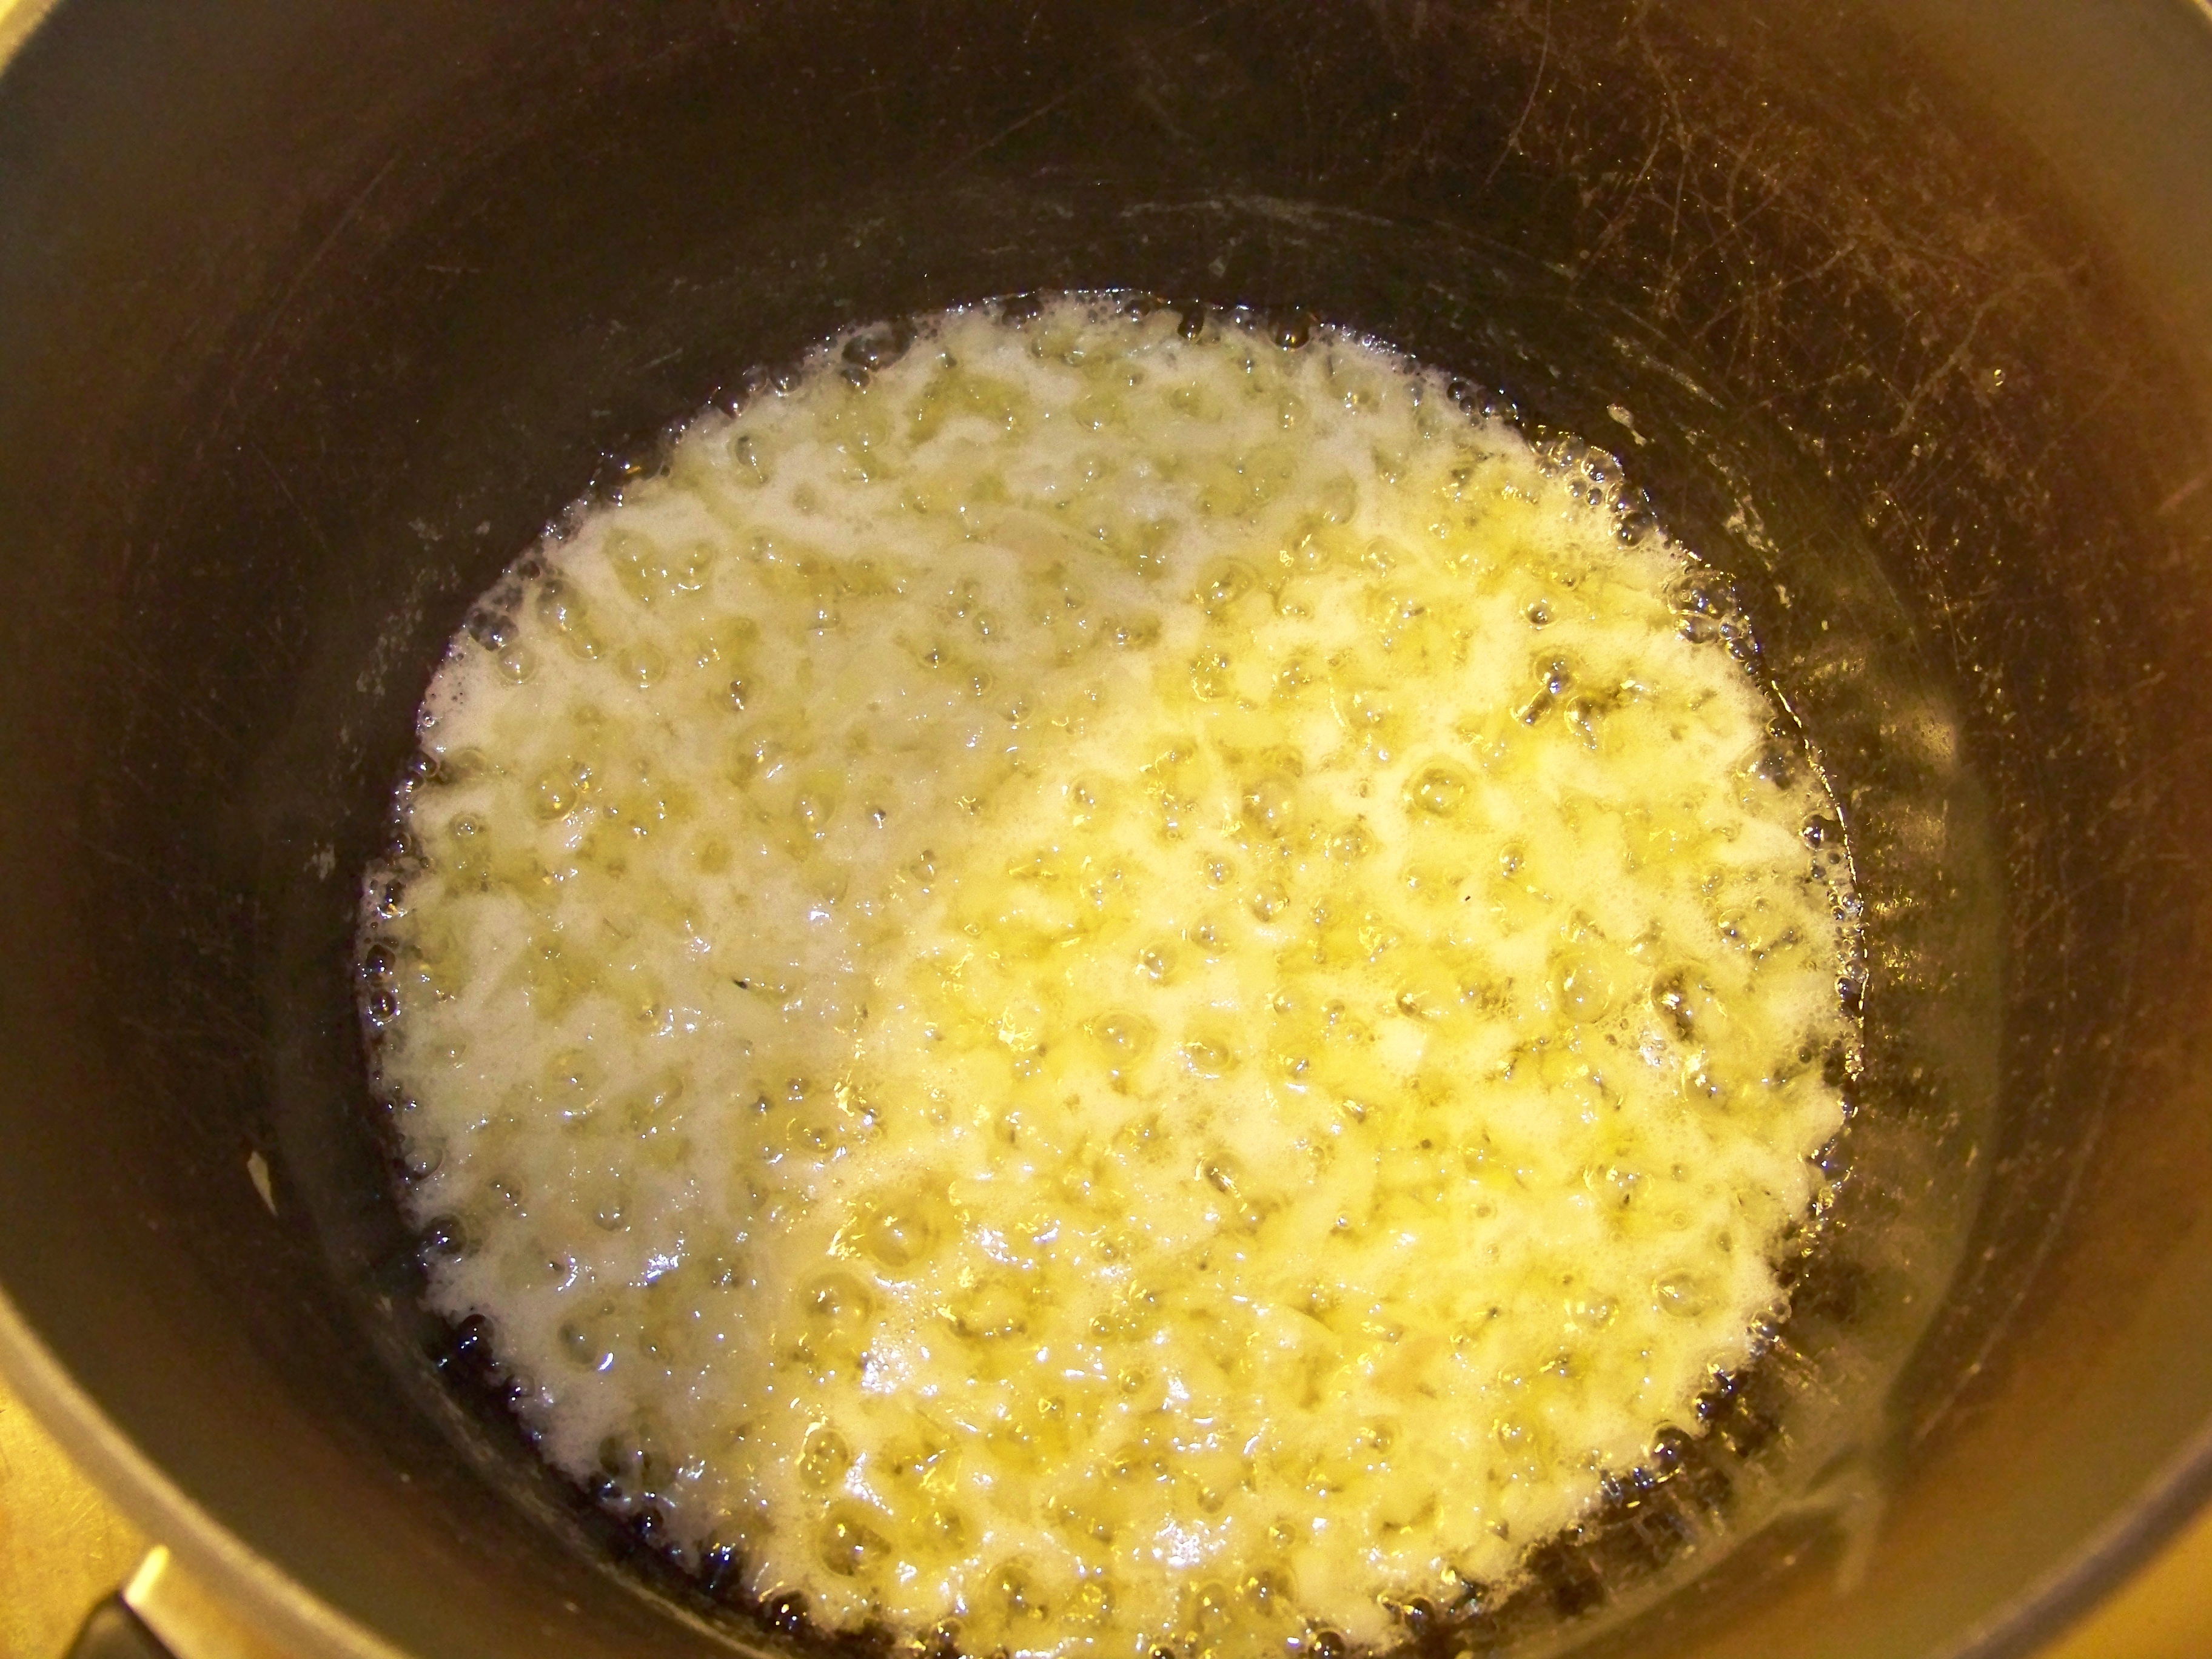
From the shallot to the cornichons on the ingredients list, everything is diced and/or measured and/or whatever as appropriate and gets mixed in a bowl. [Please consider buying the book; while this recipe isn’t complicated, it will do your karma good to support writers and chefs such as Tanis. And it’s a really terrific book.] The finished dressing will look something like the picture below, except that I took the shot before adding the parsley. Idiot me. So imagine some chopped flat-leaf parsley. Pour the dressing over the salad, mix, and let it marinate for at least 10 minutes. [Again, I put it in the fridge for this step.]
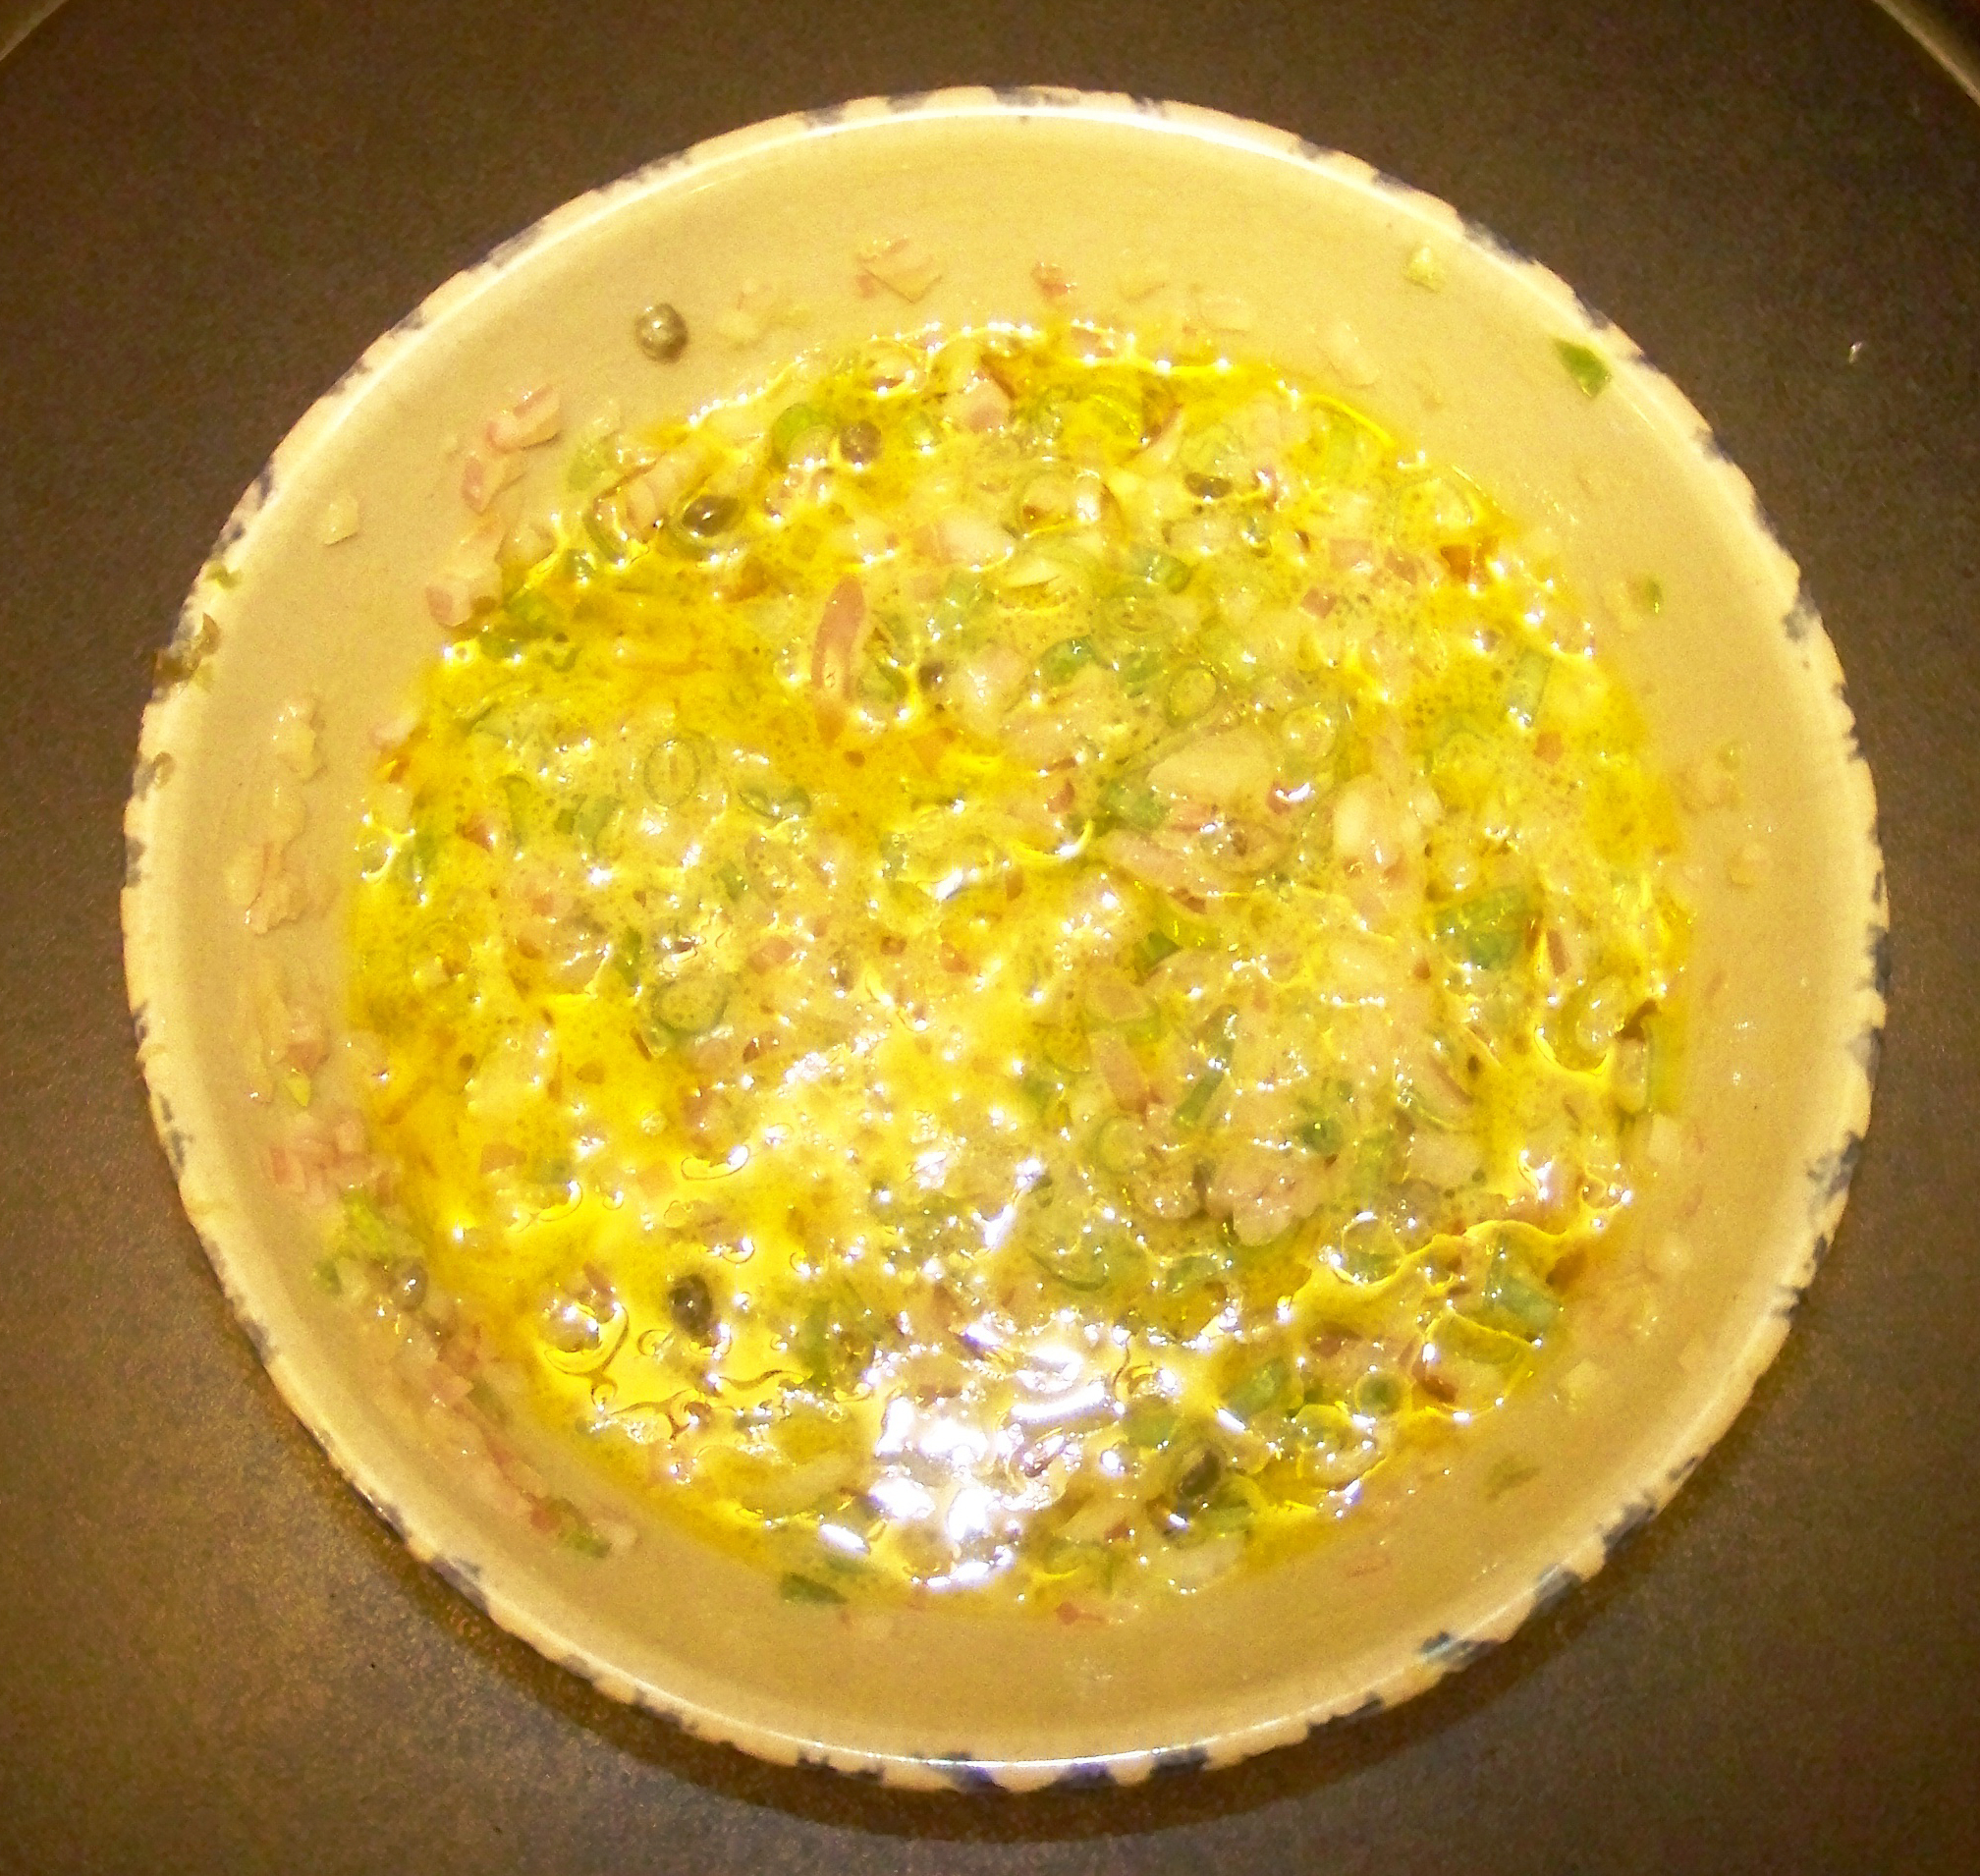
Yummy dressing for yummy salad.
Serve, eat, and eat some more.
The second-best part about this salad is that it still tastes terrific the day after.
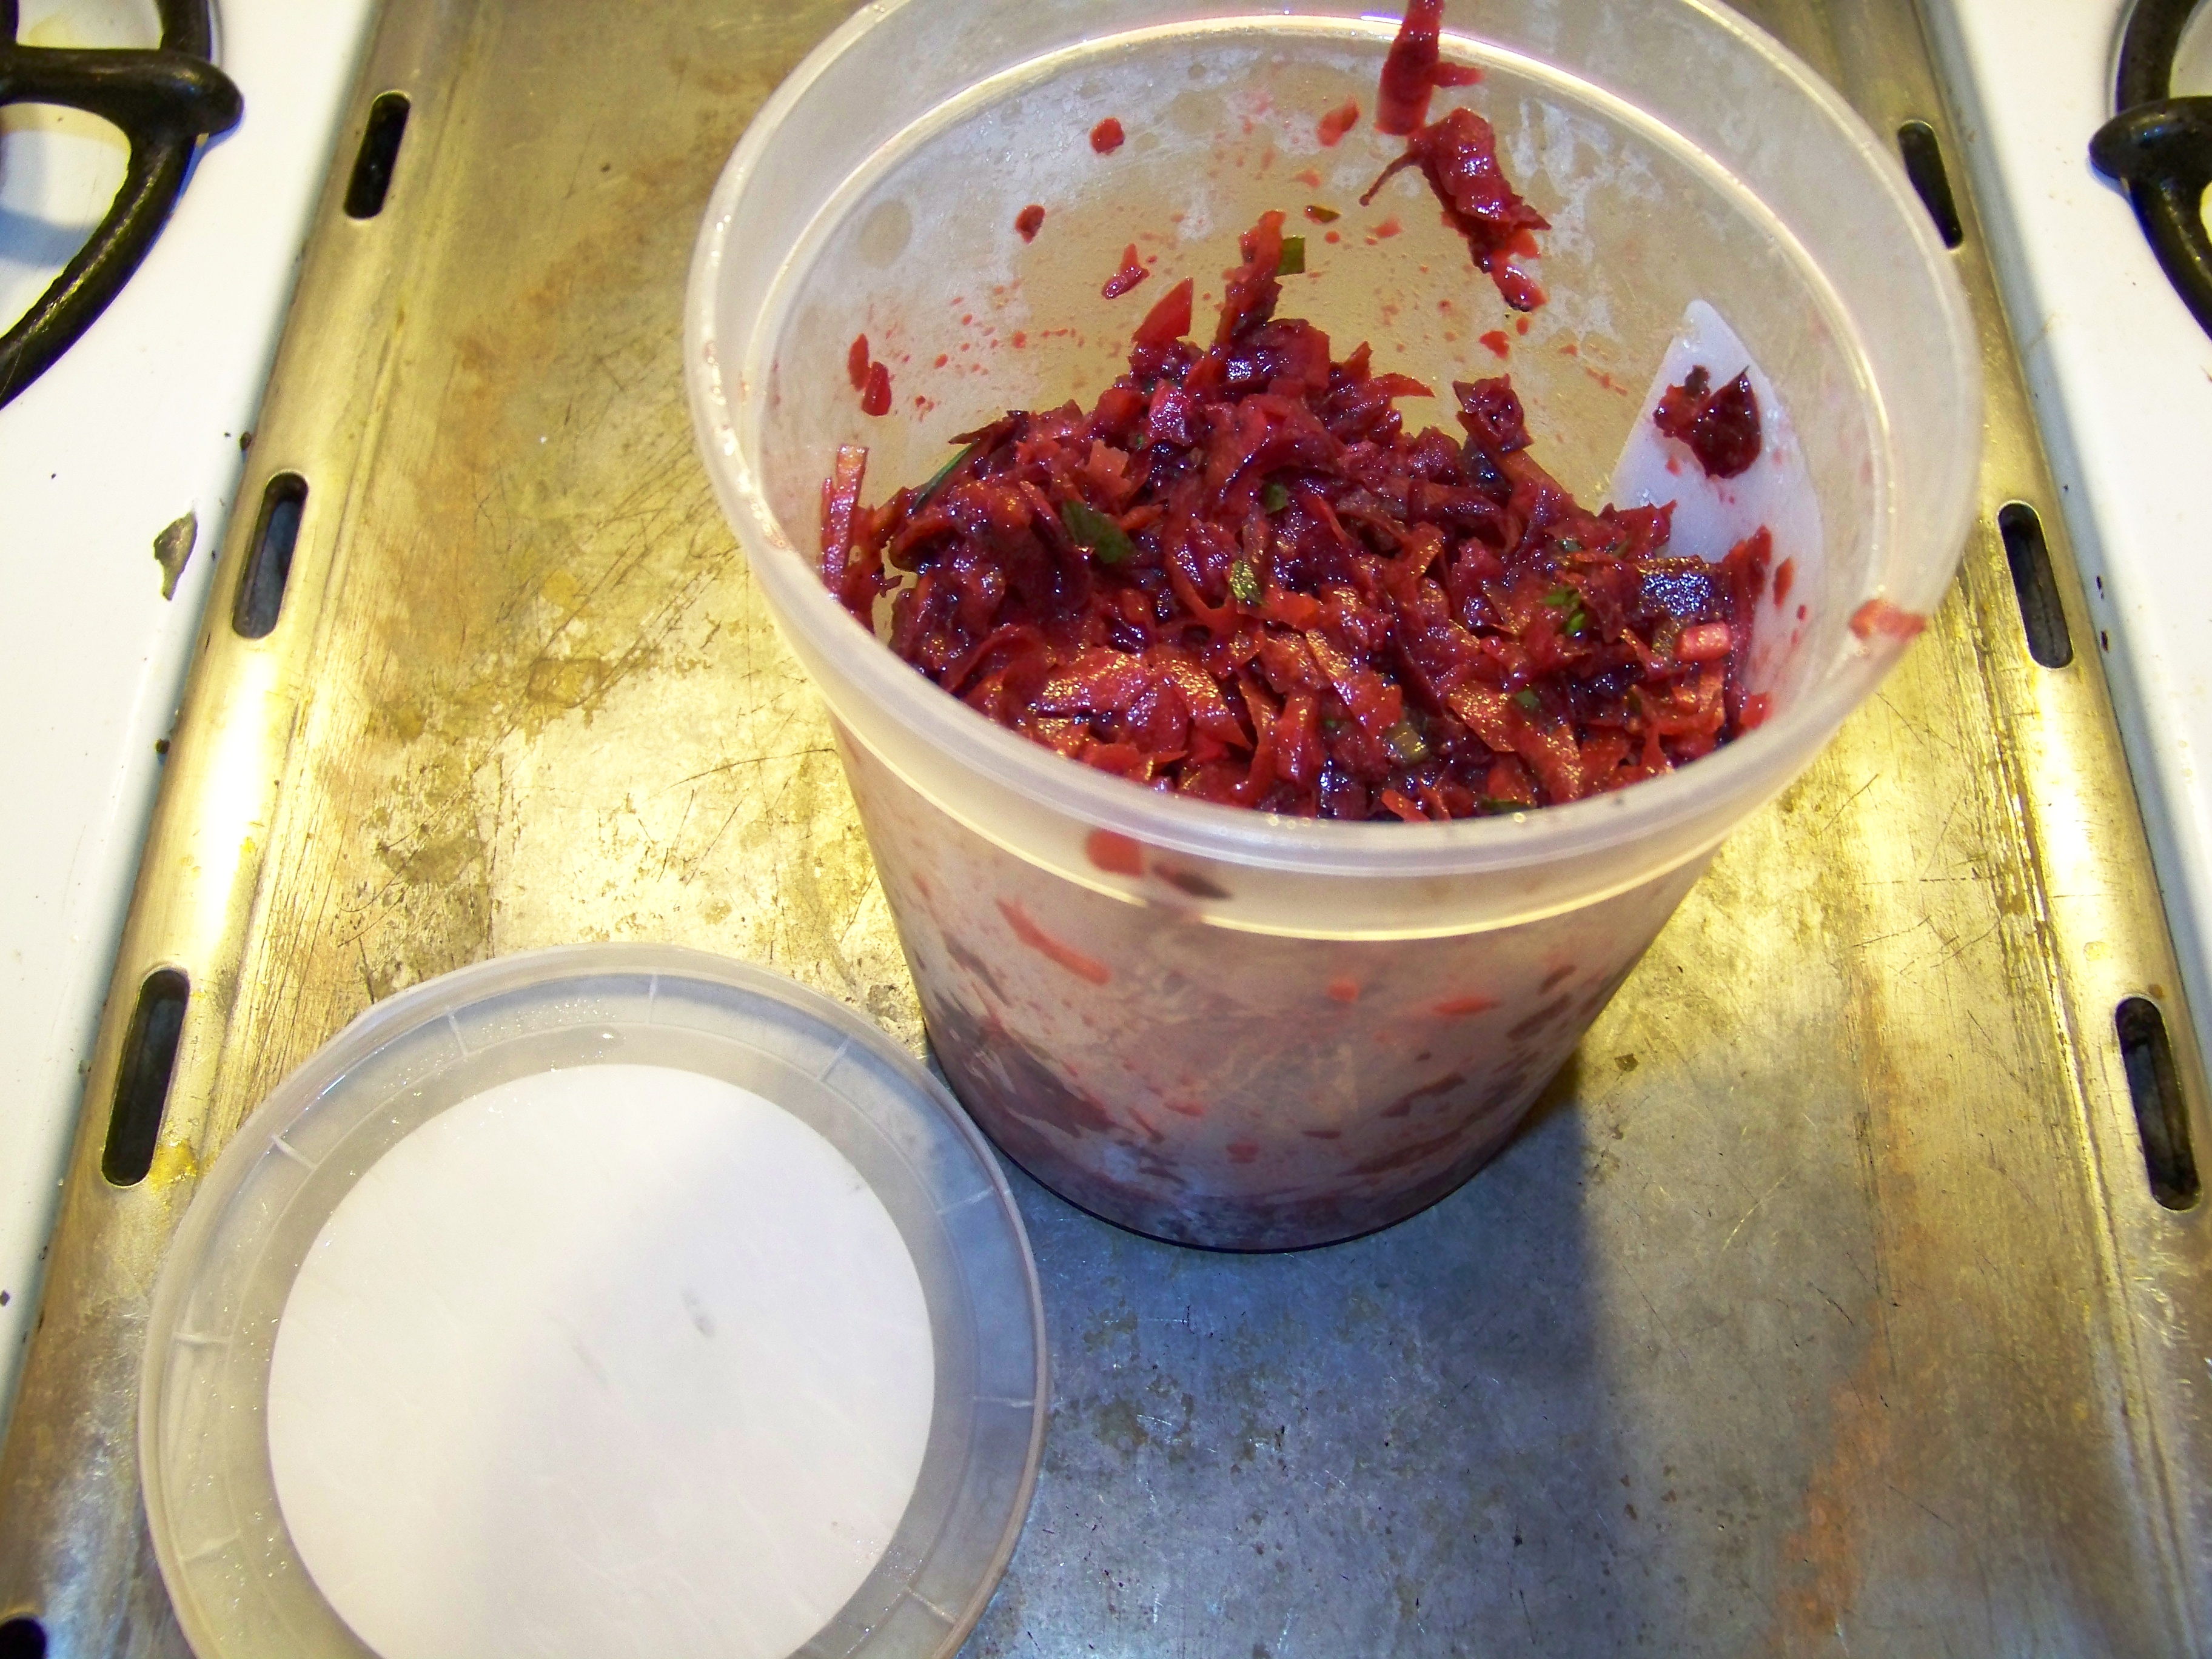
Mmmmm. Still good the next day.
The recipe claims to serve four to six people, but don’t be surprised if your guests (or yourself!) are keen on seconds.