Celebrating Celeriac with a Superb Soup [Vegan]

4
Celeriac, before and after a trim.

Celeriac, before and after a trim.

If there is an uglier vegetable on the planet Earth than celeriac (Apium graveolens variety rapaceum), I have yet to find it. Fortunately, much as beauty is only skin deep, in the case of this magnificent and underappreciated vegetable, so is ugly.

While celeriac itself doesn’t grow very deep — maybe six inches or so beneath the surface of your average garden plot — its roots in food history are deep indeed. In Book V of Homer’s Odyssey, it’s described as a component of Calypso’s garden, albeit in the Greek it is referred to as selinon. In one passage, Hermes admires the environs of Calypso’s cave, festooned with grapes, violets, and wild celery before stepping inside to beseech her to let Odysseus go and finish his journey back to Ithaca. But that’s another, much longer, story.

In ancient times, and for much of their early history, both celery and celeriac were regarded more as medicines than as foodstuffs. Pliny the Elder claimed that the so-called helioselinon was “possessed of peculiar virtues against the bites of spiders.” He also suggested that it could be used to revive sick fish. But by the 17th century, it was being cultivated in France, and by the 18th, it was being used in England for soups and broths.

Fast forward to today: soups and broths! For your consideration, here’s a soup that contains not just one, but two of the planet’s least photogenic vegetables (the latter being parsnips), along with a little ginger (no beauty contest winner itself), some onion, tarragon, and lemon thyme.

CELERIAC AND PARSNIP VELOUTÉ WITH GINGER AND LEMON THYME

Ingredients
48 oz./1.42 litres vegetable broth
2 large celeriac roots, peeled and roughly cubed
3 large parsnips, peeled and chopped
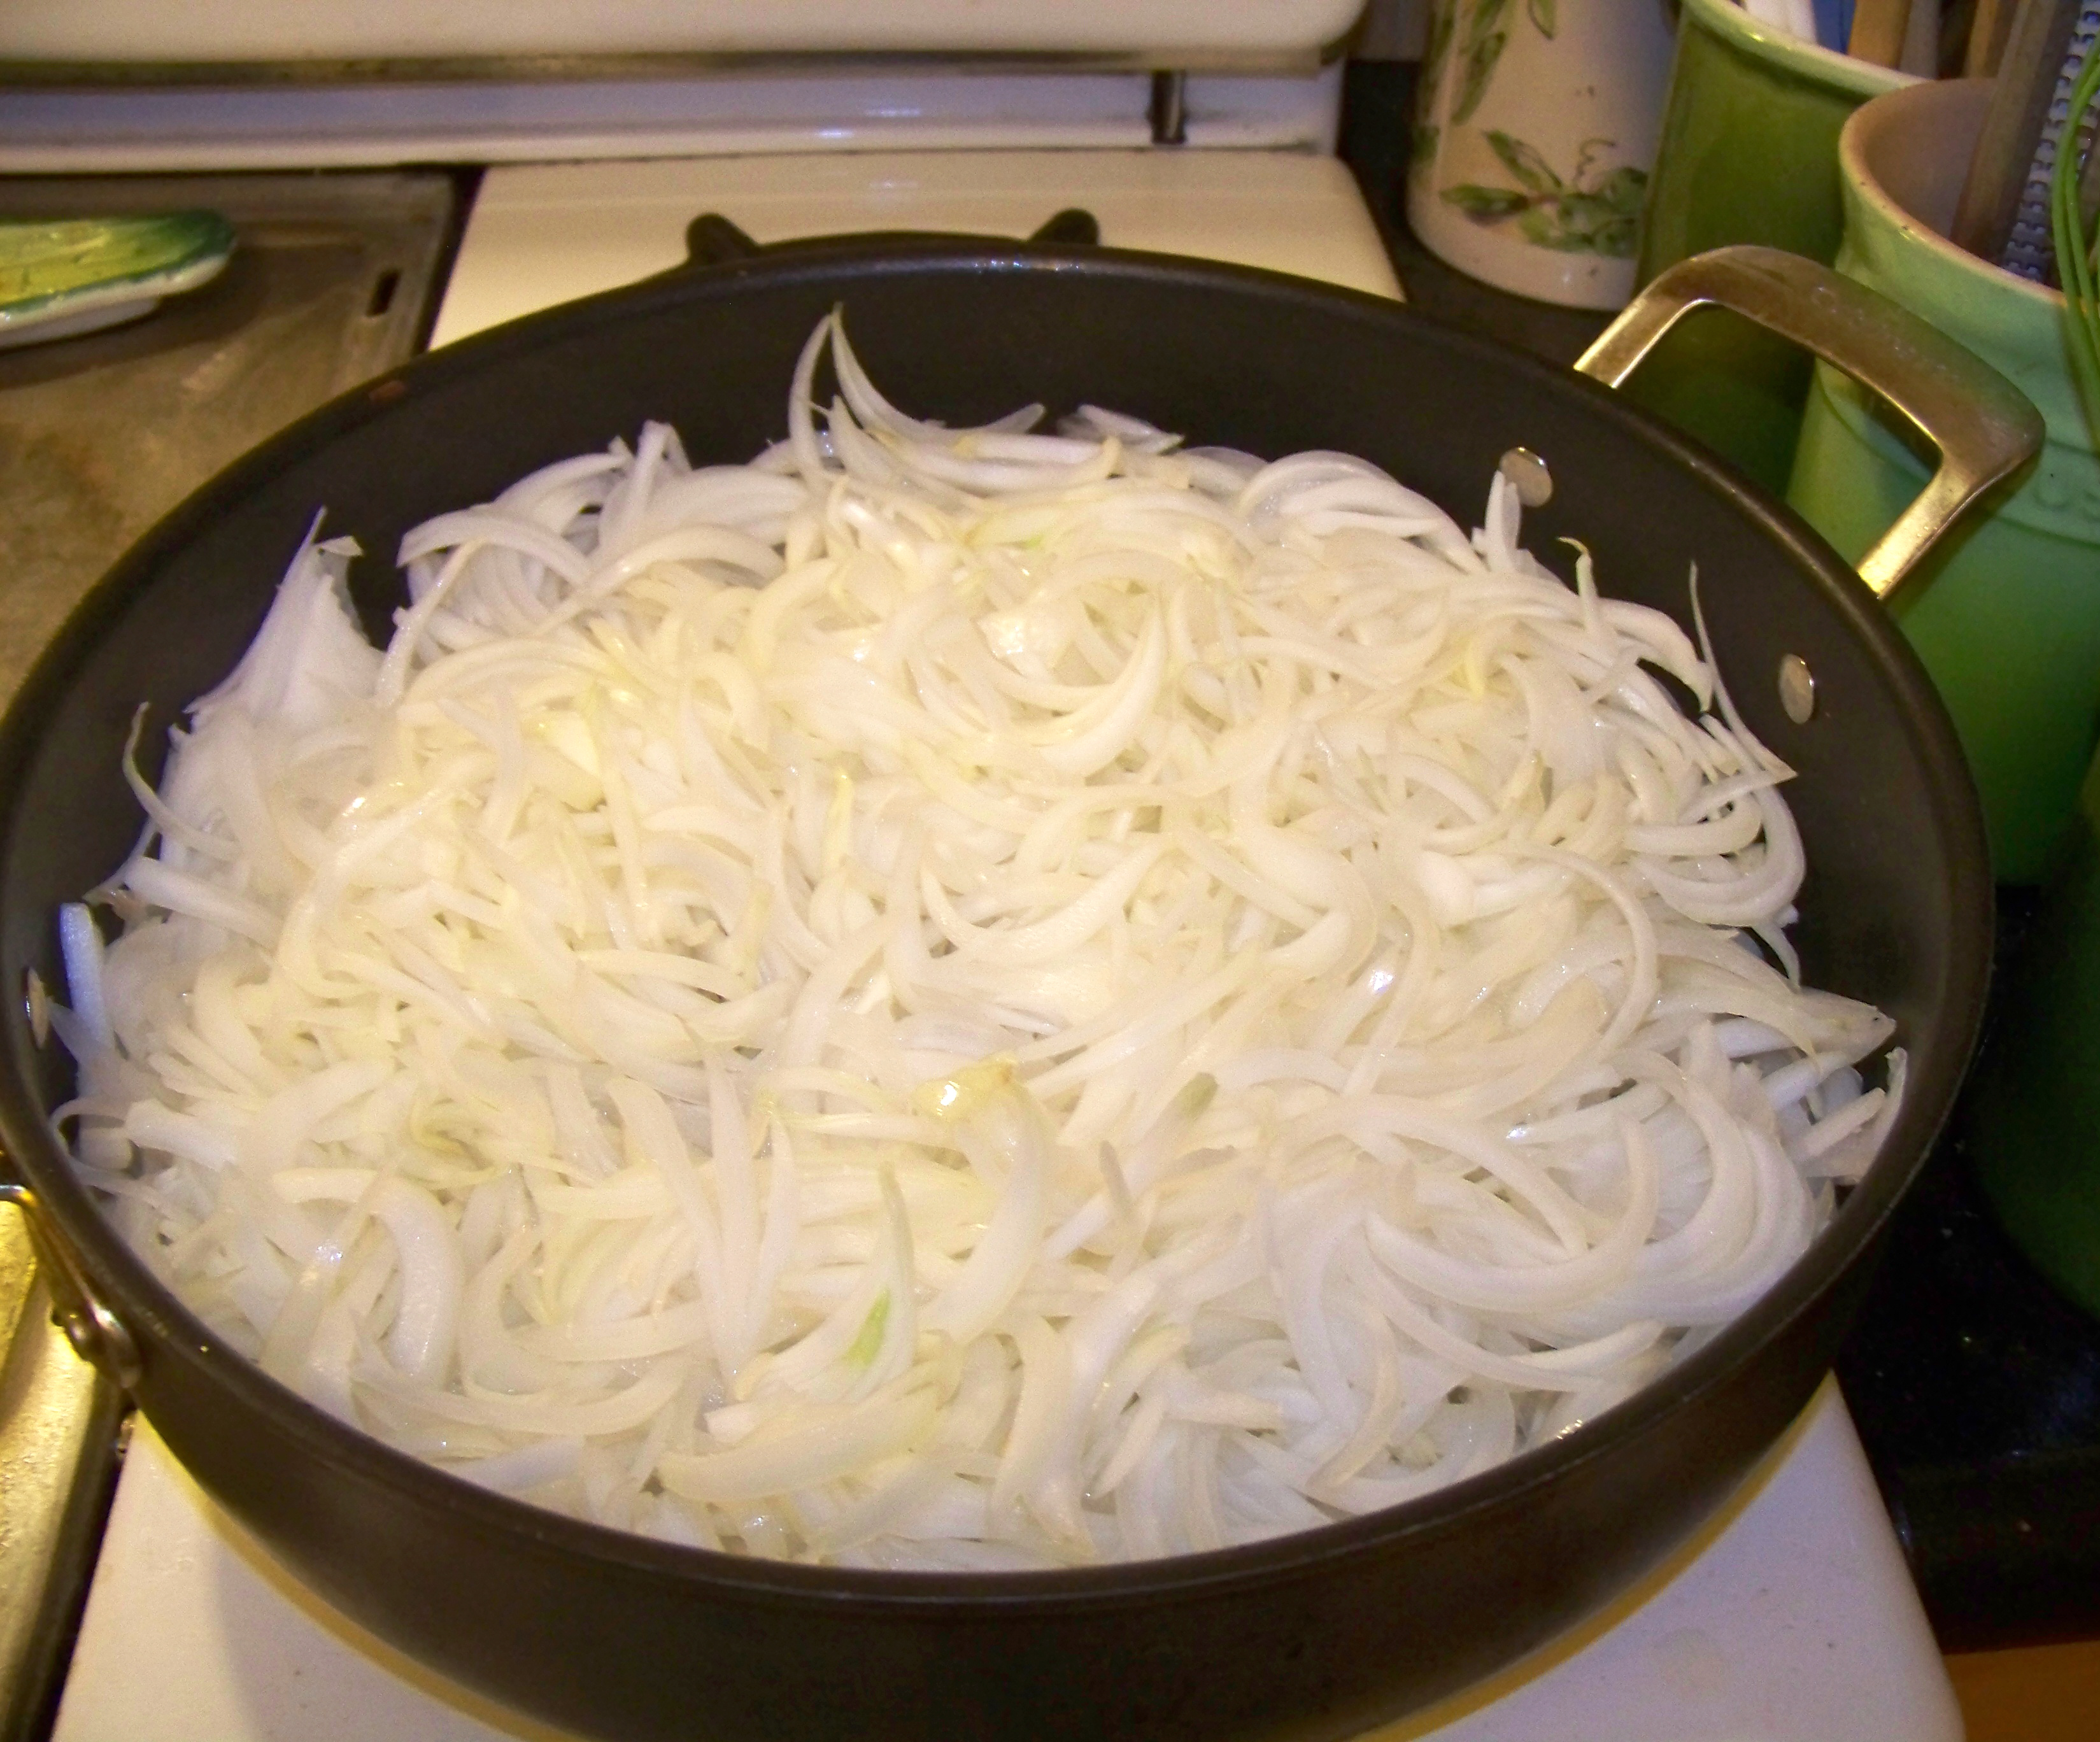
1 large onion, roughly chopped
1 tablespoon (or more, to taste) fresh ginger root, finely chopped
2 tsp./1.2g dried tarragon (it’s what I had at the time; fresh is good too, but use less)
4 sprigs fresh lemon thyme
1 carrot, cut into “coins” (optional)

Before you get all huffy, this is not technically a velouté, inasmuch as it is not thickened with a roux and cream, but it resembles one in texture. If you just want to call it soup, you have my blessing.

Cleaning the celeriac is best done with a very sharp knife, and it may be treated the same way you would strip off the rough outer skin of a pineapple; ideally, you’ll get off all the brown bits underneath the skin, but don’t make yourself crazy (or whittle the vegetable down to half its original size) getting there. Chopping the peeled celeriac is a bit of a chore, and may require rocking your knife back and forth a bit to get through the dense root. Alternatively, you can use a cleaver, if you have one. The parsnips should be scraped with a vegetable peeler, much like carrots, then chopped. As for the ginger, I started with a segment that was about the size of my thumb and scraped off the peel with a spoon before mincing it as finely as my admittedly mediocre knife skills would permit.

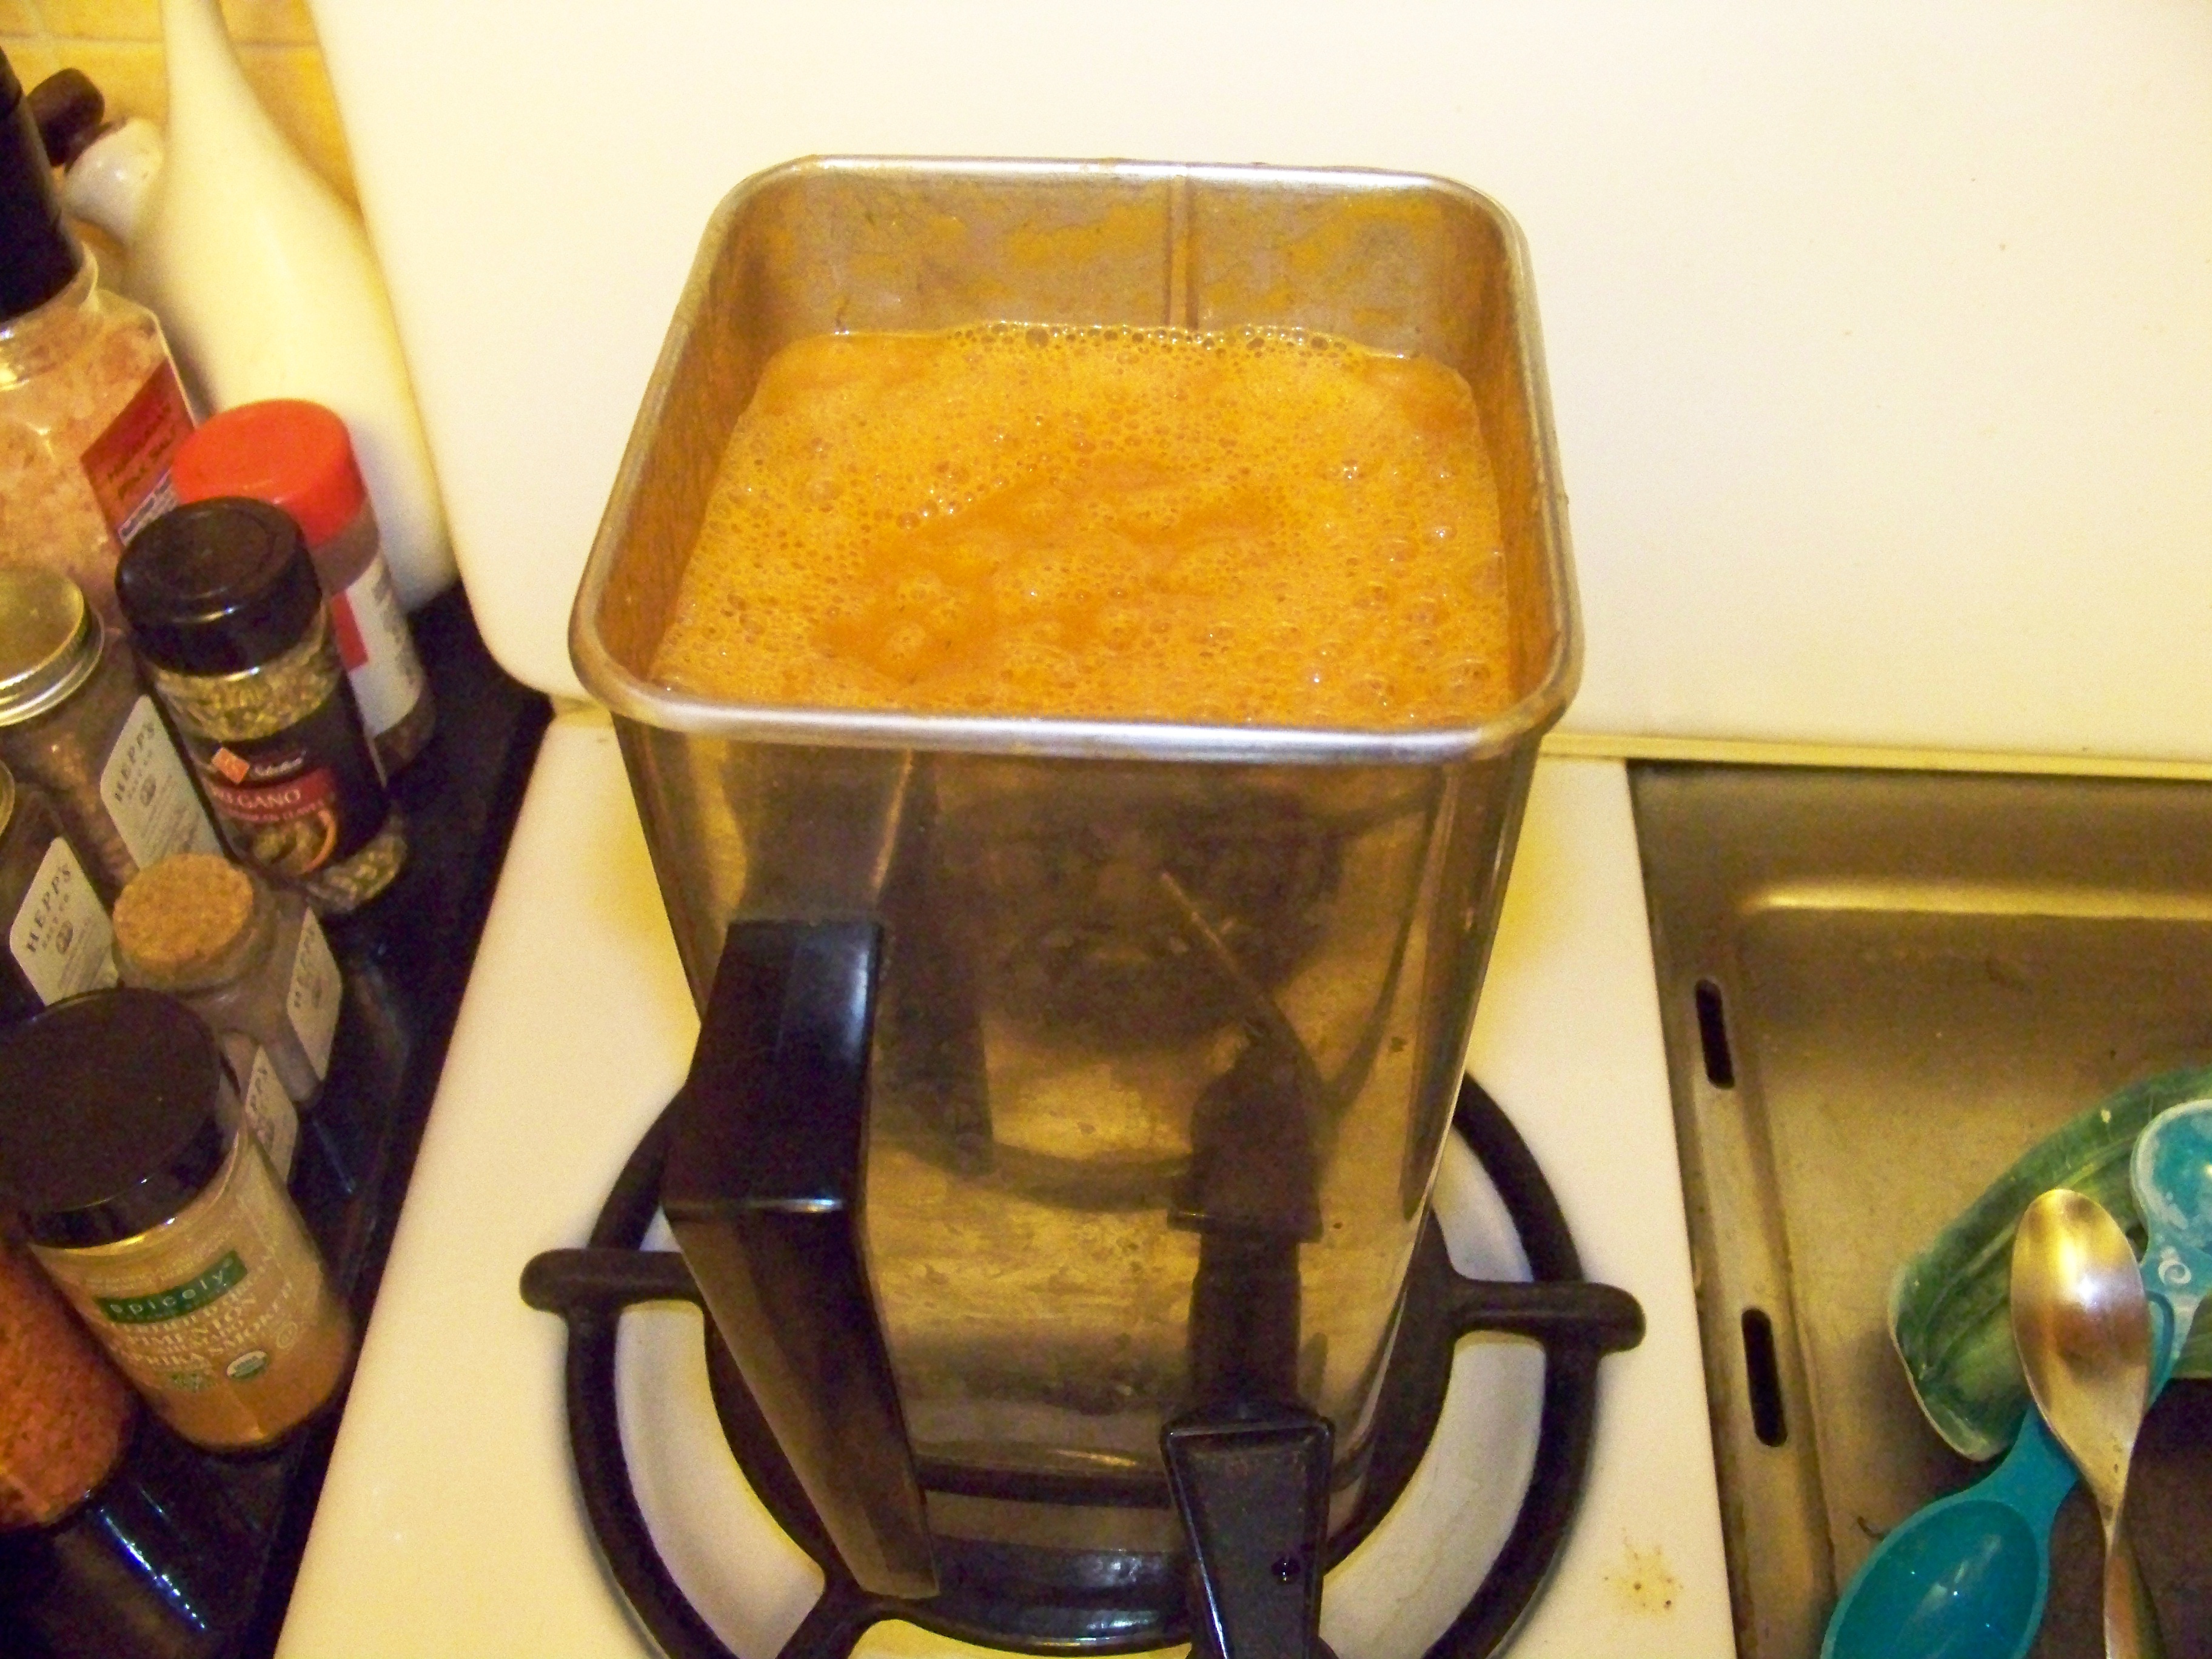
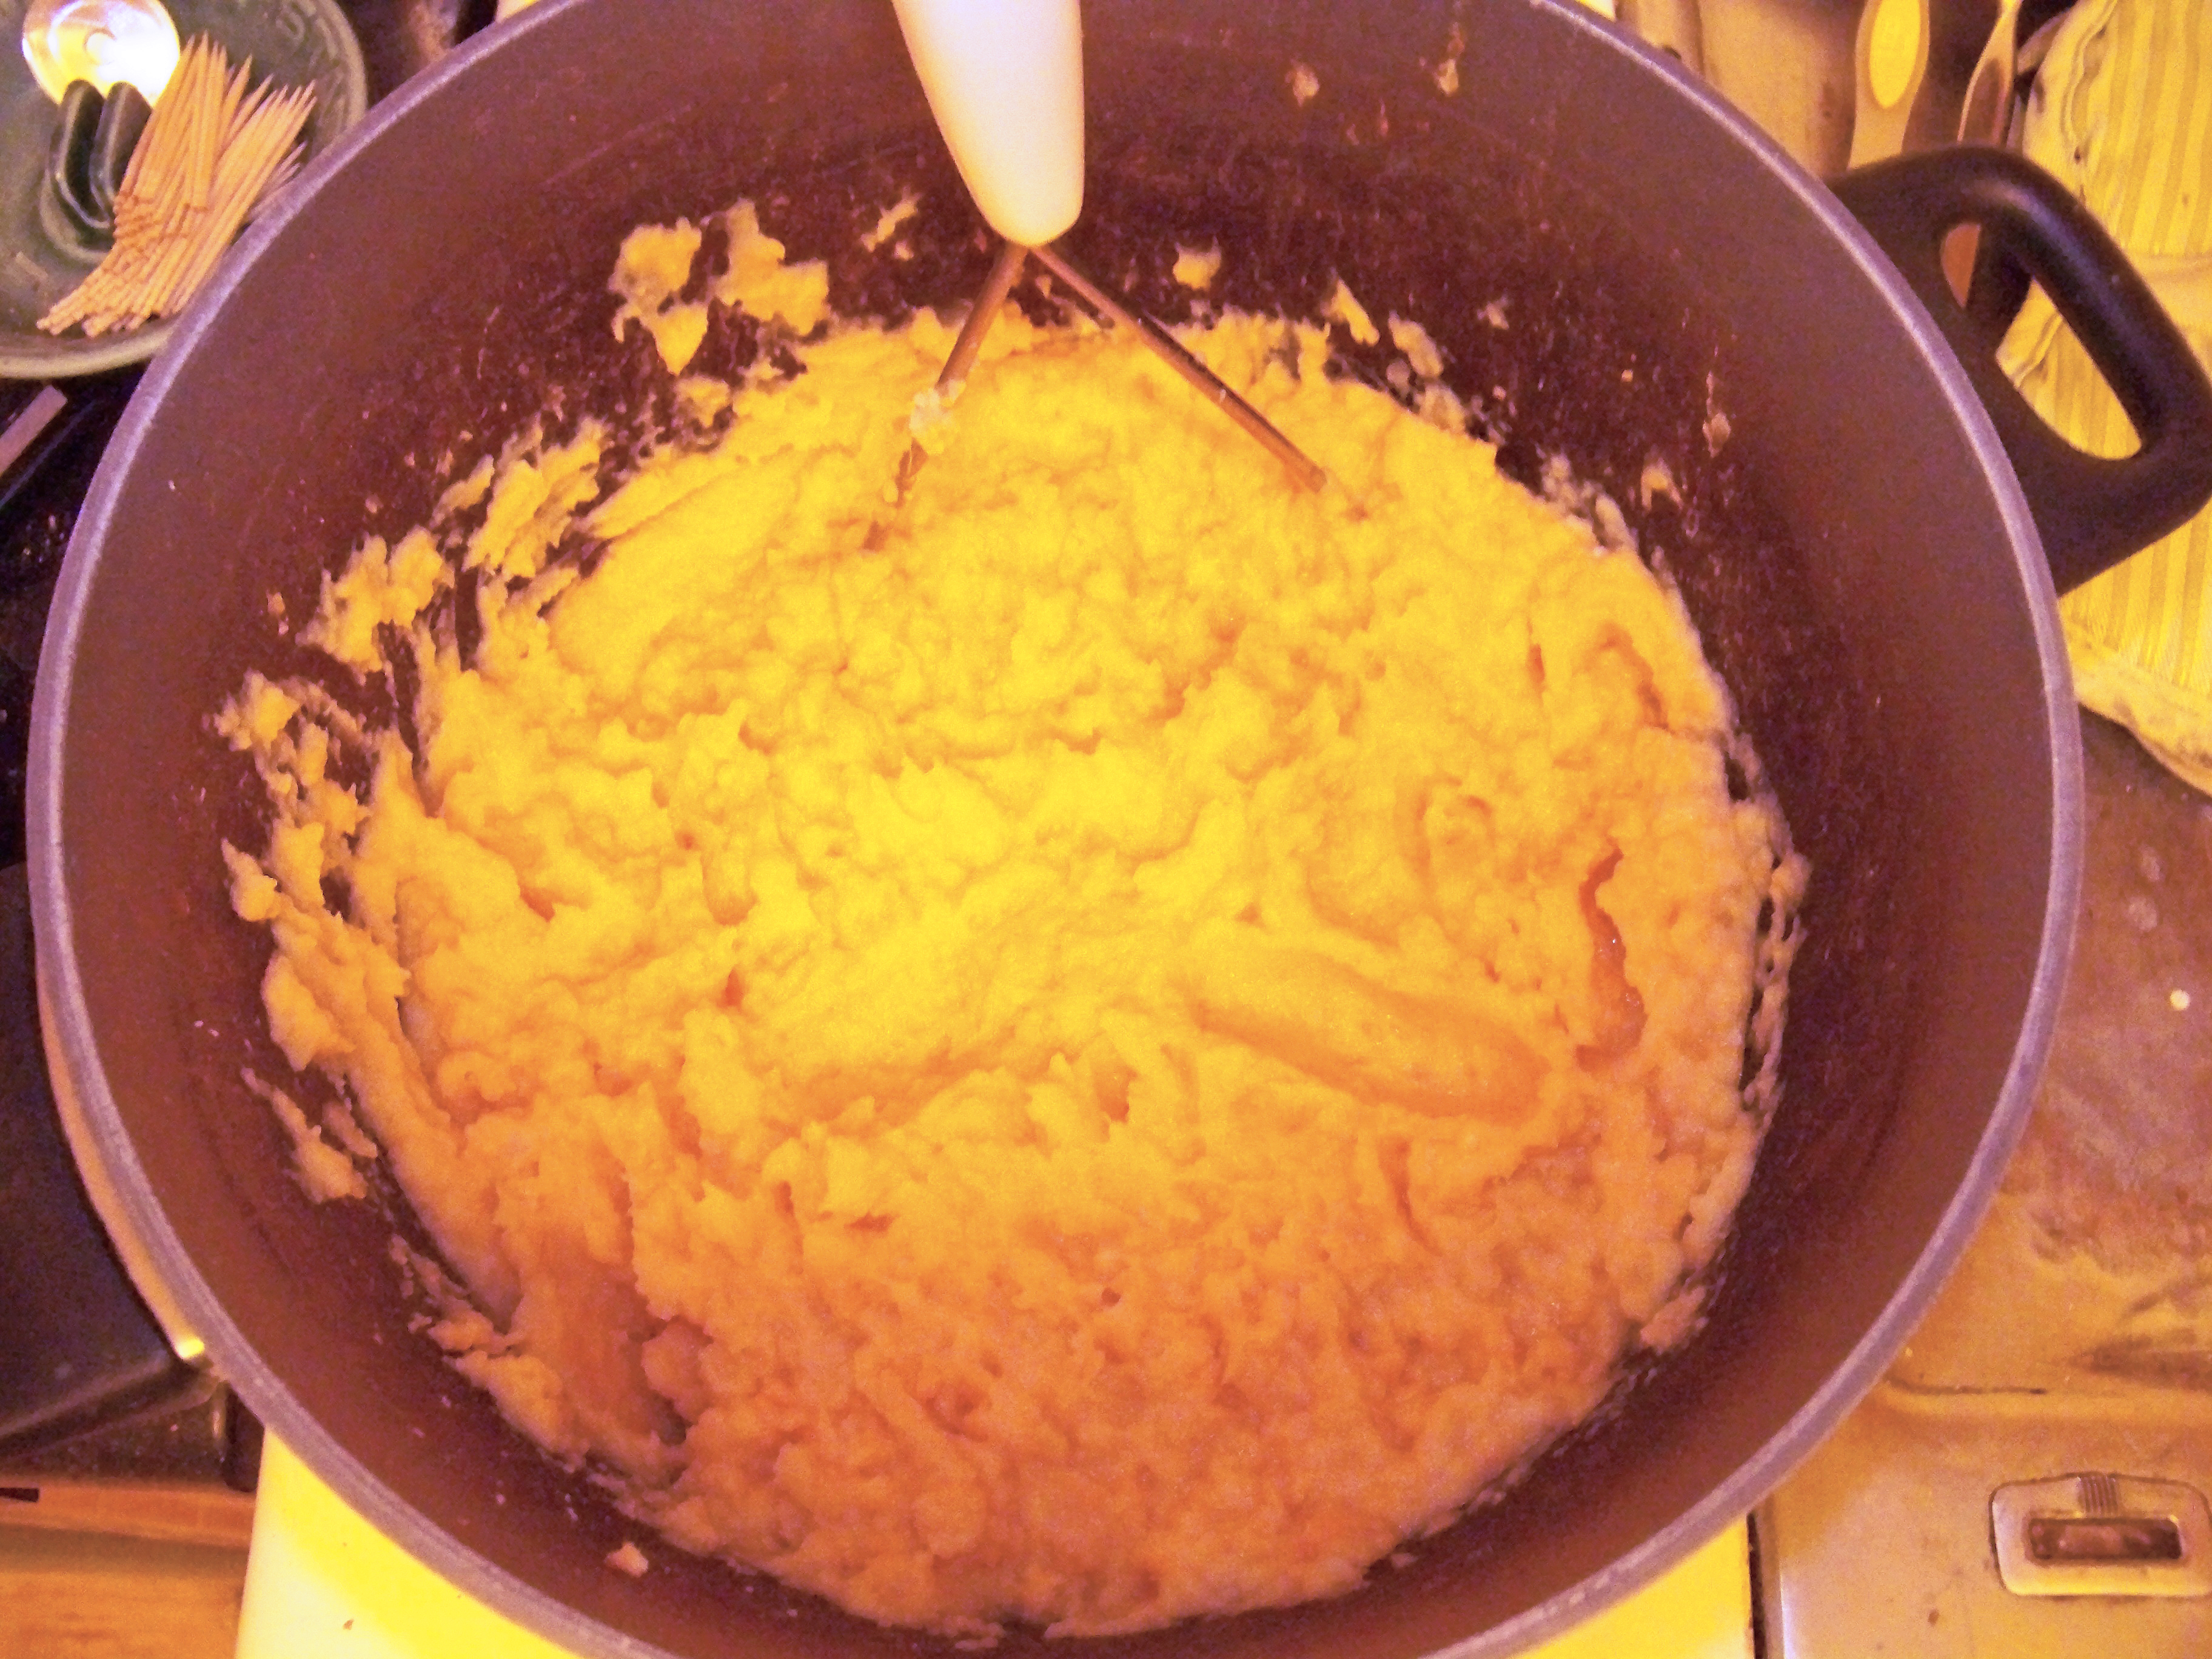
Once the prep is completed, making the soup is a snap; basically, you just dump all the ingredients into a big pot, bring it to a boil, and back it off to a simmer for about an hour to soften up the veggies and give the flavours a chance to blend. Then remove the thyme sprigs (which will have shed their leaves), and transfer the soup, in batches, to a food processor, blender, or Vita-Mix. [IMPORTANT NOTE: Do NOT clamp down the lid on your food processor/blender in such a way that steam cannot easily escape, or you will run the risk of both scalding yourself and decorating your walls with hot soup. I leave the top plug out of my Vita-Mix’s “Action Dome” and drape a tea towel over the opening to allow steam, but not solids, to egress.] Alternatively, the soup can be processed in situ with an immersion blender. Process until smooth.

Perhaps not the root of all soups, but it is a soup of all -- well, almost all -- roots.

Perhaps not the root of all soups, but it is a soup of all — well, almost all — roots.

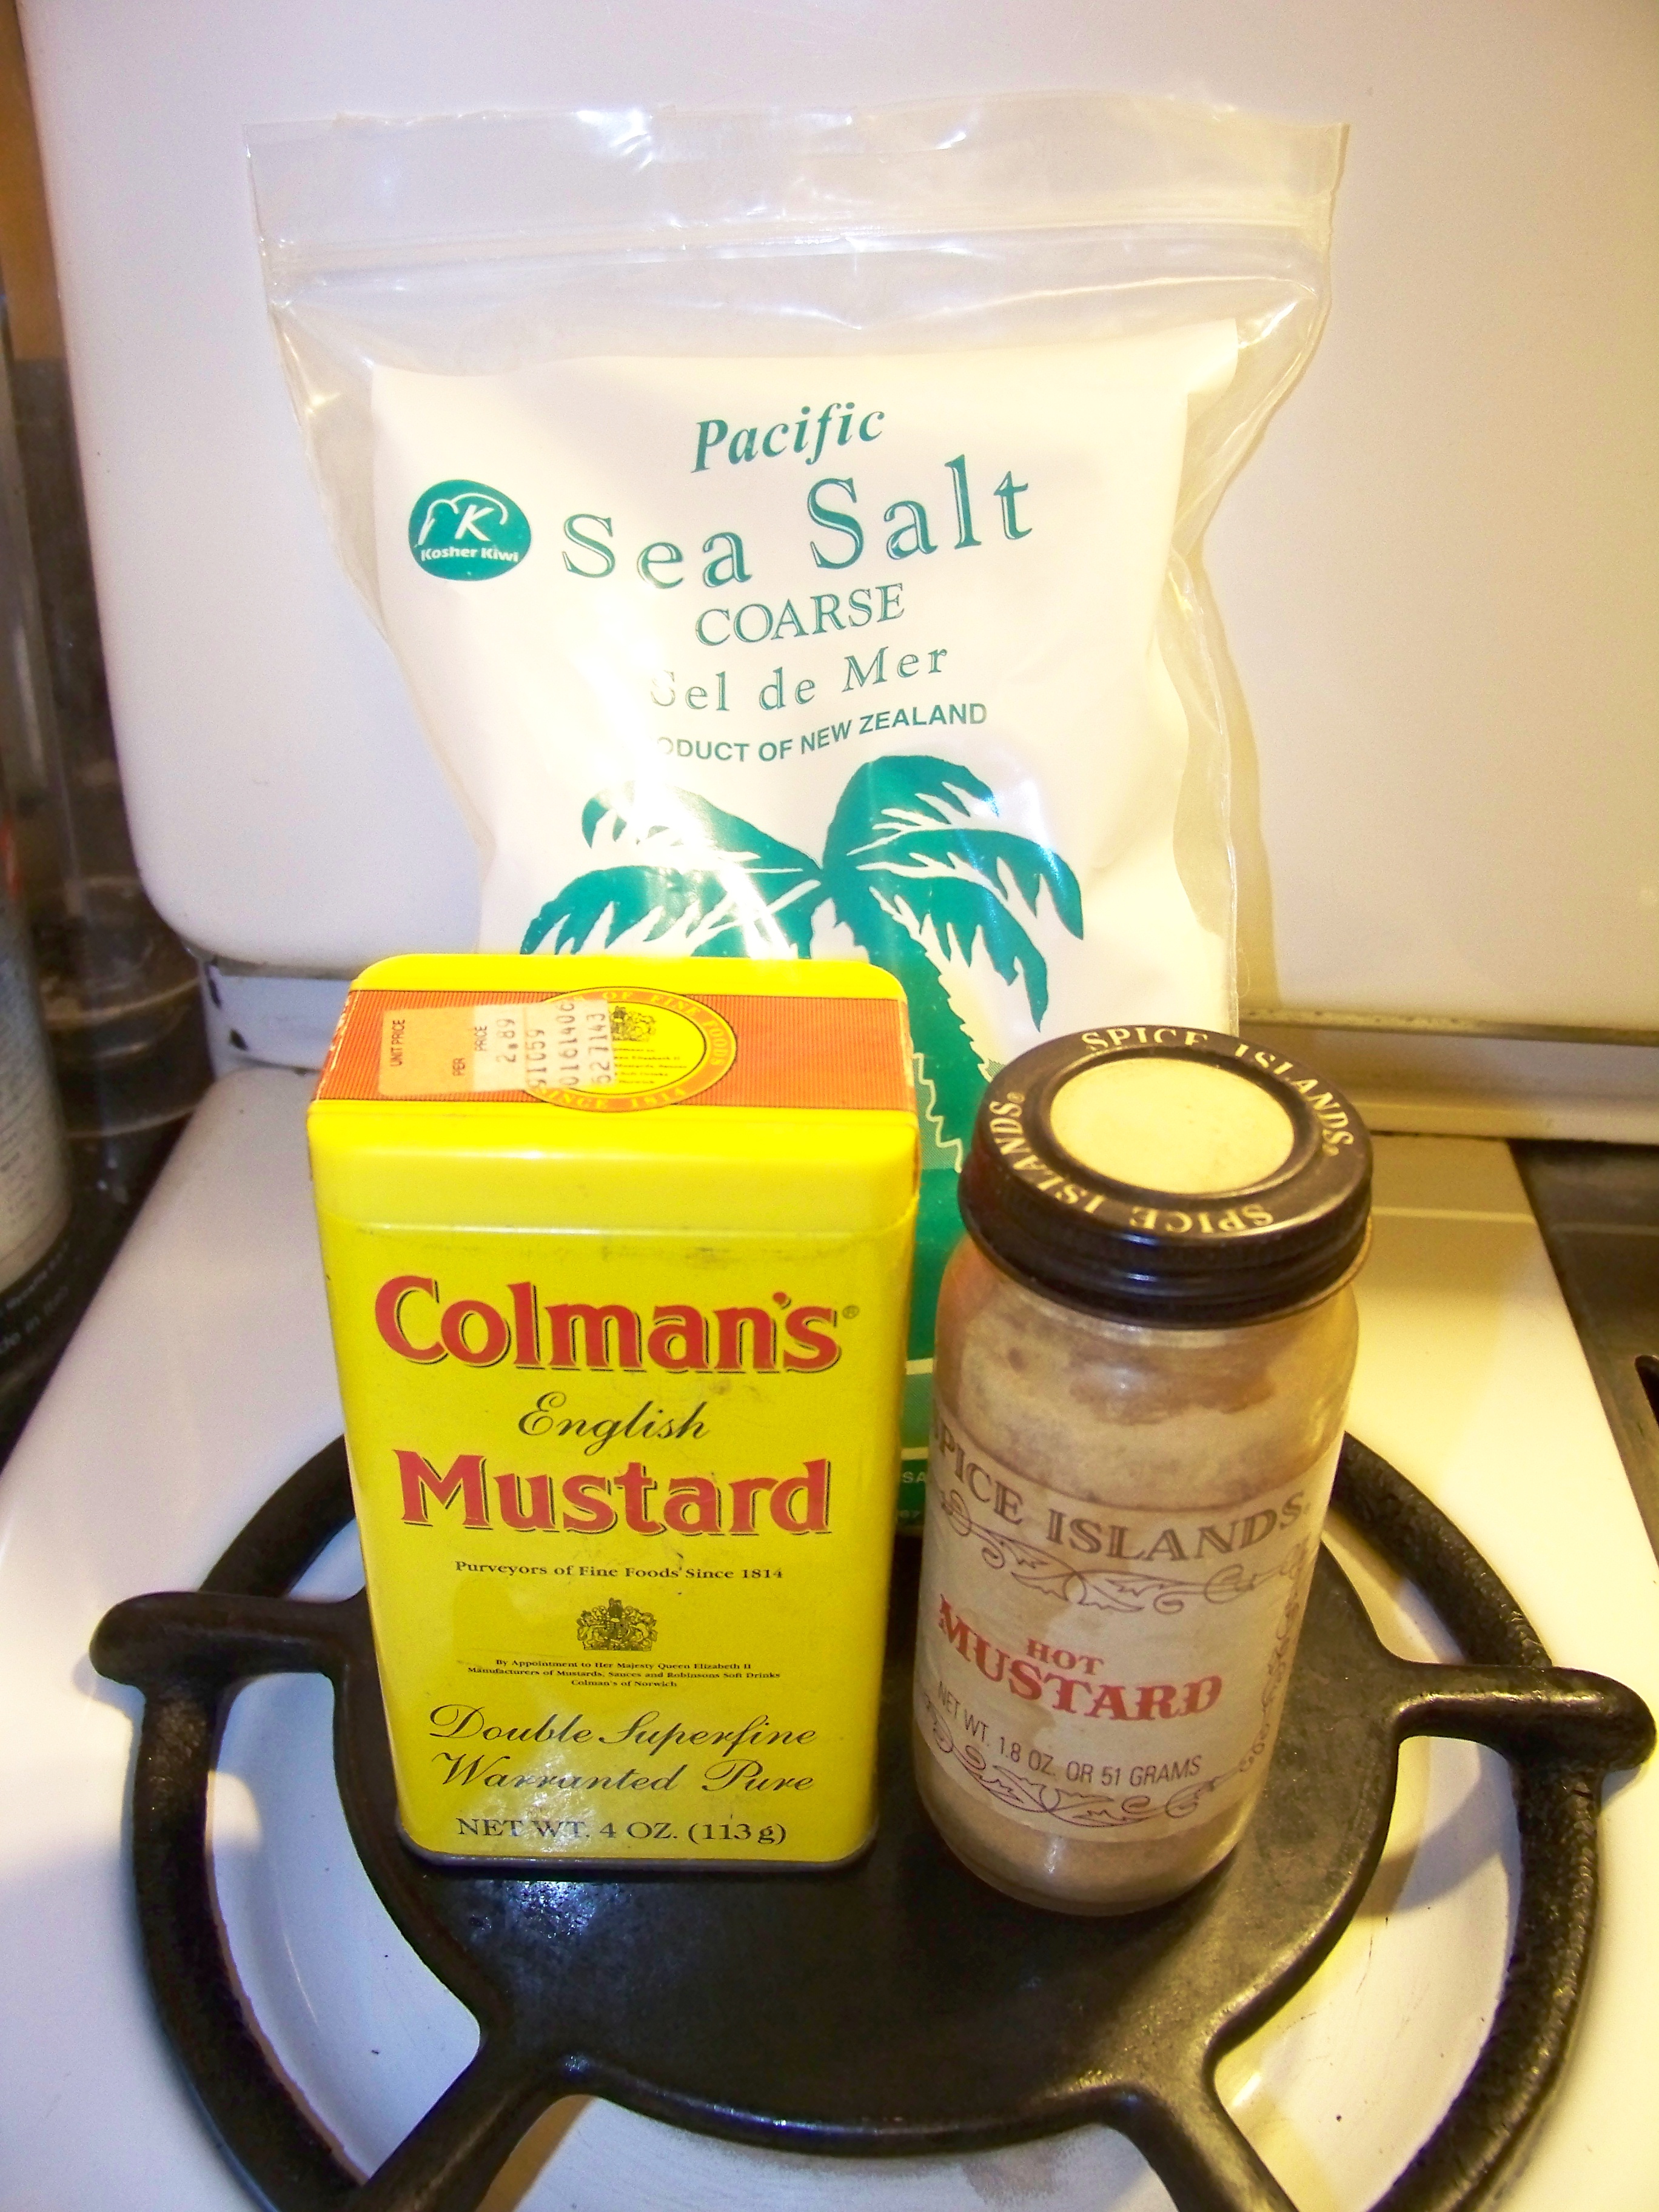
You might note that salt is not a component of the ingredients list, and that’s because the vegetable broth I used (I’m ashamed to admit that I didn’t have any vegetable stock of my own lying around) contained 570mg of sodium, presumably in the form of sodium chloride, which was plenty salty for my taste. Your taste (and your broth) may vary.

To finish the soup off, I sliced a small carrot on a hand-held mandoline, arranged the carrot “coins” into a small “flower,” and sprinkled a few leftover thyme leaves on top. I might drizzle a few drops of olive oil on it as well next time, but it’s by no means necessary. Serves 6-8 (easily!) as an opening course.

Lovely Little Lentils, BBQ- (and Vegan-) Style

0
Unlike, say, in Ireland, the orange and the green go very well together here.

Unlike, say, in Ireland, the orange and the green go together very well here.

Much as I once was with beets (which is to say not a fan), The Bride used to be with lentils. I’ve long loved these little legumes, probably had my first infatuation with them as dal in the street food stalls of Mumbai (which was Bombay when I was there), and I brought it home with me. Sadly, it was not shared. Red, orange, green, yellow; I tried making all sorts of lentils for my then-girlfriend (now The Bride) in all sorts of ways, and to no avail. She said they all had an unpleasant aftertaste, and I figured that it must be some genetic thing, like people who find that cilantro has a “soapy” taste.

One evening, we were dining at a now-shuttered, much-missed restaurant, Zax in Brentwood, when they served lentils cooked in duck confit, and I ordered same, prepared to eat them all myself, if necessary. To my way of thinking, one could probably cook the contents of an ashtray in duck confit, and it would be at the least palatable. [I might be stretching the truth a w-e-e bit there.] Long story short, she had them and loved them. Yay! At first I thought that some chemical compound in the confit might have bound itself to whatever was triggering her (thankfully absent) aftertaste. But I also asked the waiter to query the chef (former Top Chef runner-up Brooke Williamson) on whether they had done anything special to prepare the lentils (other than the confit, of course): blanched them first, soaked them in brine overnight, something that I hadn’t thought to do. The answer: “No, nothing at all.” But she did mention that they had used Le Puy lentils.

Le Puy lentils, much like Champagne and Parmigiano-Reggiano cheese, may only be produced in a specified region, according to national law (and international custom, even though some disreputable sparkling wine producers call their product “Champagne” and some non-Italian cheeses claim – falsely – to be Parmigiano-Reggiano). They’re grown on the mountain plateau around the French town of Le Puy en Velay in the Haute-Loire region, whose climate and volcanic soil impart a particular flavor to the humble legume. In fact, they were the first French foodstuff, apart from wine and cheese, to be awarded the famous “Appellation d’ Origine Contrôlée” designation of quality and assurance of origin.

Above and beyond their terroir, Le Puy lentils are their own species (Lens esculenta puyensis), as distinct from other lentil species as a tasty Portobello mushroom is from the poisonous California Agaricus. Le Puy lentils tend to be comparatively expensive in America (generally $7 – $10 USD per pound/half kilo, though domestically grown versions may go for a little less), but they’re tasty, and The Bride likes them, so what’s a few extra bucks? That said, this recipe can be made with virtually any variety of lentil. Have a care, though; some varieties cook much more quickly, and some don’t hold their shape, turning somewhat mushy (though still tasty).

The original recipe from which this one was inspired came from an excellent cookbook by Cara Eisenpress and Phoebe Lapine, In the Small Kitchen: 100 Recipes from Our Year of Cooking in the Real World. It chronicles two twenty-somethings on a tight budget trying to make tasty and inexpensive meals in their tiny kitchens. It’s a great starter cookbook for someone who’s getting their first apartment, but it also has some recipes that really resonated with me as well (I encountered it as part of a piece I wrote for the LA Review of Books a couple of years ago). I haven’t changed it much, although this version makes a double batch and adds kale, because California law requires kale to be an ingredient in every vegetarian recipe (just kidding, but it almost seems true).

If they don't say "Le Puy," they're just not for me.

If they don’t say “Le Puy,” then they’re just not for me.

BARBECUE LENTILS WITH SWEET POTATO AND KALE
Serves 4-6

Ingredients
1 cup / 200 g Le Puy lentils
4 teaspoons / 20 ml olive oil
2-3 teaspoons / 11-17 g salt
4 cloves garlic, 2 minced, 2 whole
1 onion, diced
1 small sweet potato or yam, diced
1/4 – 1/2 teaspoon / .75 – 1.5 g dried chipotle pepper powder (or cayenne pepper)
1/8 teaspoon / .4 g ground ginger
1/2 cup / 120 ml ketchup
2 teaspoons / 10 ml Dijon mustard
4 tablespoons / 60 g brown sugar
2/3 cup / 160 ml balsamic vinegar
dash or two Worcestershire sauce (optional, leave it out for Vegan version)
1 small bunch kale, shredded

Maybe 6-8 stalks; not a whole lot. Probably 3 cups when chopped.

Maybe 6-8 stalks; not a whole lot. Probably about 2-3 cups when chopped, maybe a little less.

Bring the lentils to a boil with 3 cups (or 700 ml) of water and the two whole garlic cloves. Simmer 30-35 minutes, uncovered, until lentils are soft but still hold their shape. Toward the end of cooking, add 1 teaspoon (5.5 g) salt.

Wash kale, pat dry and shred, removing stems. (If you wish to include chopped stems in the finished dish, you’ll add them at the same time the lentils are added; otherwise, you can discard them.) Set shredded kale aside.

Meanwhile, heat the olive oil in a frying pan. Add the onion and minced garlic and sauté until soft and slightly brown. Add the sweet potatoes and cook until softened, about 5-8 minutes. Stir in the chipotle pepper and ginger, coating the vegetables, then add the ketchup, mustard, sugar, vinegar, and remaining 1-2 teaspoons (5.5 – 11 g) of salt (taste after adding the first teaspoon!), and bring to a simmer. Drain the lentils, reserving the cooking water, and add them and about 1 cup of cooking water to the pan. [This is also where you add the chopped kale stems, if you are using them.] Simmer until the sauce coats the lentils and is fairly well thickened. Taste for seasoning, adding Worcestershire sauce and sugar or vinegar if necessary. Somewhere around 15-30 minutes prior to serving, stir in the shredded kale, making sure to coat it all; give it time to soften to desired consistency, then serve.

FUN LENTIL FACT: The words “lens” and “lentil” both share the same Latin root, and it’s because a biconvex lens (like the one in your eye or a typical magnifying glass) is shaped like a you-know-what.

Fig Onion Rosemary, um… It’s a Jam! It’s a Conserve! It’s a Very Thick Sauce!

2
Destemed figs await being destiny.

It’s figgy! It’s oniony! It’s rosemary-y! It’s… Supercondiment!

When it comes to a project like this, seems to me there’s only two ways to go: 1) You can make just enough for yourself, and let’s face it, a little goes a fairly long way, or 2) If you’re going to bother with it at all, you may as well make a bunch, and share it with friends, neighbours, co-workers, etc. After all, you’re committing the same amount of time in either case, and in the latter mode, you can share the wealth. Sure, your cost of ingredients doubles, but by a back-of-the-napkin calculation, that came to about $12 in this case, less if you use red onion rather than Vidalia sweet onions, a cheaper wine, and can find a better deal on fresh figs than Whole Foods‘, all of which are well within pretty much everyone’s reach.

Clostridium botulinum, or Botox in the wild.  (Photo Credit: Dr. Gary Gaugler/Science Photo Library)

Clostridium botulinum, or Botox in the wild.
(Photo Credit: Dr. Gary Gaugler/Science Photo Library)

I’m going to say this up front, because food safety is paramount: THIS MUST BE REFRIGERATED. You can’t really preserve it in a standard water bath as you do other jams, because the pH isn’t low enough (or, put another way, the acidity isn’t high enough) to guarantee that our old pal Clostridium botulinum won’t rush in and ruin the day. The spore that causes botulism — and turns actresses of a certain age into Stepford Wife-looking creatures — is given a perfect home to reproduce in a fairly low-acid foodstuff that has been canned in an anaerobic (air-free) environment. You could get around this by adding a healthy dose of lemon or lime juice (or citric acid powder), but that would muck about with the flavour in a way that I wasn’t aiming for, personally. That said, if you do want to adjust the recipe and can it in the trad fashion, I’d recommend getting a pack of pH test strips and make sure you have the acidity at a pH lower than 4. Then the nasty little beastie is banished from the kingdom.

Now that I’ve frightened you, let me say that this is the same advice you’d get for canning meat, or asparagus, or mushrooms, or wax beans, or pretty much any veg that isn’t a tomato (and yes, I know a tomato is technically a fruit).

If, on the other hand, you have a pressure cooker/canner, you could do this no worries, so long as you get the canning temp above 240° F/115.6° C for a specific period (there are online guides), and it makes sense to err on the side of caution. Otherwise, you’re just going to have to treat it the same way you do pretty much everything else: put it in the fridge, and use it within 10 days or so. [Since it isn’t going to be in an anaerobic environment, botulism isn’t an issue, but as you well know, nothing in the fridge keeps forever… except that box of baking soda that doesn’t really absorb the odors the way it’s advertised to do.]

On to the good stuff.

This jam/conserve/very thick sauce is most excellent when served with stinky cheese, or as a glaze/condiment for a pork tenderloin, chops, or chicken. [Of course, since it’s vegan, it’s also good with crackers and flatbreads, not to mention garden burgers.] I tried to keep the sugar content as low as practicable, favouring the umami as much as possible.

Destemmed figs, awaiting their destiny.

Destemmed figs, awaiting their destiny.

FIG ONION ROSEMARY JAM/CONSERVE/VERY THICK SAUCE
INGREDIENTS:

45ml (3 tbsp.) extra virgin olive oil
3 large Vidalia sweet onions, sliced (about 1kg) (any onion can be substituted here)
5g + 1.25g (1 tsp. + 1/4 tsp.) sea salt or kosher salt
15g + 250g (1 tbsp. + 1 cup) turbinado sugar (white sugar works also)
1.25kg (2.75 lbs.) fresh Kadota figs (or whatever variety is convenient)
30ml (2 tbsp.) fig balsamic vinegar (or other balsamic vinegar or wine vinegar)
500ml (2 cups) red wine (2/3 of a standard bottle)*
15g (1 tbsp.) fresh rosemary, finely chopped

DIRECTIONS:

[Mise en place notes: Slice the onions and set then aside in a bowl; wash and destem the figs, then cut them in half (north/south) and set aside in a separate bowl. Chop the rosemary and set it aside. You can measure out your other moist and dry ingredients at this time if you want to, but nothing here is so time-sensitive that it’s really necessary.]

The only time the Sweet Vidalia onions made me cry was at the checkout counter.

The only time the Sweet Vidalia onions made me cry was at the checkout counter.

Heat pan on high and add the olive oil; when oil begins to shimmer, add the sliced onions, 5g/1 tsp. salt, 15g/1 tbsp. sugar, and stir briskly, to coat onions with the oil and mix in the salt and sugar. Reduce heat to medium high and allow onions to caramelize, about 20 to 30 minutes. [Note: If you haven’t done this before, it’s a little tricky. Stir them too often, and they don’t brown up. Stir them too infrequently, and they can burn. Don’t freak out if a couple of the onions look overdone; not a big deal. Timing is approximate depending on the amount of onions, your pan, and the heat of your cooktop.]

Onions, rosemary, and figs! Oh my!

Onions, rosemary, and figs! Oh my!

When the onions are browned, add the balsamic vinegar and wine to deglaze the pan, being sure to scrape any brown bits off of the bottom of the pan. Add figs and simmer until tender, about 20-30 minutes, stirring occasionally and pressing the figs against the side of the pan with a wooden spoon to break them up. Add the remaining turbinado sugar and salt (to taste) and simmer for an additional 20 minutes. If jam/conserve/very thick sauce gets too thick, add more liquid (either wine or water) as needed until the desired consistency is reached.

Jam, condiment, or very thick sauce? We report, you decide.

Jam, conserve, or very thick sauce? We report, you decide.

Allow to cool until it is safe to handle, then spoon into clean jars and refrigerate. Makes approximately 1.5 liters/just over 6 cups. Should be just fine for at least 7-10 days.

Fancier than it needs to be?

Fancier than it needs to be?

* A note on wine: I used Kendall-Jackson 2010 Vintner’s Reserve Summation Red, a blend of 28% Zinfandel, 27% Merlot, 14% Cabernet Sauvignon, 7% Petite Sirah, 3% Grenache, and 2% Petit Verdot. Why? I’d like to tell you that I did because it was the perfect match for the Brix (sweetness) level of the figs, but in fact it was around, I wasn’t particularly interested in drinking it at the time, and it wasn’t so expensive that I’d feel bad about having used it for making jam/conserve/very thick sauce. Any dry red will do; I may try a Pinot Noir or some other wine for the next batch, just to see how that works. You’ve probably heard this before, but you should avoid using any wine in cooking that you wouldn’t drink. So-called “cooking wines” are about as appetizing as Drāno®.

ADDENDUM:
I gave away a pint of the you-know-what to my pal Lisa Jane Persky, who is an actress, writer, artist, and a damn fine cook in her own right; here’s the chop she made with it. Nice.

Mmmmmm.

Mmmmmm.

ADDENDUM #2:
The other week, I attended a food festival at which restaurateur/radio host/generally cool individual Evan Kleiman was speaking about preserving tomatoes, and she said that (given the comparatively high pH of some newer varieties of tomato), she sometimes adds straight citric acid (which can be purchased either online or at many fine markets) to acidify the solution rather than adding lemon or some other citrus juice. The reason is that, while citric acid will make your jam/conserve/really thick sauce lower in pH (and hence, more sour-tasting), it won’t introduce any new flavour. You can buy pH strips or litmus paper to check to see if its pH is below 4. Alternatively, as noted above, you can pressure can the conserve/jam/really thick sauce. Or just stick it in the fridge. You’ll probably go through it faster than you thought.

Vegan Tomato-Dill Soup

0
It's soup!

It’s soup!

Despite the widely-held belief that “it never rains in southern California,” it does, albeit not often enough. Tonight, for instance, was a prime example of the occasionally intemperate nature of SoCal weather; a much-needed downpour, most of which would wind up in storm drains on a quick trip to the Pacific Ocean, rather than into the aquifers and reservoirs that could make the best use of it. Rain, for me, signals an opportunity to make soup, which matches inclement weather the way pearls go with Sophia Loren’s exquisite neck.

In my youth, tomato soup meant a can of Campbell’s, made famous by Andy Warhol. My late and much beloved mom used to prepare it in high style, diluting it with milk rather than water for an instant “cream of tomato” concoction, which remained the gold standard for tomato soup in my estimation until well into my adulthood. One weekend in my thirties, though, on a trip to Lake Tahoe, I tasted freshly prepared tomato soup for the first time, and it was nothing short of revelatory. I’ve been spoiled ever since.

INGREDIENTS:

2 tbsp.olive oil
1 medium onion, finely chopped
2 tbsp. Cup4Cup gluten-free flour
2 cloves garlic, minced
1 can (28 oz.) San Marzano diced tomatoes
4 tbsp. stemmed and chopped fresh dill + 4 fronds for garnish
28 oz. vegetable broth (or chicken broth, if the vegan version isn’t sufficiently compelling)
1 bay leaf
salt
ground black pepper
dollop of cashew cream (for vegan version) or sour cream or yogurt (non-vegan version)

The humble onion.

The humble onion.

DIRECTIONS:
First, heat the olive oil in a soup pot, then add the diced onion at medium heat. Sweat the onion, allowing it to release its liquids, but don’t brown it. Add the Cup4Cup gluten-free flour, and stir, making sure to break up any lumps that might ensue (a whisk is good at doing this). Add the garlic and cook for about two minutes, stirring occasionally. Then add the tomatoes, broth (a simple way to measure this is to fill up the empty tomato can), chopped fresh dill, bay leaf, salt, and pepper.

Adding the flour.

Adding the flour.

Cook over medium low heat, stirring occasionally, for about 30 minutes, but you needn’t be particularly fussy about the timing; it’s just enough to let the flavours blend.

Spices added; stirring ensues.

Spices added; stirring ensues.

From here, you have a couple of options. 1) Allow the soup to cool overnight in the refrigerator, and serve it the following day as a rustic cold soup, garnished with a dill sprig (and remember to remove the bay leaf!).

A quick trip to the Vita-Mix.

A quick trip to the Vita-Mix.

2) Alternatively, you can remove the bay leaf, toss it in the food processor and purée it. Be sure to work in small batches, and DON’T plug the feeding tube unless you’d like your kitchen walls redecorated with a fine spray of tomato soup. [The steam needs somewhere to go; best bet is to drape a kitchen towel LOOSELY over the top of the feeding tube.]

You can add a delightfully silky texture by stirring a dollop of cashew cream into each bowl (or cup). Garnish with a dill sprig, and serve.

Serves 4-6

Shepherdless Pie — or — Don’t Kvetch About Guvech

0

Gyuvech: It's not only the container... it's what's inside.

Gyuvech: It’s not only the container… it’s what’s inside.


One-paragraph history and etymology lesson rolled into one: In Bulgaria (and throughout the Balkans), meat and vegetable casseroles are often made in beautifully decorated earthenware pots known by a staggering variety of names, including guvech, gyuvech, đuveč, ѓувеч, гювеч, ђувеч, and others. The word has become not only synonymous, but indeed coterminous, with the meal prepared within it. [In that sense, it’s kind of the opposite of the word restaurant, which, back in the mid-18th century, was the name of a bouillon, later morphing into its modern definition of where that bouillon is served (when bouillon is served there at all, rarely the case these days).] By the time the word reached Turkey, it had become güveç, which more or less transliterates into guvech or guvetch, which is how we know it in North America.

Just like my great-grandma didn't used to make. But someone else's did.

Just like my great-grandma didn’t used to make. But someone else’s did.

As with any casserole/stew/hotchpotch, there are something approaching an infinite number of recipes for guvetch, but I’m quite fond of this meatless commercial variety, produced in Bulgaria by Konex Foods and marketed In America by Indo-European Foods under the label ZerGüt. It may be my favourite guvetch because it’s the only kind I’ve ever had (which is true), but it’s quite delicious on its own terms. According to a spokesperson for Konex, the commercial recipe is derived from one handed down by one of the company founder’s ancestors. The vegetarian guvetch they market (pictured above) is a simple mélange of aubergines, peppers, potatoes, carrots, water, sunflower oil, green beans, tomato paste, peas, salt, okra, onion, sugar, and parsley, with no preservatives, artificial flavours, or colours. At 250 calories per 19 oz. bottle, it’s easy on the diet, too.

A potful of potatoes.

A potful of potatoes.

Flash forward to earlier this evening. I’d had a hankering for shepherd’s pie, but there wasn’t any ground lamb to hand, and I decided to take a whack at a vegan version.

SHEPHERDLESS PIE

Ingredients
2 large Russet potatoes
4 smallish yams (about a pound or so)
3/4 cup unsweetened almond milk
2 tsp salt
1 jar ZerGüt guvetch

Directions
Set a pot of salted water on to boil. Peel potatoes and yams; cook in boiling water for about 20 minutes, or until soft. Drain. Return to pot and mash with almond milk and salt; set aside to cool slightly.

Mashed potatoes, yeah.

Mashed potatoes, yeah.

Divide guvetch evenly into six ramekins. Microwave on high for about 2 minutes to warm.

Microwave me, baby!

Microwave me, baby!

Here’s where I got silly. The simple thing to do would have been to spoon the mashed yam-and-potato mixture on top, fluffing it with a fork to create those peaks that would brown underneath the broiler (about 8 minutes, and rotate the tray at 4 minutes). Instead, I pulled out a pastry bag and a star tip, and piped the potatoes in over the guvetch. Totally unnecessary, totally fun.

Sack o' spuds.

Sack o’ spuds.

If you decide to do it that way, work in a circular motion from the edge toward the center, finishing with a little peak on top.

Piped, but not yet piping hot.

Piped, but not yet piping hot.

Place the ramekins on a foil-lined baking sheet. Eight minutes under the broiler (or you can use a kitchen torch, if you wanna get fancy about it). Rotate the pan at four minutes, and have a care, because some broilers are more efficient than the one in my sixty-year-old O’Keefe & Merritt.

Good to go, after they've cooled a tad.

Good to go, after they’ve cooled a tad.

Allow the ramekins to cool sufficiently that you can handle them — albeit gingerly — with your bare hands. Serve while warm. Makes six.

[NOTE: Bottled guvetch is available at markets that cater to an Eastern European clientele, but it can also be purchased online. The big issue here is the shipping cost, which makes it kinda prohibitive to buy a single jar. If you are willing to purchase a six-pack, you can bring your cost down to about $6.50-$8 per jar (depending on where you live), which is about twice what you’ll pay for it in an ethnic market. It can be ordered online from Salonika Imports in Pittsburgh, so the closer you are to them, the less you’ll pay to have it shipped. Alternatively, you could chop and heat your own vegetable mélange; Google “guvech recipe” for ideas, or just go for it as the vegetable bin provides and the spirit moves.]

Potatoes au Gratin sans Fromage (Vegan-style)

3
It's plane to see.

It’s plane to see.

We’ve been doing Meatless Mondays around the pad for years now, and that frequently means one of several standbys, often involving potatoes. [What can I say, I’m Irish.] My original intent had been to take a whack at Chef Thomas Keller’s Potato Pavé recipe, but time and energy conspired against me, so I opted for Potatoes au Gratin. As luck would have it, The Bride and I dined a few days ago at Crossroads, an excellent vegan restaurant in Los Angeles, and that inspired me to retool the cheese-oozing, cream-dripping, diet-busting fave of my youth.

Generally speaking, I’m not much of a fan of ersatz food products (diet sodas largely excepted). I’d much rather have a beautifully grilled portobello mushroom served like a burger than any sort of the Frankenmeats that often try to pass themselves off as beef patties. As a consequence, my first order of business was to strike off most of the over-the-counter vegan cheese substitutes available, as they more often taste like Firma-Grip paste with a side of FD&C Yellow No. 6 than anything resembling fromage. What I wasn’t willing to sacrifice, though, was the creamy, viscous, umami-laden mouthfeel of the real deal. Fortunately, I didn’t have to.

Gotta give some props here to Tori Avey’s blog, The Shiksa in the Kitchen, which published a recipe for Dairy-Free Saffron Scalloped Potatoes that launched me in the right direction. Basically, there are two parts to the recipe: The potatoes and onions, and the sauce. Here’s a list of ingredients:

100_4774100_4770100_4768

DAIRY-FREE, GLUTEN-FREE, VEGAN POTATOES AU GRATIN

For the Sauce:
2 tbsp non-hydrogenated butter substitute (I used Earth Balance)
3 1/2 tbsp flour (I used Cup4Cup gluten-free flour)
1 can (13.5 or 15 oz) coconut milk* — NOT THE NON-FAT OR LOW-FAT VERSION!
1 cup Almond Breeze almond milk, unsweetened
1 tsp sea salt
1 tsp finely minced garlic (or 1/2 tsp garlic powder)
½ tsp tamari sauce (gluten-free soy sauce)
1 ½ tsp mustard powder
¼ tsp Piment d’Espelette (or hot paprika or cayenne powder)
1 tsp celery flakes or parsley flakes (optional)

For the Taters:
4-5 lbs Russet potatoes (you could use Yukon Gold as well, but Russets are way cheaper)
1 large onion
several dashes paprika for colour and presentation, optional

You have a couple of choices here (more if you are not acting as your own sous chef, which I was). Either make the sauce first (which I did), or slice the potatoes and onions first. If you are slicing the veggies first, please feel free to skip ahead. [Do remember to put your potato slices in a bowl of cold water to keep them from going brown while you’re working on other stuff.]

Making the Sauce:

Making the roux.

Roux the day.

Melt the butter substitute (or margarine, even if it’s not called that) over medium heat in a saucepan or pot, and whisk in the flour a tablespoon at a time, stirring more or less constantly to make a roux. Let it brown a bit, maybe two minutes or so, and then begin adding the coconut milk, about 1/3 of a can at a time. [The full fat variety of coconut milk will probably have a big fatty plug at the top of the can; this is a good thing. Smooth it as you whisk.] Then add the almond milk and spices, continuing to whisk all the while (nothing says “M-m-m-m, tasty!” quite like a thumbnail-sized lump of mustard powder in your finished dish). The reason I used tamari rather than regular soy sauce was to keep the recipe gluten-free; if you don’t care about that, your basic Kikkoman will work just fine. All that need be done from here on is to keep it at a simmer; it only has to be warm (and liquid) enough to pour over the potatoes. Cover it (to keep it from reducing) and turn the heat down low while you focus on the next task: preparing the potatoes.

Preparing the Vegetables:

Spud ends.

Spud ends.

First, preheat your oven to 350ºF / 175 (actually 176.67)ºC

The potatoes (peeled or unpeeled, according to the chef’s whim) should be sliced to a thickness of about 1/8″ or so. More skilled craftsmen than I can perform this task handily with nothing more than a knife, but I use a mandoline (as you can see at the top of the post), and because I am a manly and foolhardy man, I use it without the safety guard. [THIS IS NOT RECOMMENDED!] Should you find the safety guard oppressive, one alternative is to wear a steel mesh or Kevlar glove. But in the true Anthony Bourdain spirit of recklessness, well, I don’t do either of those things. That being said, not only is slicing off your fingertips or shaving your palm — a real possibility! — painful and disfiguring, it also invalidates the recipe’s claim to being vegan. (Blood, even accidentally spilled, is an animal product.) When all the potatoes are sliced (and put in a bowl of water to prevent their discolouring), repeat the process with the onion.

Potatoes and onions, ring the bells of St. Bunion's.

Potatoes and onions, ring the bells of St. Bunion’s.

Layer the potatoes and onions into a greased large baking dish or Dutch oven (I used a 5 qt. Le Creuset Braiser, which worked magnificently). First set down a layer of overlapping potato slices, then scatter some onions on it, then ladle some of the sauce over. Lather, rinse, repeat, until the dish is full (I had about 1/2 lb of sliced potatoes left, which I put in the fridge, and will roast or fry later). Sprinkle some paprika on the top, if you so desire.

Ready for some ovenizing.

Ready for some ovenizing.

Cover with foil (or put on the lid), and pop it into the oven for 60 minutes at the aforementioned 350ºF / 175ºC. By then, the potatoes should be soft and yield easily to a fork. Give them another 10 minutes in the oven uncovered, and finish them off with about 5 minutes under the broiler to brown the top (be watchful during this process, because it can go pretty fast, depending on the distance between the dish and the flame).

Remove from oven, and allow them to cool for about 10 minutes.

Brown is beautiful.

Brown is beautiful.

Coda: I realized (a little too late) that some diced green chiles would be a terrific addition to the sauce; I heated some up and spooned them over top, but it didn’t have quite the same effect. Also, you may want to add some salt (or allow your diners to) at the table, as it was a tiny bit shy on the NaCl for my taste. And a little fresh ground pepper is also nice.

*The full-fat variety of coconut milk runs about 700 calories a can, which is a not inconsiderable amount, but don’t be tempted by low- or non-fat substitutions, because they won’t provide the same mouthfeel. And when you consider how many fewer calories it has than cream (52 per ounce vs. 103), it’s totally worth the “splurge.” [Also, the almond milk is only 7.5 calories per ounce, and given that you’ve also left out all the cheese, there’s a pretty dramatic reduction in calories compared to the standard au gratin recipe.]

Balkanizing My Kitchen, Part two — Ajvar and Pinjur

3
Oops. That's not Ajvar and Pinjur, it's Akbar and Jeff from Life in Hell, with apologies to creator Matt Groening.

Oops. That’s not Ajvar and Pinjur, it’s Akbar and Jeff from Life in Hell, with apologies to creator Matt Groening.

If you happened to see my earlier post on lutenitza, you’ll recall that I promised to return with a further exam of its kissing cousins, ajvar and pinjur. First, let’s have a look at the real deal.

The REAL Ajvar and Pinjur.

The REAL Ajvar and Pinjur.

Although thought to be Serbian in origin, ajvar (pronounced “EYE-var”) is said to have derived its name from the Turkish word havyar, which shares an etymology with “caviar.” [In Russian as well, the word ikra (or икра), can mean both traditional caviar and also a vegetable purée or paté.] It’s made from red peppers, aubergines, garlic, oil, and spices. Both lutenitza and pinjur, which share many ingredients with ajvar, generally include tomatoes, while ajvar does not. Perhaps the most striking difference between ajvar and the other two, though, is its consistency; you can turn a room temperature jar of ajvar upside down without spilling its contents. Pinjur and lutenitza, not so much. Depending on the recipe, ajvar may be made with smoked or roasted peppers or not; in this bottled version, the peppers are not roasted, giving it a lighter, brighter flavour than either the pinjur or the lutenitza.

The FatFree Vegan Kitchen blog has an excellent (and quite healthy) recipe for homemade ajvar, as does the Kitchen Window blog at NPR (where they dub the dish “Serbian Salsa“). In both cases, these recipes opt for roasting the red peppers.

Pinjur (also known as pindur, pindjur, pindzur, and pinđur) is widely available throughout Serbia, Bosnia, Herzegovina, Bulgaria, and Macedonia. Just in case you’re unclear on just where all these places are, here’s a map.

For the geographically challenged, this is where ajvar and pinjur come from. Photo courtesy Univ. of Texas Library.

For the geographically challenged, this is where ajvar and pinjur come from. Photo courtesy Univ. of Texas Library.

Unlike ajvar, which is more of a spread, pinjur (pronounced “PEEN-jur”) resembles a salsa or sauce. And, like salsas and sauces, it comes in a fairly wide variety of styles. It’s generally characterized as being an aubergine (eggplant)-based sauce/relish, rather than a roasted pepper sauce/relish, even though lutenitza generally contains aubergines, and pinjur generally contains roasted peppers. Confusing, ain’t it? In my limited experience so far, lutenitza is a little spicier than pinjur, but there are so many variants on the recipes, it would be impossible to make a generalization that really sticks. Dealer’s choice here.

Both pinjur and lutenitza are terrific mixed in with rice, ladled over vegetables or meat, or as a dip for chips; they can be served either warm or at room temperature. Both are gluten-free and vegan (as is ajvar), and they’re all a great way of dealing with the overabundance of vegetables from the summer garden, offering a tasty treat for home canning enthusiasts well into the winter months… provided you can wait that long to break into those jars.

The Food Network’s UK website has a tomato and pepper-free recipe for pinjur that relies heavily on aubergine for its base, but if you want something closer to the commercially available versions, you can opt for this recipe from the Healthy Food Base blog.

As the Macedonians would say, “Cреќен јадење!” [transliteration: “Sreḱen Jadenje!”] [translation: “Happy eating!”]